Espresso Rice Krispie Treats
As many of you know, I can’t be left in a room with a Rice Krispie Treat, or as my #1 grandson calls them, Rice Christmas Treats 🙂 Unfortunately, now he can’t be left alone in a room with a…
"It's all about the recipe!"
As many of you know, I can’t be left in a room with a Rice Krispie Treat, or as my #1 grandson calls them, Rice Christmas Treats 🙂 Unfortunately, now he can’t be left alone in a room with a…
Every once in awhile you run across a recipe that changes everything! This is one of those recipes. Cooking salmon in the microwave, with veggies. How simple is that? How convenient is that? This main dish is simple, delicious and…
I am so excited about this recipe! It’s a paradigm shift recipe! It’s not a recipe in the true sense of the word, it’s more of a road map to a particular destination. A road map allows for more flexibility…
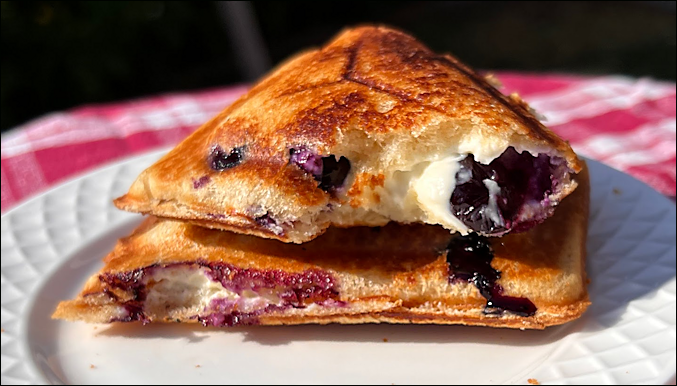
Do you ever go into a bakery? Of COURSE you do! Do you ever buy a pastry that looks delicious, but then are seriously disappointed in the taste…? And then, to top it off, are you overwhelmed price you just…
It’s summer! Time for ice cream, and one of the easiest recipes ever posted on this site! Magic Shell! You know the stuff, right? You squeeze the chocolate-y liquid onto ice cream and it hardens up almost immediately. Then you…
Whooooa Nelly! Crab and Brie Macaroni and Cheese? Over-the-top decadence in a comfort food? YEP! And the decadence makes the comfort food even more comforting—like ‘died and gone to heaven’ comforting! Yet another winning recipe from the Better Homes and…
This tea, as is, is not too sweet, and definitely has a pronounced peach flavor; it’s like Snapple Peach Iced Tea, only better! Make the big-batch peach base to keep in the freezer and you’ll be able to whip up…
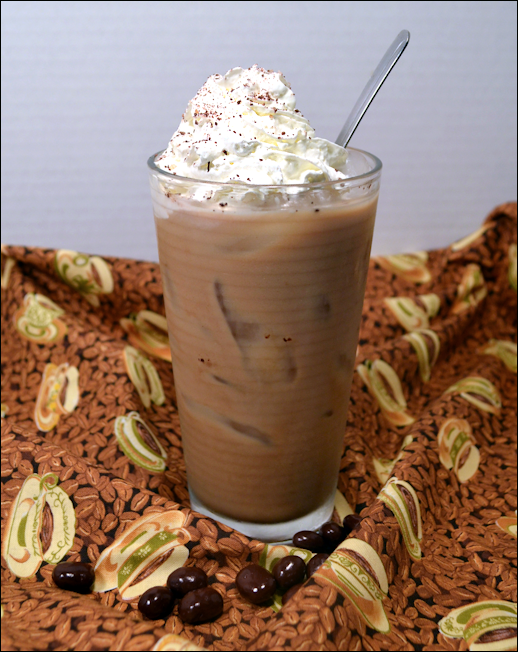
I like coffee. No, I loooooove coffee. Not that hot, black and bitter brewed coffee, but that expensive stuff brewed by the tablespoonful and mixed with steamed and foamed milk. I have lived with an espresso machine since my ex-husband…