Peanut Butter and Jelly Bars
From my days as a mom of little kids, here’s a recipe for some fancy peanut butter bars. Make them for a lunchbox surprise or a special after school treat. They are not just for kids though, these are really…

"It's all about the recipe!"
From my days as a mom of little kids, here’s a recipe for some fancy peanut butter bars. Make them for a lunchbox surprise or a special after school treat. They are not just for kids though, these are really…
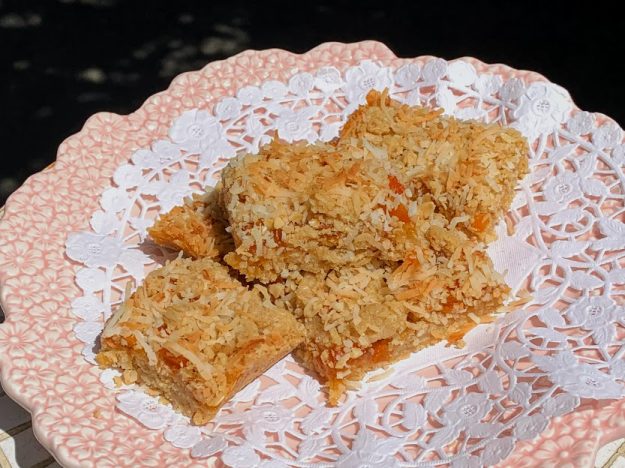
Feel like baking this weekend? Try these! They are delicious, and one of my favorite bar/tray bake recipes. The bars are buttery, crisp, jammy, and coconut-y all at the same time and there is a pronounced taste of real apricots…
Not every published recipe works, and that’s a pet peeve of mine. Recently my Cookbook Club received the galley proofs for a soon-to-be-published cookbook. We cooked 19 recipes from the cookbook. Not one worked as written! Not one! Quantities didn’t…
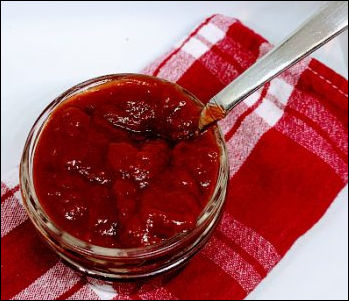
Every year I plant tomatoes and every year, for a period of a few weeks, I have more tomatoes than any one family could ever use. I have some recipes on this blog that call for a lot of homegrown…
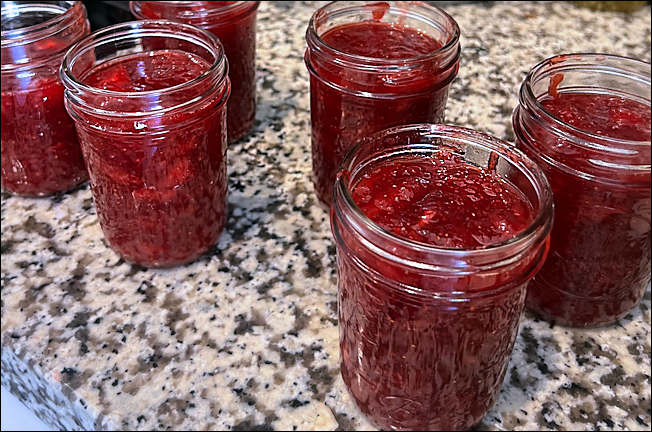
We have a strawberry delivery person in our neighborhood. He first knocked on my door pulling strawberries in a rickety Red Flyer wagon—now he drives a fancy van. He used to just bring strawberries. Now he brings strawberries, mangoes and…
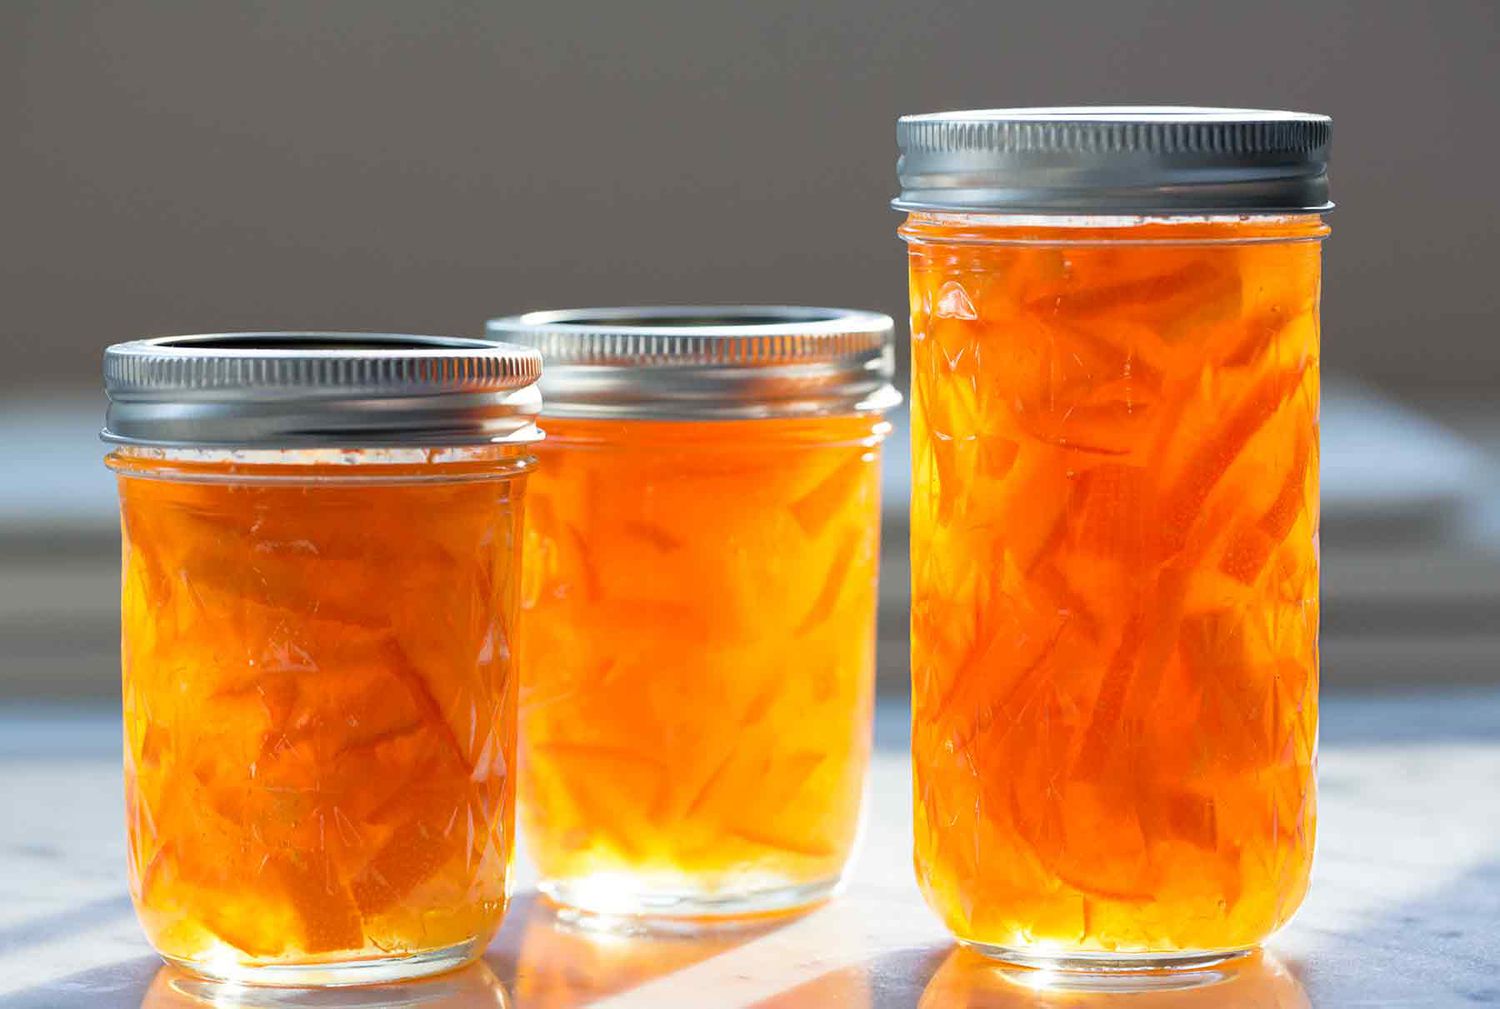
You can make marmalade for breakfast! Honest, you can! It’s amazing! I have made orange, lemon and lime marmalade with this recipe—it’s so QUICK! I was very impressed 🙂 I have had better marmalades (hrmm, have I, really?), but they…
Lemon Curd [lemen kerd] n. 1 a wonderful treat cursed with an unfortunate name. 2 a custard made with lemon juice, butter, sugar, and eggs and used as a spread or filling. She spread the tasty lemon curd on her…