Tag-Archive for ◊ coffee ◊

23 Feb 2013 Cold Brewed Iced Coffee (for the Yummiest Iced Lattes)

Iced Coffee with Whip

I like coffee.  I loooooove coffee.  Not that hot, black and bitter brewed coffee, but that expensive stuff brewed by the tablespoonful and mixed with steamed and foamed milk.  I have lived with an espresso machine since my ex-husband moved out.  It was a good switch. I am on my fourth one now (fourth espresso machine, not fourth ex-husband!).  Three had to be  retired (again, the three espresso machines not ex-husbands) and one  was fired for making terrible, horrible, no good, very bad lattes.  In addition to hot lattes, from spring through fall I really, really enjoy an Iced Latte in the afternoon, and, for Iced Lattes, with this recipe  no espresso machine is  required! Is there dancing in the aisles?

To make the Cold Brewed Iced Latte base, just get 12 oz of good quality coarse ground coffee beans, 7 cups of water, and a bowl that can be covered.  Are Toffee Nut Iced Coffee’s your little bit of heaven?  Not a problem. Vanilla Iced Coffee’s?  Easy peasy…

My friends and I are loading up my Minnie Winnie (small RV) and heading off to Palm Springs for the Camel & Ostrich Races and the Blessing of the Dates.  (Nooooo, I don’t know why we thought that would be a good idea!!! And no, I am not making this up, both are real events, held yearly, in Palm Springs and, from what I understand, in Arizona, too).  It’s become a tradition for us to load Iced Coffee Base (decaf)  into the Minnie Winnie when we head out.  Iced Lattes every afternoon while touring the US, what a nice way to live!  Don’t be jealous…raise your hand! You can come on the next trip!

Cold Brewed Iced Coffee Concentrate

  • 7 cups water (you could go gourmet and use bottled water…)
  • 12 oz. favorite rich coffee (coarse  or drip grind, decaf or regular)
  1. Pour the entire 12 oz of coffee into a bowl that can be covered (with a lid…or a plate)
  2. Pour the water over the coffee. Stir to make sure all grounds are saturated with water. Cover the bowl.
  3. Let the coffee and water sit, covered and undisturbed, for 24 hours.
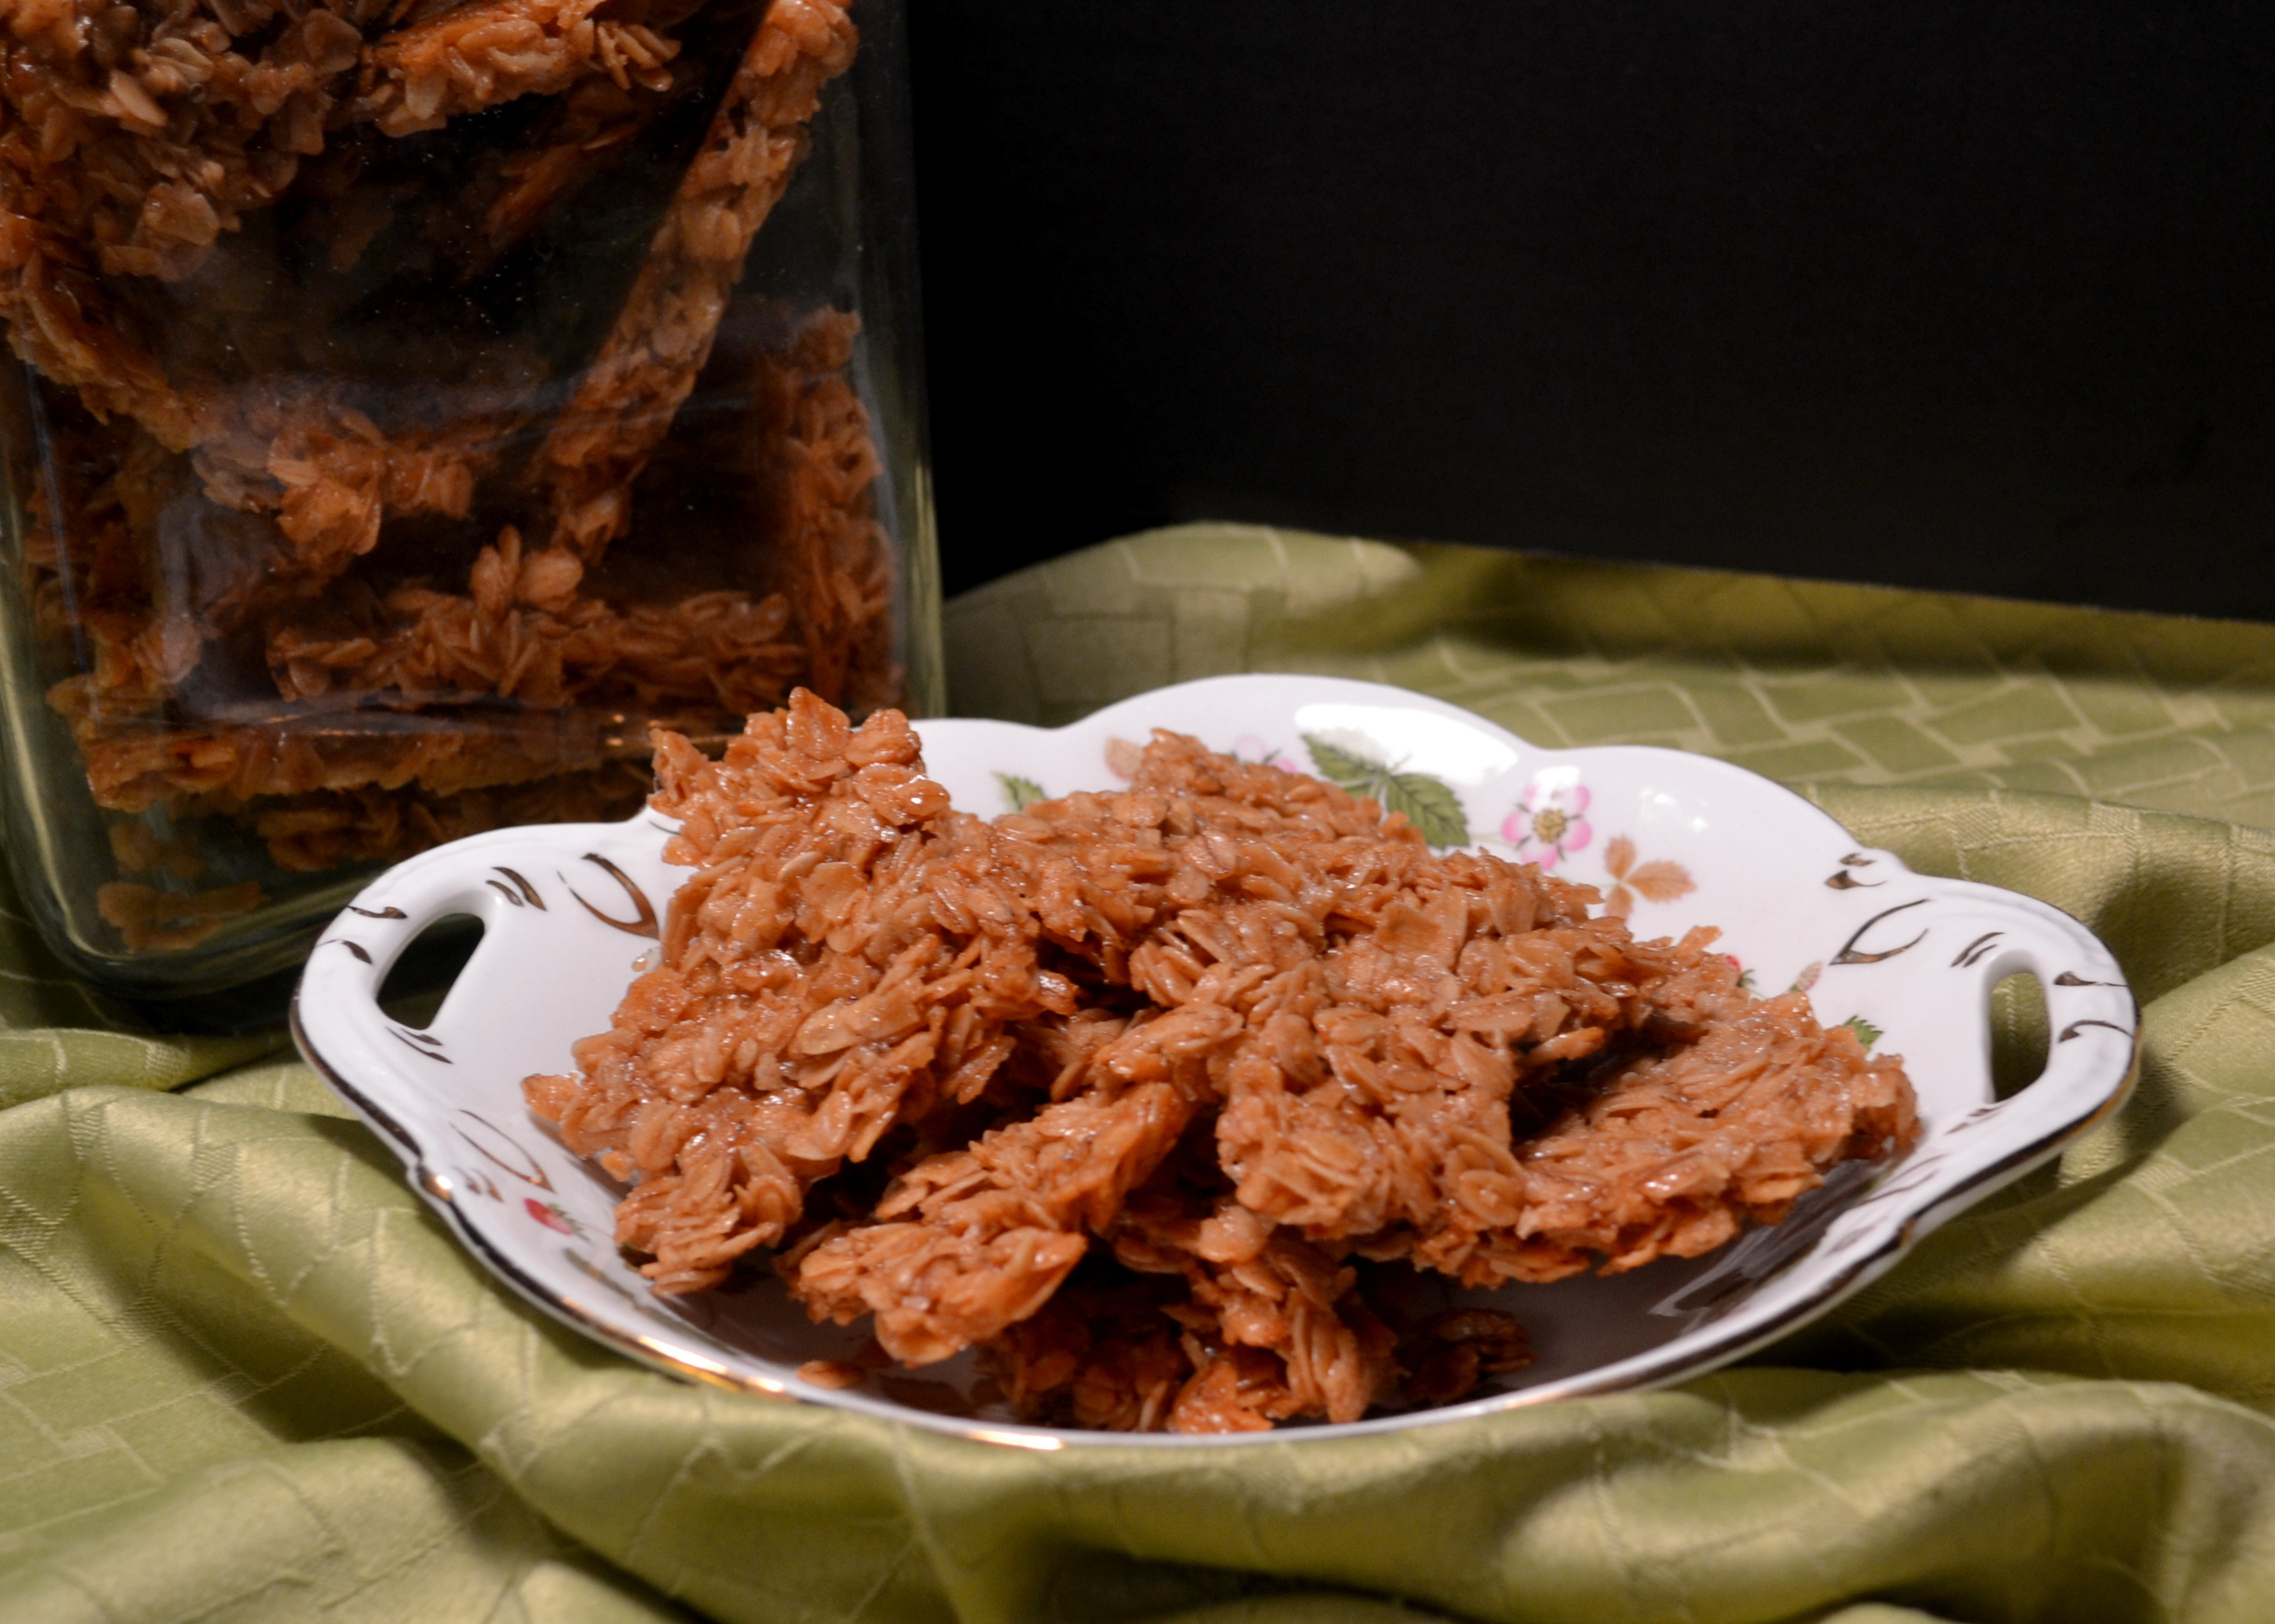
  4. Now comes the messy part.  Strain the coffee.  I put a coffee filter in a mesh strainer, balance it on top of a pitcher, and pour cups of the mixture through the filter. The Iced Coffee base collects in the pitcher and  I throw the used coffee grinds away as I go.  You might need to use two coffee filters.  The decanting takes awhile, but it’s definitely worthwhile–messy but easy.
  5. Once all the coffee concentrate has been filtered, put a lid on the pitcher, and store it in the refrigerator for up to three weeks. (Handy Tip: write dates on the container with an erasable marker.  For example:  Made 2/13/13. Good until 3/6/13.  When the container is empty, wash the dates off!  I mark all my plastic containers with erasable markers now.  It’s so handy.)
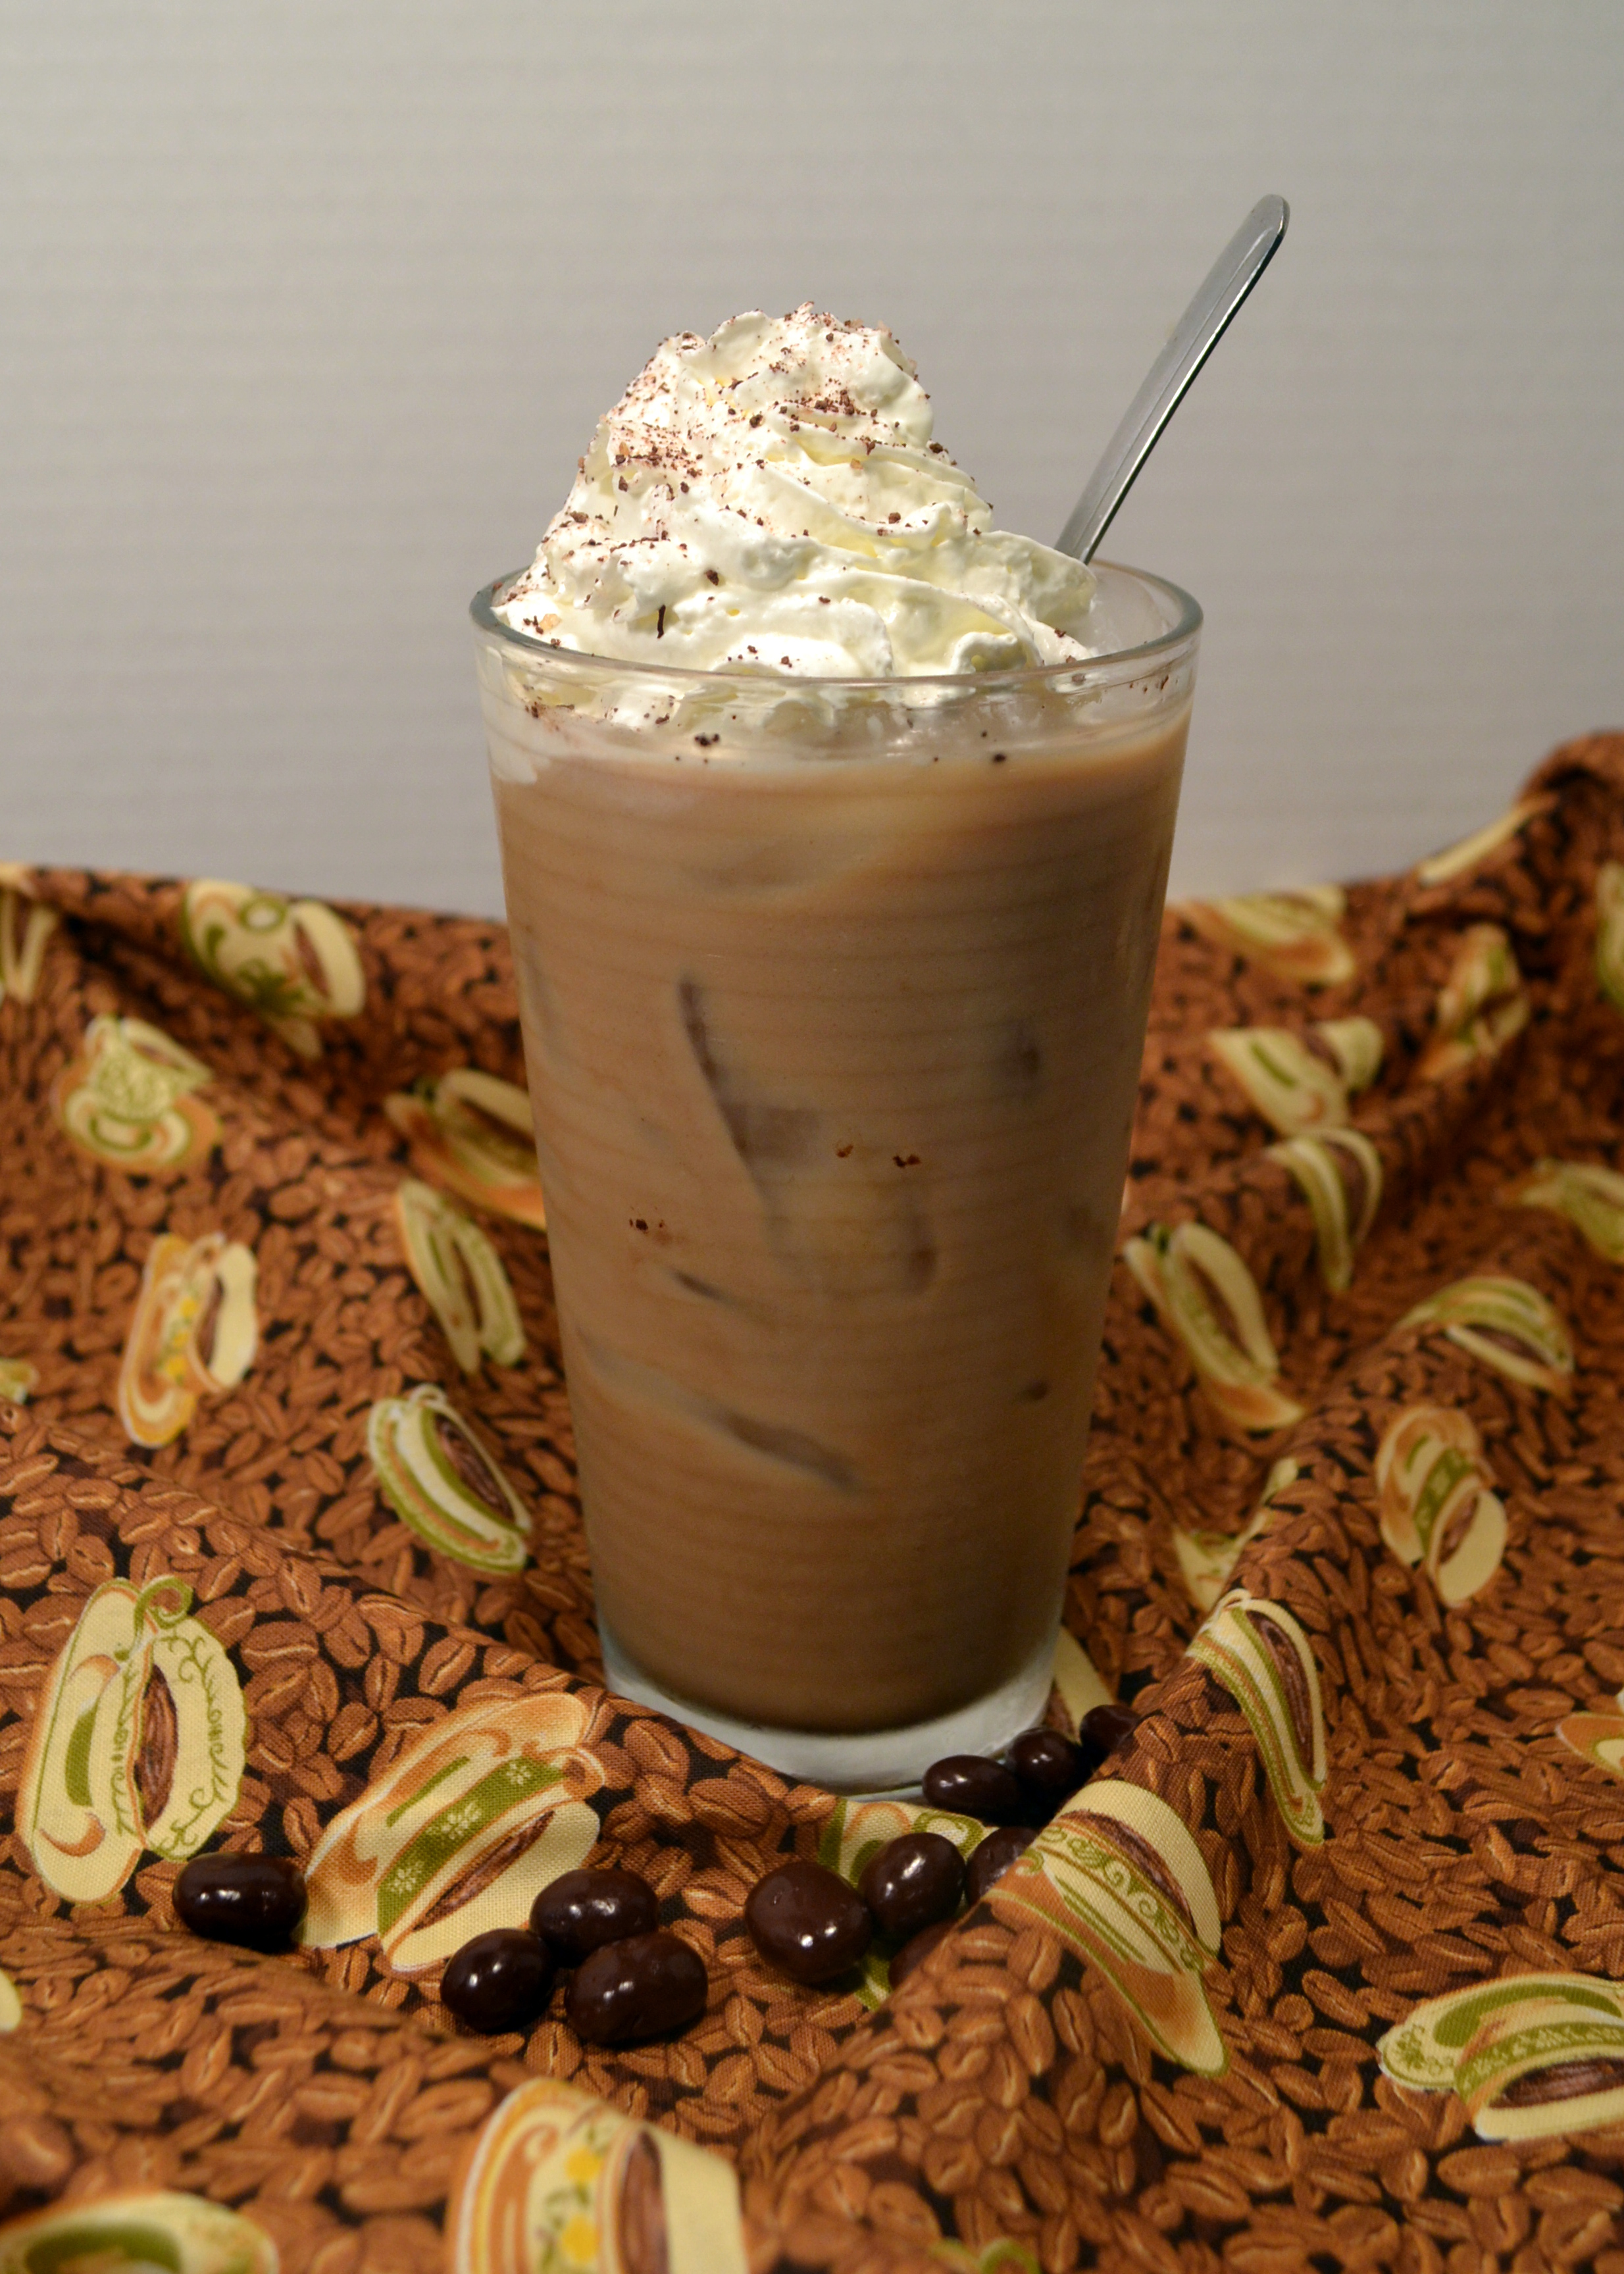
Iced Latte

  • ¼ cup* of Cold Brewed Iced Coffee Concentrate (above)
  • ¾ cup of milk (If you want, you could experiment with the milk.  I use 1 or 2%, but I have heard of others using coconut milk, almond milk, chocolate milk, and of course soy milk. Some even like evaporated milk with a splash of sweetened condensed milk).
  • 4 or 5 ice cubes
  • Optional: sugar (white or raw), Splenda, Torano Syrup (Vanilla and Toffee Nut are favorites), Bailey’s Irish Creme, Kahlua, 1-3 Tablespoons chocolate syrup, Sprinkles (Trader Joe’s has a “Sugar, Chocolate, Coffee Bean Grinder” that’s fun), a chocolate covered espresso bean or mini chocolate chips…
  • whipped cream and a straw (I think these are musts, but some people are a bit more serious and go without!)
  1. Pour the concentrate into the glass.
  2. Add the milk and stir.
  3. Stir in any optional ingredients (sweetener or syrups)  Stir well.
  4. Plop  in some ice cubes. Stir again.
  5. Top with whipped cream, and sprinkles if you’d like (sprinkles, grated chocolate, a dusting of cocoa powder or cinnamon, or even a squirt of chocolate or caramel syrup), and, of course, a straw.

* ¼ cup of concentrate plus ¾ cup of milk seems to please most of my friends (A LOT!), but I do have one friend who doubles the coffee.  She has ½ cup concentrate and ¾ cup of milk. She’s German.  She likes strong coffee.

Thanks for stopping by my kitchen today!  You have in your hands one my favorite recipes. I hope you’ll be enjoying warm weather and iced lattes very soon!

P.S  If you’d like to get an email notifying you of the next recipe I post, please enter your email address in the box to the left. Don’t worry!  I won’t abuse your email address (I don’t know how to, for starters…) or use it for anything other than an occasional, short email notification of a new posted recipe.

11 Feb 2013 Crunchy Oat Clusters / Granola Bars

oat clusters

Sometimes, I don’t want to cook in the morning.  Sometimes I don’t even want to make toast.  I just want a lovely latte (I am always willing to make a latte) and  something on the side, while I casually drink my coffee and read the newspaper in my recliner. Sometimes that “something on the side” is a graham cracker, sometimes a cookie, sometimes  it’s something even more sinful. For a couple of years now, I’ve been thinking I should figure out a breakfast that works with my morning routine. You are probably thinking, fruit, eat fruit! No. Apples and oranges, pears and bananas do NOT go with coffee.  Dried fruit does, but that causes me to…ummm…make rude noises on a frequent basis, so dried fruit is out, too.  Last year I made a lot of granola.  I like granola.  I made some good ones, but eating granola  while balancing coffee and a newspaper is  inconvenient and messy.  I couldn’t get my granola to clump, and I needed clumps, big clumps, clumps like the size of a graham cracker.  Paring it down even more: I. want. crunchy. oat. clumps.  Now there’s a challenge!  Try running “Crunchy Oat Clumps” through a search engine and see what you get.  Not encouraging.

So! I have figured it out myself!  It took a couple of tries, and I pared down a lot of recipes, to get just want I wanted. And, tada! I have them now! Sweet, crunchy oat clumps, sort of like a Nature’s Valley Granola Bar.  My oats are tossed with a bit of butter, a bit of oil, some honey and some corn syrup, all necessary to get the large, crisp clumps and I added in some vanilla and a bit of cinnamon, too, so these oat clumps taste GOOD! They have none of those nasty additives, no preservatives and none of the excessive packaging that processed granola bars have. Score!

Crunchy Oat Clusters

  • 4 cups Old-fashioned oats
  • ½ cup light brown sugar
  • ½ teaspoon cinnamon
  • ¼ teaspoon Kosher salt
  • ¼ cup honey
  • ¼ cup corn syrup
  • ¼ cup butter
  • ¼ cup canola oil (or coconut oil, or vegetable oil)
  • 1 tablespoon vanilla extract
  1. In a large bowl combine oats, brown sugar, cinnamon and salt.  Stir to combine.
  2. In a small sauce pan combine honey, corn syrup, butter and oil.  Bring to a boil.  Reduce heat and simmer for 5 minutes.
  3. While sauce is simmering, line a baking tray with parchment paper.
  4. Remove sauce from heat and pour over the oat mixture.
  5. Pour oat mixture onto a parchment lined baking pan.
  6. With spatula or offset knife, spread oat mixture to an even thickness, and press down slightly.
  7. Place tray into preheated 300° oven and bake for 25 minutes.
  8. Open and turn off oven.  Let oats stay in oven for another hour or so, or until oats and oven are cool.
  9. Remove oats from oven and when completely cool break into pieces.
  10. Store in an airtight container.
  11. Eat whenever.  My son snacks on them after swim practice.  I like them in the morning, with a latte while I read the newspaper, in my recliner 🙂

In am sure these Crunchy Oat Clusters can be gussied up a bit.  You could add some coconut, chopped nuts, dried fruit…, make them yours!  You could probably also substitute real maple syrup for the honey, if you wanted.  You have to keep the corn syrup though (don’t worry too much, the corn syrup you buy at the store is not high fructose corn syrup). As for me, I like them just like this.  Simple, slightly sweet, very crunchy, and full of those good-for-you breakfast oats.

Thanks for stopping by my kitchen today and have a wonderful morning!

11 Feb 2013 Gunpowder Polly’s Wild West Cowboy Steak

cowboy steak bite on fork 2

Last weekend I had a Wild West themed party at my house.  I suggested to my friends that they come dressed as cowgirls, and they did!  They moseyed on over to the Bar –the Trail Mix Bar– to fill their saddlebags with snacks and quenched their thirst at the watering hole.  I wanted the dinner to be Wild West themed, too, and steak immediately jumped to mind as the perfect main dish (I was later to find out that cowboys rarely ate steak, oops!).  Nevertheless, before steak enlightenment,  I set out to find out how to cook steak for twelve, quickly, accurately and indoors in February!  It was easier than I ever imagined, and more successful, too. After steak enlightenment, I was so excited about this easy, easy way to cook delicious steak that I decided to put it on my Wild West menu anyway.  I also served BBQ drumsticks, onion rings, cornbread with a delicious maple-orange butter, and roasted veggies.  OK, so the menu wasn’t exactly authentic, but it did have a Wild West feel to it 🙂 Also, in preparation for this Wild West dinner, I made place mats out of old blue jeans and bought red bandannas to use as napkins!

Now, for the steak.  Buy some really thick steaks.  I used rib-eyes, but any kind is fine as long as the steaks are thick…, over one-inch thick!  When you get the steaks home, dry age them.  This is a crucial step so buy the steaks early in the week.  Take the plastic wrap off the steaks, place them on a rack, and set them in the refrigerator, uncovered, for up to five days.  That’s right, put the steaks on a (baking) rack (with a tray underneath) in the refrigerator, uncovered, for a few days.  THIS, my friend, is the first half of the equation of a delicious steak.  The second half of the equation is the cooking method in the recipe below. This recipe includes the Cowboy Steak rub I used on my steaks, but you can use any favorite rub, it’s the dry-aging process and cooking process that are important.

For most cowboys,  even for the heartiest meat lovers, one-half of a thick rib steak is probably a good serving size.  I served my cowgirls one-third of a steak each. So with that in mind, your 4 thick steaks, with side dishes, will serve 4 football players, 8 men/boys, or 12 lightweights/small women/teenage girls.

Gunpowder Polly’s Wild West Cowboy Steaks  

(cooked in a modern indoor kitchen)

  • 2 teaspoons kosher salt
  • 1 teaspoon black pepper
  • 1 teaspoon Hungarian sweet paprika (regular or smoked paprika can be substituted)
  • 1 teaspoon garlic powder (can substitute onion powder, if you don’t have garlic powder)
  • 1 teaspoon favorite dried herb, many people like thyme, I prefer basil, some like oregano…put in what you like
  • 1 teaspoon ground cumin
  • ½ teaspoon smoked ancho chili powder (or any other chili powder)
  • 1 teaspoon finely ground coffee beans
  • 4 thick bone-in rib eye steaks ( 1 ¼” to 1 ½ thick; each steak weighing 12 to 16 ounces)
  1. Buy your steaks and dry age them in the refrigerator for up to five days.  Remove the steaks from the package.  Place them on a rack.  Place a tray under the rack to catch any possible drips.  Place the steaks, rack and tray in the refrigerator, uncovered, for up to 5 days.
  2. One or two hours before you want to start cooking, remove steaks from refrigerator and bring to room temperature.
  3. Mix  all rub ingredients –salt, pepper, paprika, garlic powder, dried green herb, cumin, chili powder, and ground coffee– in small bowl. Sprinkle approx ½ teaspoon of rub mixture over each side of the steaks, press and rub mixture into meat. Let steaks stand at room temperature 1 hour.
  4. Preheat the oven to 425°.
  5. Get out an oven safe frying pan large enough to fit all steaks (or use two frying pans), put 1T-3T olive oil in the bottom of the frying pan/s and heat (on the stove) until the oil is smoking (but don’t let the oil burn) and the pan is very, very hot.
  6. Keep heat under the pan on high, or medium high if there appears to be imminent danger of fire, and add the steaks to the hot pan.  Do not touch the steaks for the next five minutes.  Let steak cook on high for exactly five minutes.
  7. Turn the heat off.  Quickly turn the steaks over.  Place the still hot pan–with the steaks still in it–into a hot oven. Close the oven door and set the timer for five minutes.
  8. Remove the steaks and pan from the hot oven. Transfer the steaks to a cutting board, cover lightly with foil, and let sit for ten minutes before cutting or serving.
  9. Serve!  You’ll be amazed at how easy it was to cook the perfect medium rare steak.  Your guests will love, love, love the texture and  taste of the steak.  Look at THIS!

My daughter made these delightful cookies for dessert, so fun and tasty! Check her out at Party Girl Cookies or on Facebook 🙂

Here are a few more pictures from my Wild West party, yeeeeHAW!

Thanks for stopping by my Wild West kitchen today!  I hope this recipe becomes a staple in your kitchen, it definitely has in mine 🙂

15 Oct 2011 Pumpkin Spice Coffee

It took two years, but FINALLY, I have a Pumpkin Spice Coffee recipe that is delicious and…, wait for it…, better (yes, BETTER!) than Starbucks’ Pumpkin Spice Latte!  I don’t make this assertion casually.  I had taste tests.  With friends.  Eleven taste testers.  This Pumpkin  Spice Coffee won over Starbucks’ Pumpkin Spice Latte.  The coffee was made with an easy, homemade Pumpkin Spice Syrup. I found the recipe at Budding Baketress (after been tipped off by Foodgawker)!  Thank you, thank you! I made no ingredient changes, I just refined the method.

Now about the taste tests.  We tested a Starbucks Pumpkin Spice Latte, a Latte with Torani Pumpkin Spice syrup, a Latte with this Pumpkin Spice syrup, and coffee with this Pumpkin Spice syrup.  The hands down winner? The COFFEE with this homemade syrup!  The COFFEE!  The Torani syrup Pumpkin Spice Latte was set aside immediately.  Yuck. There is something in that syrup that was just NOT good.  I poured the bottle down the drain.  I wasn’t go to try it in anything else, and I wasn’t going to pass it on to anyone.  I was hoping we would find something close to the Starbucks Pumpkin Spice Latte (because I love, love– correction–loved, Starbucks’ Pumpkin Spice Latte, but after the taste test…the Starbucks version was set aside, TOO!  BTW, have you ever looked at the Starbuck’s Pumpkin Spice Latte?  Taken the top off,  eaten the whipped cream and looked? There is some nasty orange slime floating on top of the latte which is not at all appetizing….but even if there were no slime, homemade Pumpkin Spice syrup would win anyway.  YES, it’s true, bye-bye Starbucks!

Next in our taste testing,  we tried this homemade syrup in a latte, and then in coffee.  The coffee won!  We liked the stronger coffee flavor to compliment the complex pumpkiny-spicy deliciousness.  What a HUGE surprise!

Here is the recipe for the Pumpkin Spice Syrup, and the recipe for a batch of Pumpkin Spice Coffee which can be made to serve at parties, meetings or family get-togethers this fall,.  Of course, the syrup can also be used on a one cup of coffee at a time basis.  I have included directions for all three below.

Pumpkin Spice Syrup for Coffee

  • 1/3 cup pumpkin puree (fresh or canned)
  • 1 cup sugar
  • 1/2 teaspoon vanilla
  • 1 teaspoon cinnamon
  • 1/2 teaspoon nutmeg
  • 1/4 teaspoon cloves
  • 1/4 teaspoon ground ginger
  • 1 1/4 cups water
  1. In a small saucepan, combine pumpkin puree with vanilla and spices.  Stir well to combine.  Add in water, stir well.
  2. Bring pumpkin mixture to a boil. Reduce heat to medium, and simmer, stirring occasionally until it becomes syrup-y and begins to coat the spoon (about 10-15 minutes).
  3. Remove from heat. Cool. Then refrigerate until needed.

To make a batch of Pumpkin Spice Coffee

  • 1 cups of syrup
  • 2 cups of milk
  • 4 cups of very strong, hot, coffee
  • whipped cream, optional
  • sprinkles or ground nutmeg, optional
  1. While the coffee is brewing, heat milk with syrup.
  2. Blend with an immersion blender (or in a blender, or with a whisk).  Can be made ahead and refrigerated until ready to use.  Re-heat and re-blend then continue as directed below.
  3. Stir hot coffee into milk-pumpkin syrup mixture.  (I usually blend a bit more at this point, but it’s probably not necessary).
  4. Pour into cups.  Top with whipped cream, and maybe some sprinkles or ground nutmeg, if desired.  MMMMMMm (You can set a small pitcher of extra syrup out in case some people like a stronger/sweeter Pumpkin Spice Coffee).
  5. Makes approx. 6 servings.

To make one cup of Pumpkin Spice Coffee

This is up to you! Start with a cup of strong, hot coffee.  Stir in 1-2 T. pumpkin syrup, to taste.  Add hot milk, or 1/2 and 1/2 or whipping cream…what appeals to you?  Stir well.  If desired, top with some whipped cream and some ground nutmeg or sprinkles. Remaining Pumpkin Spice Syrup can be stored in the refrigerator.

Thanks for stopping by my kitchen today, and not by Starbucks!  You’ll find it cheaper to make your Pumpkin Spiced Coffees at home. And you might be surprised by how much better they taste, too! I was, and I am a loyal,  long time Starbucks aficionado.