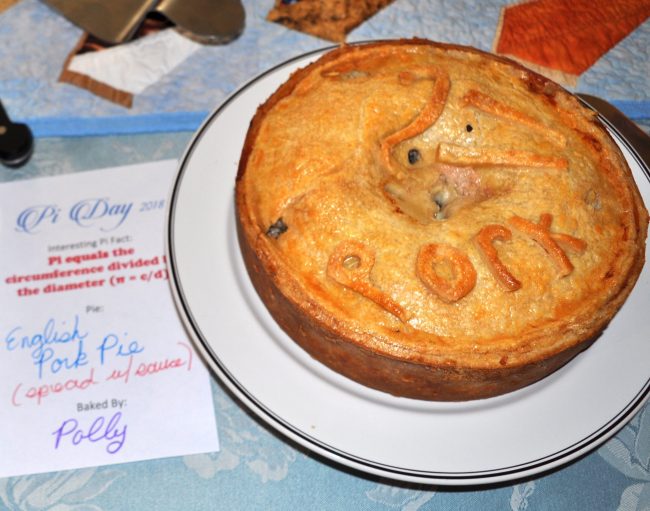
British Pork Pie
Finally! A Pork Pie recipe that is pretty darn good and not that hard to produce! My Dad, a traditional Yorkshire-man, loved pork pies. I really, really wish he were still here to taste my version. To my mind, this…
"It's all about the recipe!"
Finally! A Pork Pie recipe that is pretty darn good and not that hard to produce! My Dad, a traditional Yorkshire-man, loved pork pies. I really, really wish he were still here to taste my version. To my mind, this…
I am so excited about this recipe! It’s a paradigm shift recipe! It’s not a recipe in the true sense of the word, it’s more of a road map to a particular destination. A road map allows for more flexibility…
Photo by Home & Plate I love Honey Baked ham. Love it, love it, love it! But have you heard the definition of eternity? Two people and a ham! Thank goodness I have a panini press for grilled ham and Swiss sandwiches. Thank goodness…
My nineteen-year-old daughter whipped this up for her dinner—over high heat—in her on-campus apartment over the weekend. The firefighters came to call, in their big red truck, with the sirens blaring. She’d set off the smoke alarm—with one pork chop!…
Holy Moly! This recipe delivers in both taste and presentation! The original recipe stated this is a traditional Tuscan harvest dish, but I know I have never run across anything like this before—not that I have ever been to Tuscany…
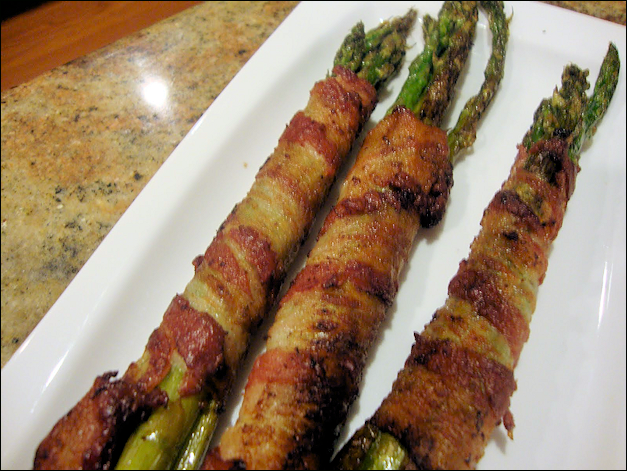
I found this recipe on the Internet this morning, and I ran out to buy some asparagus to try it! Then I hemmed and hawed about posting the link, the recipe, and my pictures. I wasn’t sure the recipe was…
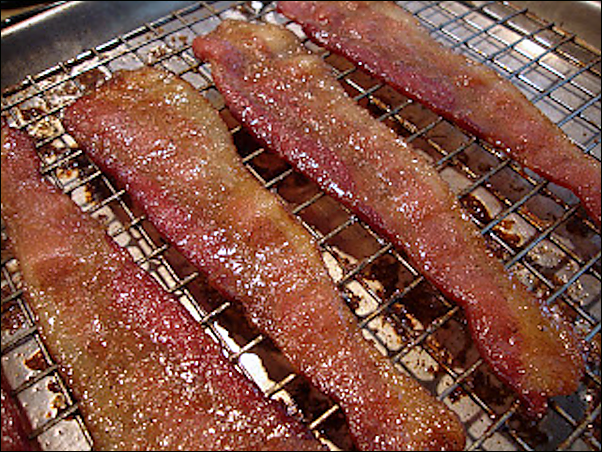
It’s sweet, it’s salty, it’s spicy—we’re talking some serious yumminess here! Take a good quality, thick-sliced bacon, sprinkle it with light brown sugar, cayenne and black pepper, bake until sizzling hot, crispy and sticky—Oh myyyy, YUM. My friend, Jamie said,…