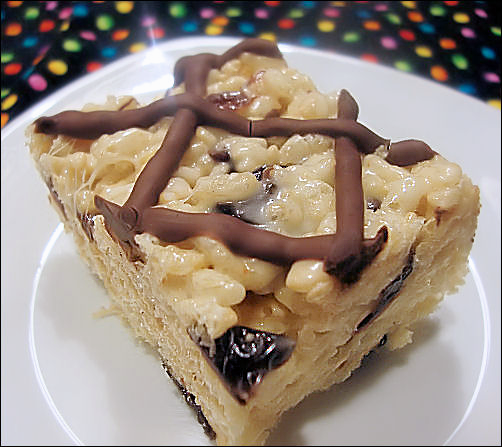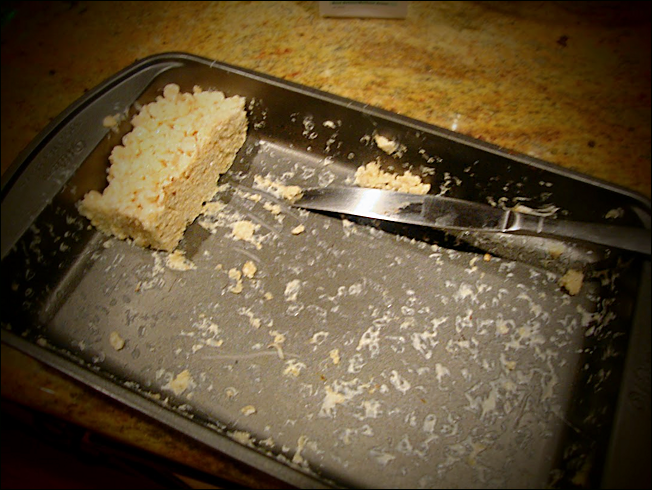
Salted Brown Butter Rice Krispie Treats
In our recent Rice Krispie Treats taste tests, these were definitely the winners! I think they won because they tasted the most like traditional Rice Krispie Treats, but were cranked up a notch, a big notch! The browned butter and the sea…