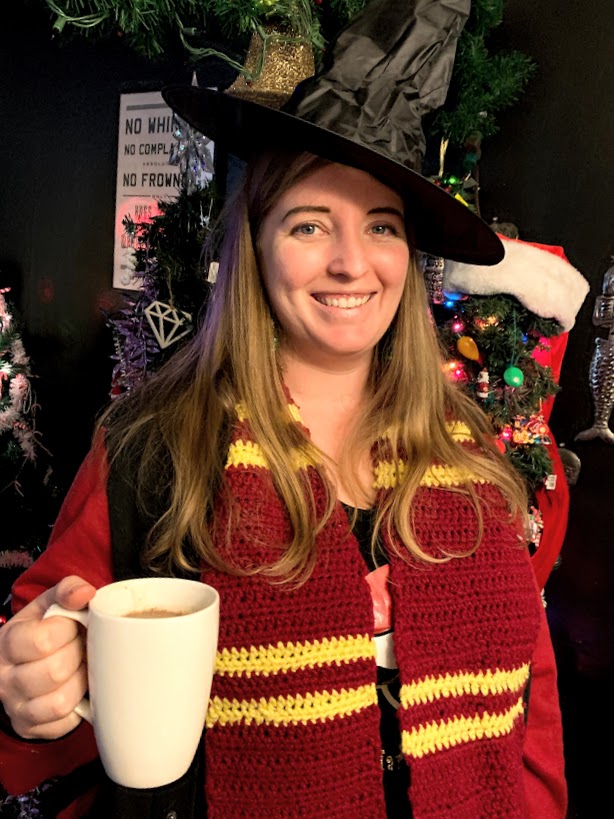
Chai Hot Chocolate For Two
Time to huddle in front of the fire with a good book, a quilt, and a cup of grown up hot chocolate, Chai Hot Chocolate. I think you’ll like this; it’s familiar but different, and it’s lighter than regular hot chocolate.…
"It's all about the recipe!"
Time to huddle in front of the fire with a good book, a quilt, and a cup of grown up hot chocolate, Chai Hot Chocolate. I think you’ll like this; it’s familiar but different, and it’s lighter than regular hot chocolate.…
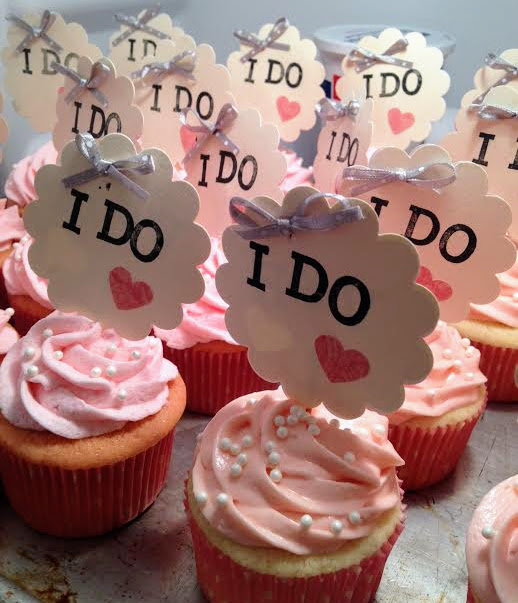
My daughter recently catered a birthday dinner for a very bubbly, champagne loving girl, and she knew that Champagne Cupcakes had to be on the menu! The good news is that these are great cupcakes not only for a birthday dinner,…
Just in time for Valentine’s Day—French Hot Chocolate! This is soooo good, made with real cream and real chocolate, and bearing no resemblance at all to that powdery mix in a paper packet. The serving ritual makes this really special.…
Here’s my wrap-up of In The Kitchen With Polly‘s Top 10 Super Bowl Snacks… Enjoy! Crockpot Bean Dip: A must! Serve with tortilla chips or Frito’s Scoops. It’s easy to mix up the dip the night before, then put in crockpot…
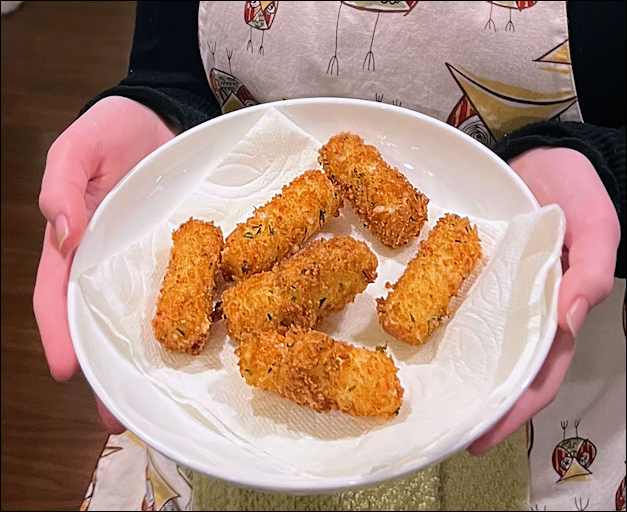
I had no idea it was so easy to fry cheese! I also had no idea fried cheese was so delicious. Dang it. There’s no looking back now, unfortunately. Fried Mozzarella sticks are here to stay and they are my 2011…
Ooooh, Caramel Corn! Isn’t it lovely? You know I am not talking about that stale, pale, powdery stuff out of a bright and cheerful tin, right? I am talking about real Caramel Corn, the homemade variety! Here’s the recipe I use—I think…