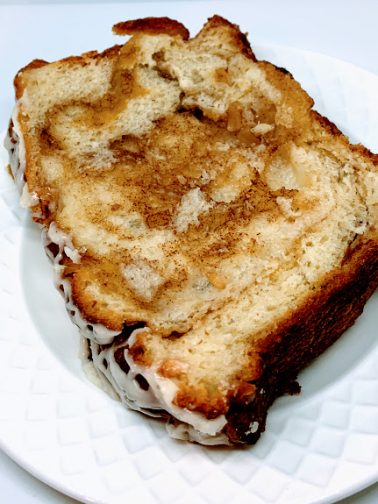
Bread baking is my Everest, meaning I haven’t conquered it yet. I’m not even at base camp so the bread recipes that appeal to me are easy and pretty much foolproof. Here’s one of them! The recipe is easy… I see you shaking your head. Is it because you’ve already noticed the 22 steps? Granted, that seems like a lot, but there are 22 because I broke each step down into tiny increments. You can do this! You can have a loaf of Sweet Apple Bread ready to eat in about two hours! For a fancy, fruit-filled, yeasted bread, that’s a pretty quick turnaround time! The two hours is not all hands-on work either, that time includes two periods of rest for the dough to rise AND the baking time! The resulting product is delicious and impressive. Around here the aroma of this bread baking reliably gets sleepyheads out of bed and ready to face the day with a smile on their faces!
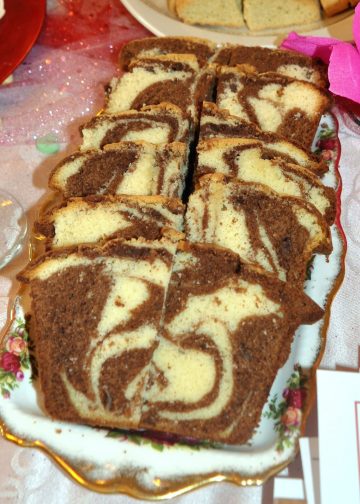
I bake better than the I take pictures.
I didn’t create this recipe; I am not nearly that smart. I found it in Better Homes and Garden, Fall Baking at the same time as my daughter, who found it online. Then I googled it, and the recipe is all over the Internet, so I don’t know who or where it first came from first, but it’s a good one, a keeper, and almost infallible. I did have it fail once, though. I didn’t measure the apples. I wanted more apples and more apples, so I probably ended up with double the apples and one soggy, flat, never-did-bake loaf, so don’t do that! Measure the apples! I have made this bread with both cinnamon and Apple Pie Spice and I prefer it with Apple Pie Spice. If you can’t find it at your local grocery store, order it from Penzey’s Spices.
While looking for this recipe on line, my daughter came across an almost identical recipe made with pumpkin. Unbeknownst to each other, we both made it, on the same afternoon, and we both thought it needed some upgrading, so we’ll work on that. Look for an enhanced pumpkin bread soon but until then, make this one! It’s a winner!
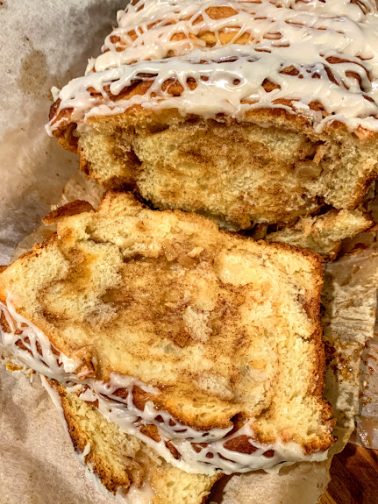
Sweet and Cinnamon-y Apple Loaf
For the dough:
- 3/4 cup milk
- 1 package (2 ½ teaspoons) active dry yeast
- 1 egg, lightly beaten
- 1/4 cup butter, melted
- 2 tablespoons sugar (divided use)
- 1/2 teaspoon salt
- 3 cups (375 grams) all-purpose flour
For the filling:
- 1/4 cup melted or very, very soft butter
- 1 tsp. sugar
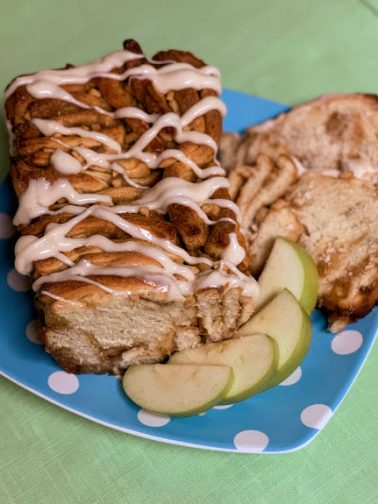
- 1-1/2 cups peeled and finely chopped Granny Smith apple (usually one very large apple)
- 3/4 cup (75 grams) packed brown sugar
- 2 teaspoons Apple Pie Spice or Cinnamon
For the icing:
- 2 ounces cream cheese, softened (optional)
- 1 cup powdered sugar
- 1/2 teaspoon vanilla
- 1 to 2 tablespoons milk
- In the microwave, heat milk until just until lukewarm, approx. 105°F to 115°F, about 30-60 seconds, depending on the wattage of your microwave.
- Combine warm milk, yeast, and ½ tsp of sugar in small bowl. Stir until yeast is dissolved. Let stand 5 minutes.
- In bowl of electric mixer combine egg, 1/4 cup melted butter, the rest of the granulated sugar, and salt. Beat for 30 seconds.
- Add yeast mixture to egg/butter mixture. Beat with mixer on medium until combined.
- Add half the flour to mixture in bowl. Beat on low 30 seconds, scraping bowl as needed, then beat for 3 minutes on medium.
- Stir in remaining flour. Beat for another 2 minutes or so.
- Shape dough into ball (dough will not be smooth).
- Place dough in greased bowl; turn once to completely grease surface of dough.
Note: To make ahead: prepare as directed up to this step. Do not let dough rise. Cover bowl and refrigerate for up to 24 hours.
- Cover the dough with greased plastic wrap and let rise in warm place until nearly double in size 45 to 60 minutes (longer if dough has been refrigerated).
- Grease 9×5-inch loaf pan, or line with parchment paper.
Note: Here comes the tricky part but it just sounds as if it’s tricky. Don’t stress it at all. The measurements are just approximate. Even the number of slices in the stacks are approximate. Eyeball everything! Have fun with it! Do. Not. Stress! This is a free-form bread. You can’t make a mistake. Go for it!
- Turn dough out onto lightly floured surface. Roll dough into 20×12-inch rectangle (approximately, jagged edges are no problem).
- Brush dough with 1/4 cup melted or very soft butter then sprinkle with 1 tsp. white sugar.
- In a small bowl, combine chopped apples, brown sugar, and apple pie spice or cinnamon. Sprinkle this mixture equidistantly over the dough.
- Cut the dough rectangle in half lengthwise to make two 20×6-inch strips (approximately)
- Cut each strip vertically into five 6×4-inch strips.
- Carefully make 2 stacks of 5 strips each. Cut each stack lengthwise into three 4×2-inch pieces.
- Now lift the stacks, and loosely stagger stacks in pan, cut sides up. You’ll have to push and pull to make all stacks fit. This is not a problem. Lightly push down on dough to fill corners and level the top of the loaf.
- Cover loaf with greased plastic wrap and let rise in warm place until nearly double in size (40 to 45 minutes).
- Preheat oven to 350°F. Bake loaf for about 45 minutes or until golden brown and an instant-read thermometer inserted near center registers 200°F.
- Cool in pan 10 minutes.
- In a medium mixer bowl combine ingredients for icing: room temperature cream cheese, powdered sugar, and vanilla. Beat on medium speed until smooth. Beat in enough milk to make a glaze of drizzling consistency. (NOTE: I usually make the icing without the cream cheese)
- Remove loaf from pan and drizzle with icing. Cool at least 20 minutes more before eating (but bread will keep well for a few days).
Thanks for stopping by my kitchen today! Happy baking!