Strawberry Sandwiches
I have never seen a recipe published for this sandwich, but it’s one of my favorites—probably because it’s more like a dessert than a sandwich! I have my demons, and all of them are sweet 🙂 I first encountered this sandwich…
"It's all about the recipe!"
I have never seen a recipe published for this sandwich, but it’s one of my favorites—probably because it’s more like a dessert than a sandwich! I have my demons, and all of them are sweet 🙂 I first encountered this sandwich…
The Drunken Monkey Cake—my third cake from All Cakes Considered by Melissa Gray. The directions were bothersome again, but I (mostly) made it as directed the first time 😉 This recipe resulted in a cake that was too moist (probably too…
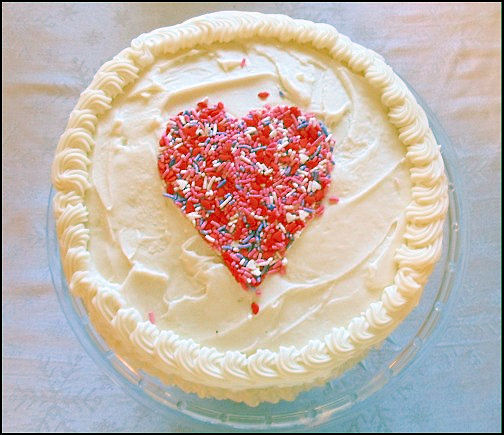
I have been in a funk all week—I made two more cakes from that book I was all aglow about last weekend, and I’m no longer glowing 🙁 First off, I wanted to try the Red Velvet cake recipe; the…
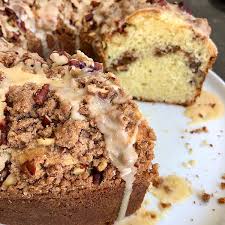
Bake this! It’s yummy. Not too sweet. Classic coffee cake. Goes well with coffee. Very well. A nice Sunday breakfast or mid-morning snack. Or both. Winner, winner, winner! My son likes the two-day old leftovers so much he’s taking them back…
Depending on where you live, you may or may not have a proliferation of “Pho” restaurants in your community. If you do have a Pho restaurant nearby, I encourage you to try it out. You’ll be rewarded with a huge bowl of…
Brussels sprouts ruined every Thanksgiving and Christmas dinner for the first thirty years of my life. It was a rule, in my parents’ house, that everyone had to eat one Brussels sprout at Thanksgiving dinner and another at Christmas dinner. I…
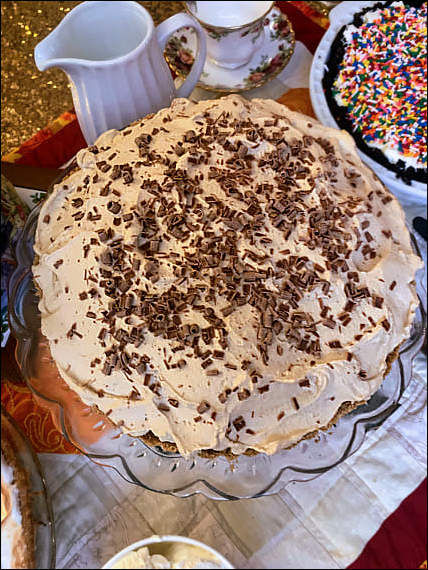
Banoffee Pie! You’ve heard of it, right? Toffee, bananas and coffee flavored cream in a pastry crust? There are more to British desserts than Trifle, Spotted Dick, and Sticky Toffee Pudding, you know! This pie took the British Isles by…
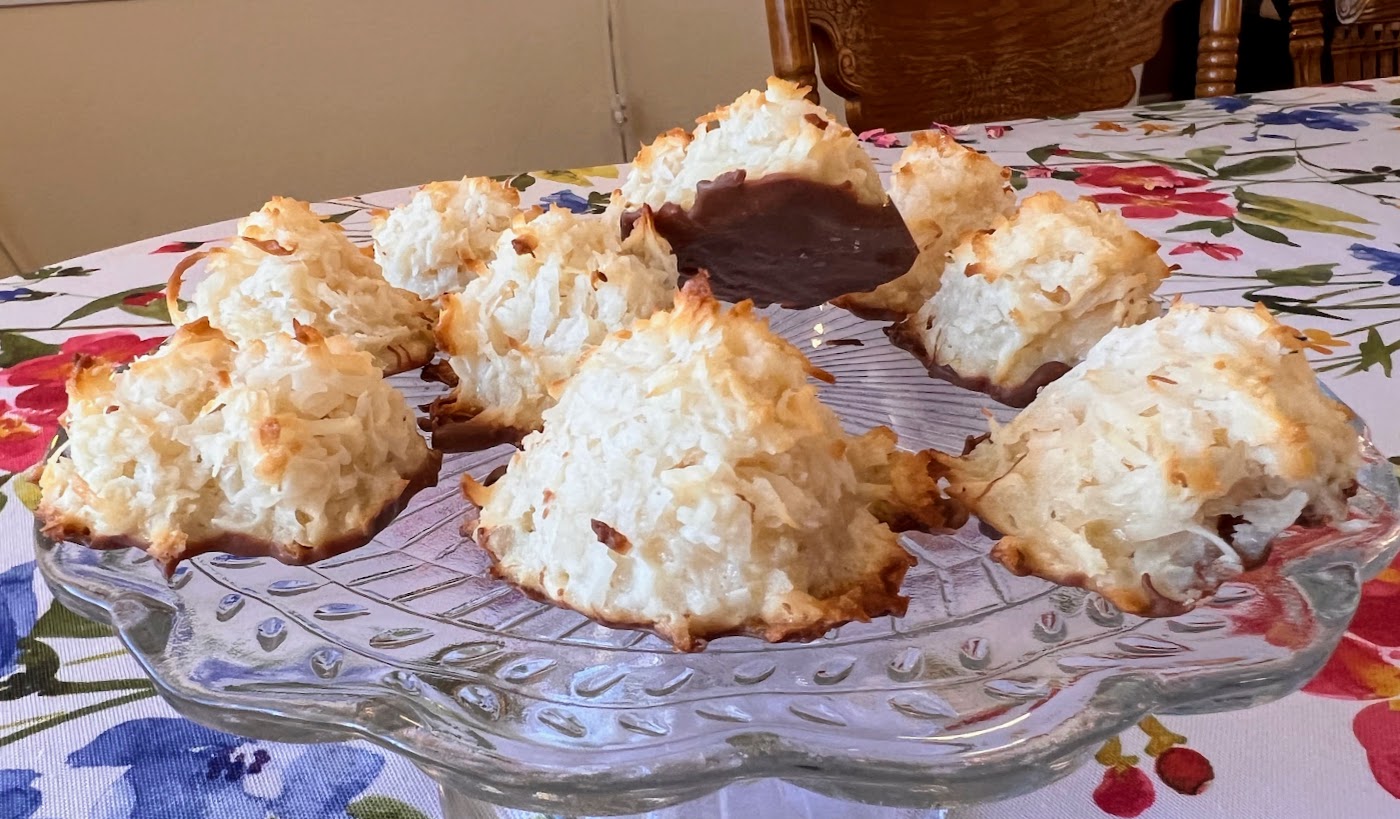
Ever had a Bounty Bar? If you are a coconut lover, I sure hope you have! Mounds bars and Almond Joy are ok in a pinch, but if you are a serious coconut lover, search out a Bounty Bar! It’s an English…