

|
Category: Breads, Breakfast & Brunch, Muffins
| | One Comment
I love muffins and I love all things coconut. I can’t think of anything better on a cool Sunday morning than a warm coconut muffin, a hot latte, some social media, an old fashioned magazine or newspaper, jammies, fluffy slippers…
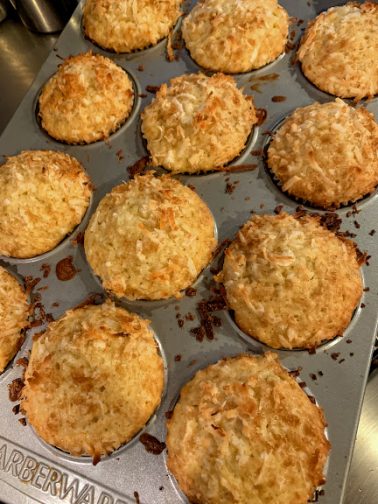
This recipe makes 12 delicious muffins. The muffins are dense and sweet, the top is crunchy, the banana and coconut combination is heavenly. These muffins keep well on the counter for a few day. Warm muffins today, room temperature muffins tomorrow. Yes, please.
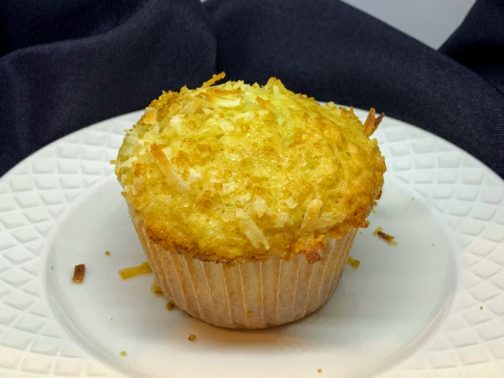
Coconut-Banana Muffins
- 2 cups all-purpose flour (250g)
- 1 ½ teaspoons baking powder
- ½ teaspoon table salt
- 1 cup mashed very ripe bananas (probably about 3 small/2 large bananas)
- ¾ cup butter, melted
- 1 cup sugar
- 2 eggs
- 1 teaspoon vanilla
- ½ teaspoon coconut extract (optional, but a nice to have. Rather than running around all over town for coconut extract, I order on-line)
- 1 cup sweetened flaked coconut (divided use)
- 1-2 tablespoons granulated or coarse sugar
- Line a muffin tin with 12 paper muffin cup liners.
- Preheat oven to 375 degrees.
- Whisk together flour, baking powder and salt and set aside.
- In another bowl whisk together mashed bananas, melted butter, sugar, egg, vanilla, optional coconut extract, and ¾ cup sweetened flaked coconut.
- By hand, fold flour mixture into mashed banana mixture and stir until just combined and all flour has been moistened. Don’t overmix.
- Portion batter into the 12 prepared muffin tin.
- Sprinkle each muffin with a bit of the remaining ¼ cup coconut and a sprinkle of granulated or coarse sugar.
- Bake muffins at 375 degrees until muffins are puffed and golden, about 25 minutes.
- Cool slightly before serving.
Thanks for stopping by my kitchen today. See you again soon!


