What rock have I been hiding under? Up until a few hours ago, I had no idea that Paddington Bear loves marmalade. A quote from Paddington Bear himself, “A wise bear always keeps a marmalade sandwich in his hat in case of emergency.”
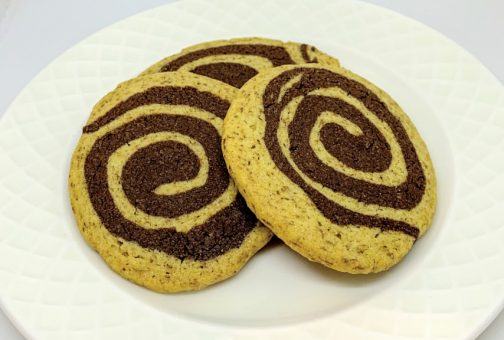
My enlightenment came when I offered one of these cookies (previously known as “Jam Slices” to my daughter). My daughter took one bite and said, “The kids (my grandkids) will love these.” Whaaa? I gave her my ‘You’re crazy’ look and deadpanned “They have marmalade on them”. She then gave me her ‘You’re crazy’ look and said, “They love Paddington Bear and Paddington Bear loves marmalade. They’ll love these cookies.”
It was not on my radar that Marmalade might make a comeback by way of the children of Millennials! With high hopes, I quickly renamed these cookies “Paddington Cookies”! I hope that they are a hit with the younger set as well as the older set.
The original recipe is from The Food Network’s “Holiday Cookie Cookbook”. I made two changes to the recipe and refined the method, so the FN’s “Jam Bars” are now much improved and have a much cooler name.
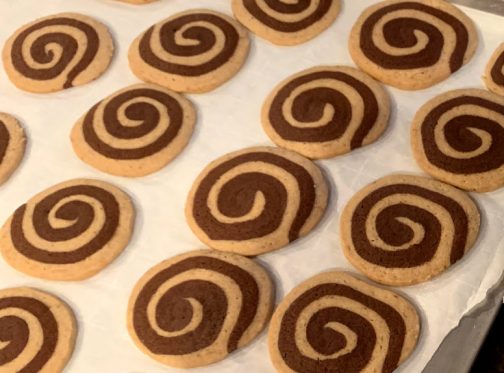
Paddington Cookies (Marmalade Bars)
- 2 cups (250 grams) all-purpose flour
- ½ teaspoon baking powder
- ¼ teaspoon table salt
- 1 ½ sticks (12 tablespoons/6 oz) unsalted butter, at room temperature
- ½ cup + 2 Tablespoons sugar
- 1 large egg, lightly beaten
- 1 teaspoon vanilla
- Finely grated zest of one orange
- 4 to 6 tablespoons marmalade
- A few tablespoons powdered sugar
- Line 2 baking sheets with parchment paper and preheat oven to 375 degrees.
- Whisk the flour, baking powder and salt in a medium bowl and set aside.
- Beat the butter and sugar in a large bowl with a mixer on medium-high speed until light and fluffy, 3 to 5 minutes.
- Beat in the egg, then the vanilla and orange zest.
- Reduce the mixer speed to low; add the flour mixture and beat until just combined (the dough will be very soft and a bit hard to work with in the next step).
- Divide the dough into 4 pieces and put 2 pieces on each prepared baking sheet. Shape each piece into a 12-by-1-inch log, about 3 inches apart.
- Using the handle of a wooden spoon, press a 1/2-inch-deep indentation down the middle of each log. Refrigerate until firm, about 30 minutes.
- Scoop the marmalade into a piping bag or into the corner of a Ziplok bag. Cut the corner of the bag off. Slowly squeeze the marmalade out of the bag, carefully filling the indentations. If you need more marmalade, no problem. Just refill bag and pipe onto cookies as needed.
- Place pans in preheated oven and bake until golden brown, 20 to 25 minutes.
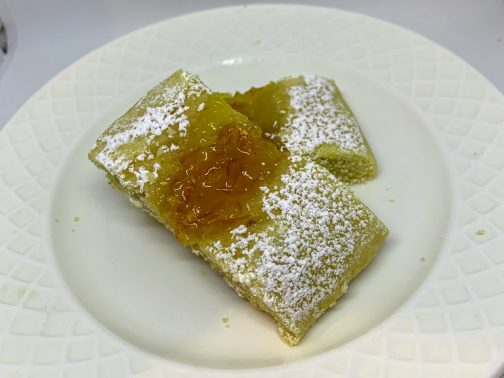
- Let bars cool completely on the baking sheets, then transfer the logs to a cutting board and slice crosswise into 1-inch-wide cookies.
- Dust with powdered sugar
Thanks for stopping by my kitchen today!