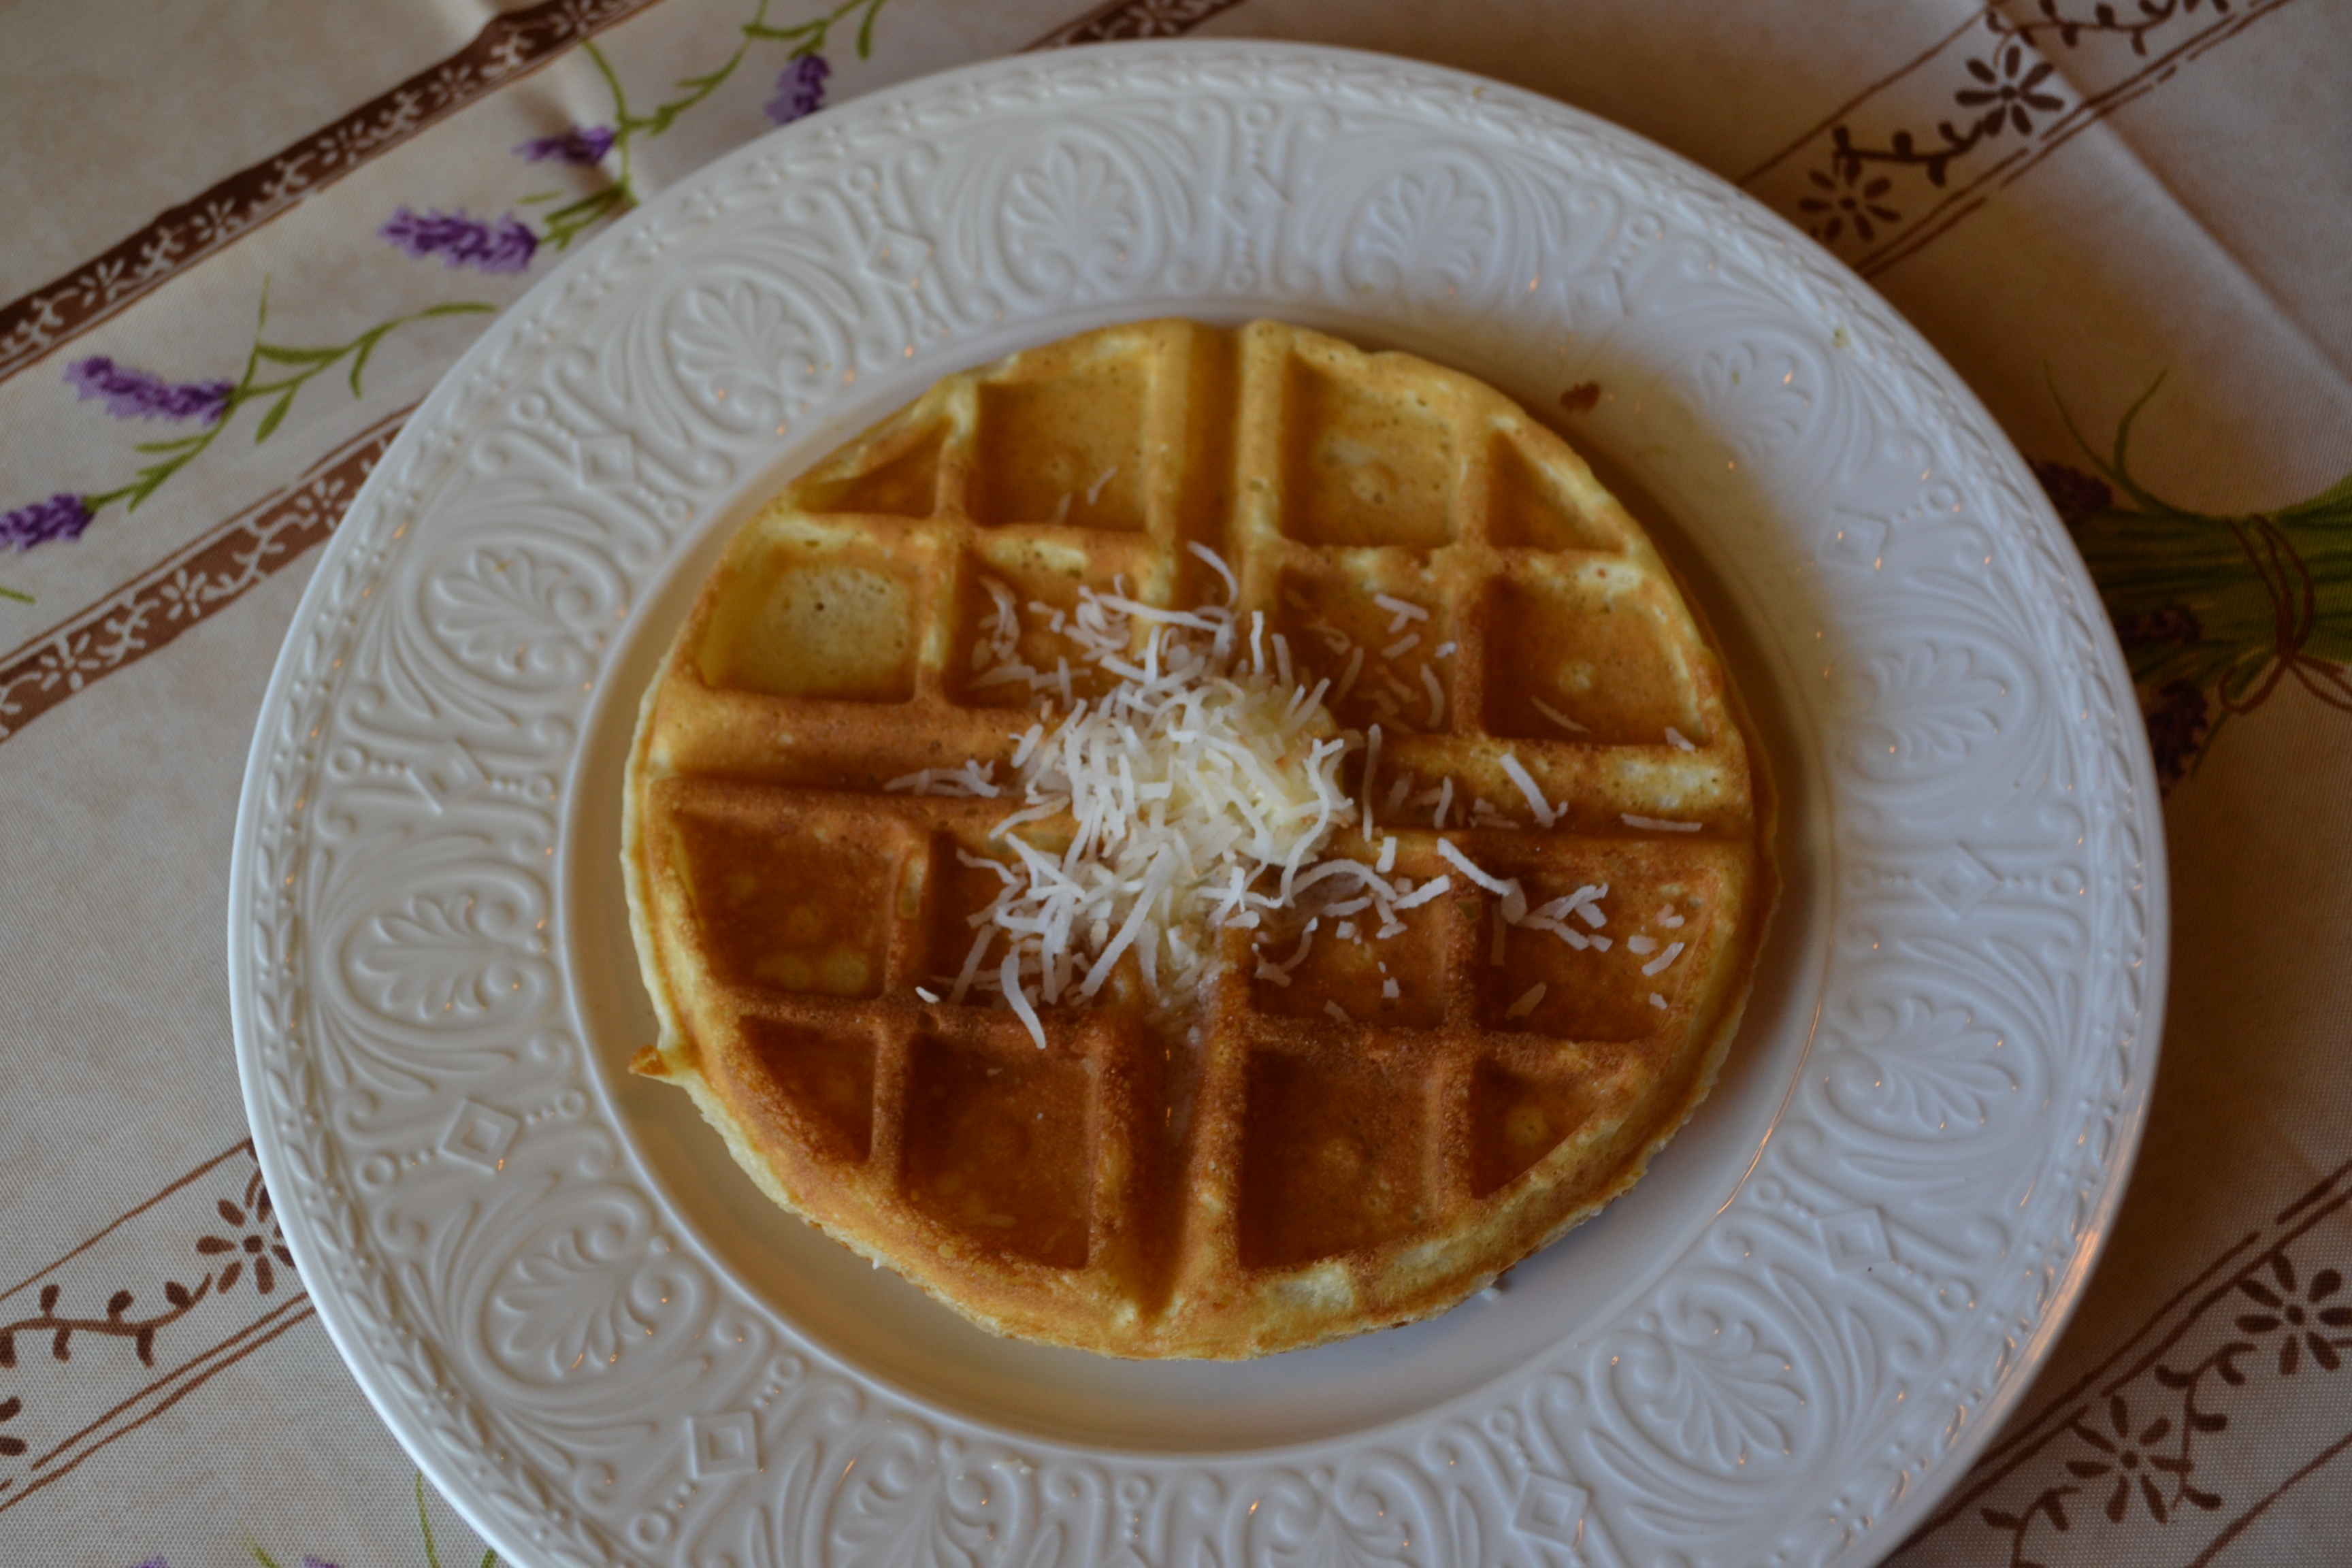
 They taste like a tropical vacation! I liked them with butter and apricot jam. My kids were hollering for pineapple, mango, and some toasted nuts but I gave them what I had on hand, maple syrup and whipped cream (poor, poor deprived children). I cut this recipe out of a Bon Appetit magazine in December, 2013 but didn’t make them until July 2014. I’m glad I don’t clear my refrigerator of assorted clippings and notes and pictures all that often, and I am glad I saved this recipe for seven months! The note above the recipe states the recipe is from Elmwood Cafe in Berkeley. I wonder what they serve them with… You’ll need some coconut oil for this recipe. I don’t think it affects the taste much, but I think it adds to the delightful crunch. I did make one change to the recipe, I reduced the amount of toasted coconut. Only ¾ cup of toasted coconut is incorporated into the batter, but the recipe stated to toast 1 ½ cups, using the extra ¾ to sprinkle on top of the cooked waffles, that’s way too much coconut for sprinkling, an extra ¼ cup will do you. I toasted the coconut and mixed up the dry ingredients before I went to bed, which made Sunday morning a bit easier. I just had to stir in the eggs, milk, and coconut oil and heat up the waffle iron. The batter made 7 large, round waffles (which leaves some for us to throw in the toaster tomorrow morning). Word of advice, if you like waffles, and want to enjoy them on a regular basis, get two waffle irons. The horrible thing about waffles is that it’s hard to get everyone a hot waffle at the same time. Two waffles irons solves this problem–unless you have a really large family and need three waffle irons… It goes without saying that you have to like coconut (and the Hawaiian mojo) to like these waffles. But who doesn’t like coconut…, or Hawaii!? Toasted Coconut Waffles, take me awayyyyy. . . .
BTW, my notoriously picky 5 year old grandson, who at last count eats only 27 different foods (he has some sort of selective eating disorder), ate half a waffle and told me it was GOOD. Hooray! I might be making these on a regular basis now, especially since scrambled eggs, a long time favorite, has slipped off of his list. I just might have this recipe committed to memory by next month 🙂
Toasted Coconut Waffles
- 1 cup shredded coconut (original recipe specified unsweetened, but I didn’t have any, so used sweetened coconut)
- 1 ½ cups all-purpose flour
- ½ cup cornstarch (yes, my eyes popped, too. Not a misprint. On-half a cup of cornstarch!)
- 1 teaspoon kosher salt
- 1 teaspoon baking powder
- ½ teaspoon baking soda
- 2 large eggs
- 1 cup buttermilk (or soured milk)
- 1 cup whole milk (I had whole milk on hand, so I used it, but I am sure 2% would be fine, too)
- 2/3 cup coconut oil, melted
- ½ cup sugar (use 2 tablespoons less if you are using sweetened shredded coconut)
- The original recipe said to preheat oven to 400°F, toast coconut on a rimmed baking sheet until golden brown, 2 minutes. then let cool. I find it easier to toast the coconut in a dry frying pan over medium heat. Just keep stirring and then watch closely. Once the coconut is a nice golden brown remove it from the pan and let cool on a plate.
- Whisk flour, cornstarch, salt, baking powder, and baking soda in a large bowl (I did this the night before, covered, and left on counter).
- Whisk eggs, buttermilk, milk, oil, and sugar in a medium bowl. Whisk buttermilk mixture into dry ingredients (do not over mix). Mix in ¾ cup coconut; set aside remaining ¼ cup coconut for sprinkling on waffles.
- Heat a waffle iron until very hot.
- Ladle approx 2/3 cup of batter onto hot waffle iron, close lid, and cook waffles until golden brown (each waffle iron is different, but usually 4-6 minutes).
- Serve topped with your choice of toppings: butter, syrup, apricot/pineapple jam, diced fresh bananas/mango/pineapple, toasted pecans, whipped cream and reserved coconut.
Thanks for stopping by my kitchen today. I hope you I’ll be offering up some recipes on a more regular basis now. I am home from an extended European vacation and pretty much convinced that what I make at home is better than anything anywhere else 🙂