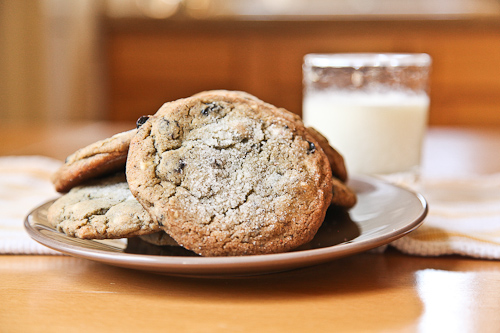
Blueberry Chip Cookies
Hey world, there’s a new cookie on the plate! It’s sort of like a chocolate chip cookie—it has all the best elements of a chocolate chip cookie—it crunches like a chocolate chip cookie, and is crisp around the edges and…
"It's all about the recipe!"
Hey world, there’s a new cookie on the plate! It’s sort of like a chocolate chip cookie—it has all the best elements of a chocolate chip cookie—it crunches like a chocolate chip cookie, and is crisp around the edges and…
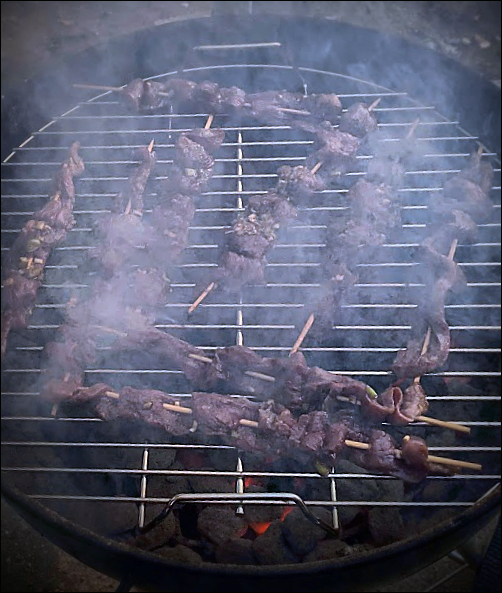
Meat on a stick! Is there anything better? When I was pregnant with my first child, my cravings were iced tea, tomato soup, and “tasty chunks of beef”! Twenty-six year later, I still crave tasty chunks of beef! This is a very…
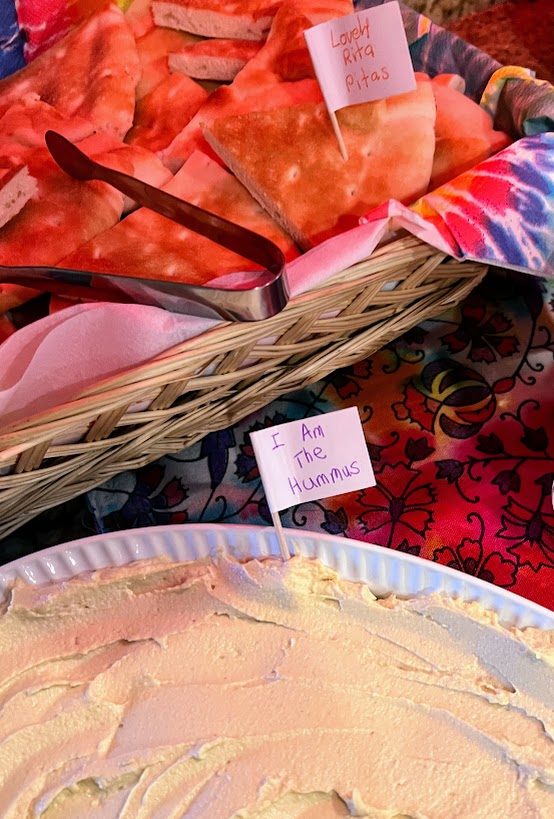
Traditional Arabic hummus—how do I know its traditional? Because I learned how to make it from my Saudi and Kuwaiti students in 1981 and 1982. I watched how they made it, wrote everything down, and have followed the recipe ever since. Well,…
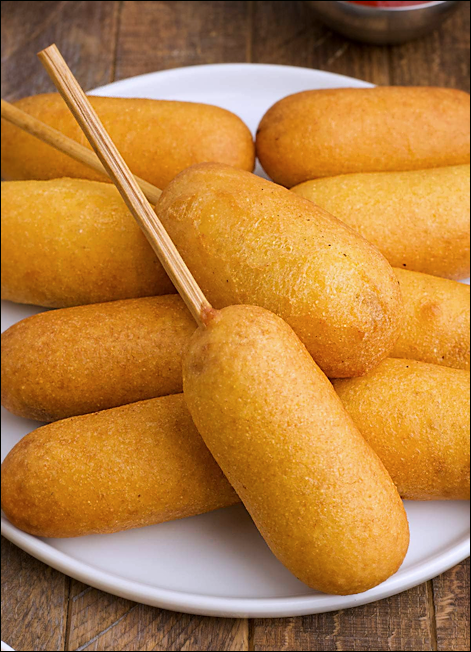
I am sooooo bad. I KNOW I shouldn’t cook like this. I know it, I know it, I know it! But I did. And my little experiment turned out too wonderfully well 🙂 Who knew homemade corn dogs were so easy to make?! I…
Harry Potter 2011—a flash from the past! My 20-year-old twins have tickets to the midnight show—of course they do. They were in second grade when I read the first book to them. Next thing I know, we’re at a bookstore at…
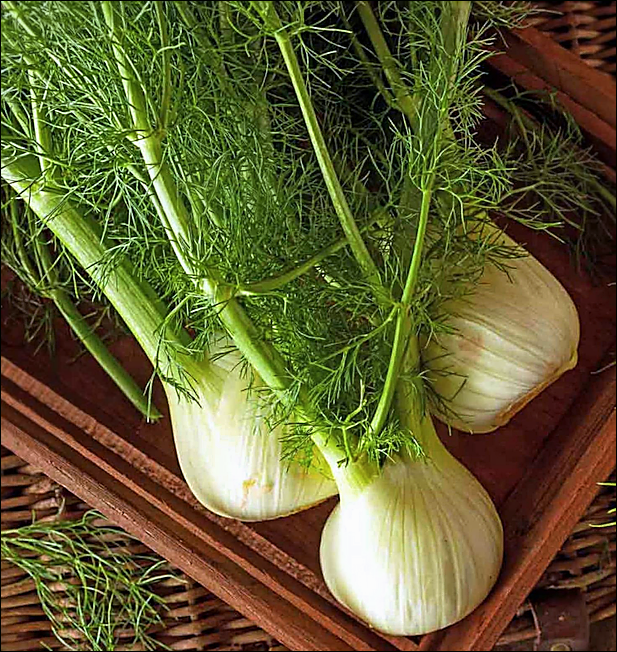
Ever eaten raw fennel? Time to start! And here’s a fabulous recipe to start with: Raw Fennel and Apple Salad. It’s easy to make and it’s shockingly good. I say shockingly because everyone I coerce into trying it has been…