Every good English roast dinner needs Yorkshire Puddings and gravy. My aunts made Yorkshire Puddings like it was nothing. They just whipped them out, popped them in the oven, and every one turned out perfectly. Not so for me. To my embarrassment and annoyance—I am Yorkshire born after all—it’s taken me years to get them right, sigh.
I think I have it right now though. I still believe my tagline, “It’s all About the Recipe”, is true, but for Yorkshire Puddings, the technique is a bit more critical than for many other recipes.
Hints and Tips:
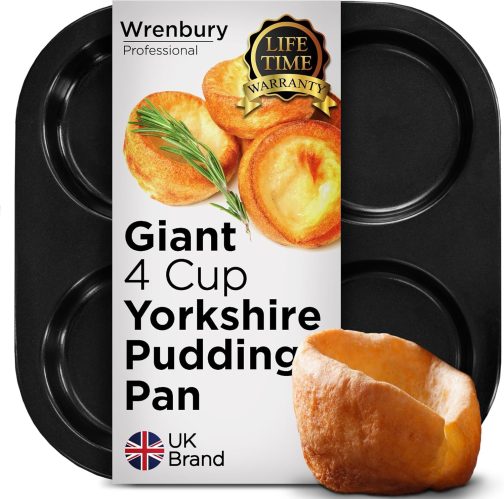
A real Yorkshire Pudding pan is very helpful. Below is a picture of a Yorkshire Pudding pan available from Amazon, but it’s a bit on the expensive side—it might be more cost effective to just fly over the pond and pick some up, ugh.
Don’t let not having a Yorkshire Pudding pan put you off! Americans can use popover pans and muffin tins quite successfully. The plus about using a popover pan is that the Yorkshire Puddings are much more dramatic! The narrower tin results in a much higher puff, as this picture from Serious Eats demonstrates.

Plan ahead. The batter needs to rest, and the Yorkshires must cook for 25 minutes and then be served immediately. Make the batter ahead. Let it rest for at least 30 minutes at room temperature, and for up to a two hours.
Do not overmix. Mixing the batter with a paddle attachment for an electric mixer is fine. Beating the batter with a wooden spoon—like my Aunts did—is fine. Mixing the batter with a whip attachment or in a blender or food processor is not fine, no, no, no.
Hot, hot, hot. Pans and oil must be hot, hot, hot when adding the batter.
Do not open the oven door to check on your Yorkshires. Not under any circumstances. Well, I guess if the oven is on fire and your Yorkshires are already burnt and inedible—that would be okay 🙂
Yorkshire Puddings are a must with Christmas Dinner!

Polly’s Yorkshire Puddings
Perfected, finally.
Makes about 12 Yorkshire Puddings. We eat 2-3 each, but newbies will probably only want one (to start)
INGREDIENTS
- 1 cup, 125 g all-purpose flour (weighed)
- ½ teaspoon kosher salt
- 1 cup whole milk
- 1 cup of eggs, LOL, yes! Crack them into a measuring cup which is usually about 4 eggs.
- Fat or oil, the fat must have a high burn point so don’t use butter, drippings from your roast, olive oil, corn/canola oil, or coconut oil all work.
- 2 Tablespoons ICE COLD water, added at the last minute
DIRECTIONS
- Beat the flour and milk together.
- Beat the eggs together then gradually add to the flour and milk mixture.
- Pour the batter into a pitcher to make the next steps more convenient.
- Cover the batter and let sit for at least 30 minutes, up to 2 hours.
- Preheat oven. 450° for a regular oven, and 425° for a convection oven.
- Prepare your the pans. Spray lightly with Pam, then add a scant ½ teaspoon of fat or oil to each indentation/cup.
- Put the prepared pans in the oven to get hot. Oil should be almost sizzling when batter is poured in.
- Stir the ice-cold water into the batter.
- Working very quickly, remove the hot pans from the oven—CLOSE THE OVEN DOOR!—and pour batter into each indentation. Fill the cups between 2/3 to 3/4 full. Quickly return the filled pans to the oven.
- Set the timer for 10 minutes.
- After 10 minutes reduce the convection oven to 325° and the regular oven to 350° WITHOUT OPENING THE DOOR!
- Set the rest of the food on the table, have your guests find their seats.
- Cook Yorkshires for an additional 12-15 minutes. Check on them by peeking through the glass in the oven door. The Yorkshires should be puffed and a nice toasty brown—lacking an oven window, say a little prayer and pull them out at 15 minutes.
- Remove hot, puffed and beautiful Yorkshires from oven, release from pans, and serve immediately. Pass gravy on the side—a must.
Serve the traditional way with roast beef, gravy, mash and three veg 🙂