Tag: Thanksgiving
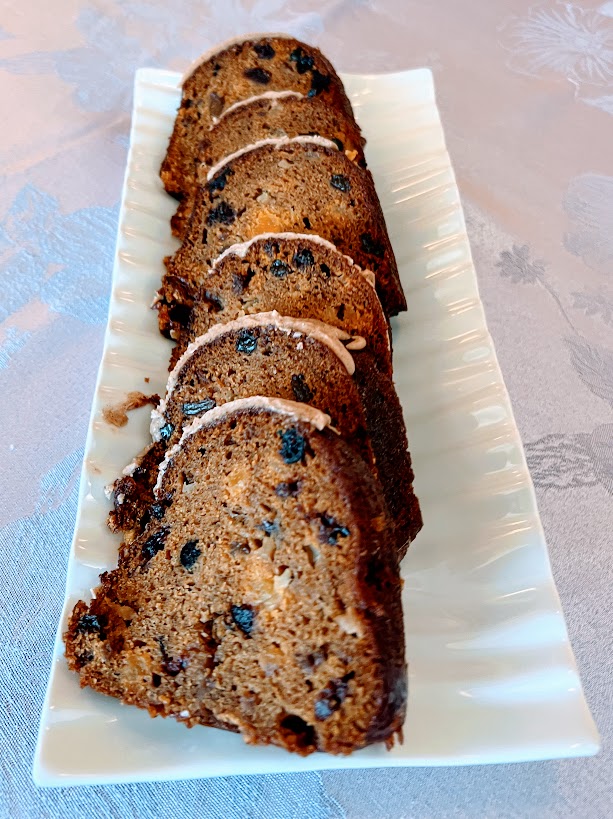
Fruity Pumpkin Bundt Cake
This bundt cake is moist, pumpkin rich, studded with 2 cups of dried fruit and nuts, with a splash o’ rum, a hearty heap o’ cinnamon and topped with an orange-cinnamon glaze—what’s not to like?! I’ve been making this cake…
Potatoes Baked in Cream
Did the name of the recipe entice you click on this?! Well then, that makes us friends forever! When my friends from Southern France were staying with us, they offered to make a side dish for dinner. They didn’t use a recipe. They…

Pumpkin-Chocolate Cake
This is the BEST cake to serve at this time of year (or any other time of the year, actually)! It’s a good chocolate cake – a very, very good chocolate cake; it’s moist, and nicely chocolate-y, and made richer with some pumpkin…

Pumpkin Roll
One of my friends has been making these for years. I was intrigued by her pictures posted on Facebook of roll, after roll, after roll lined up along her kitchen counter, and then the comments from a number of people…

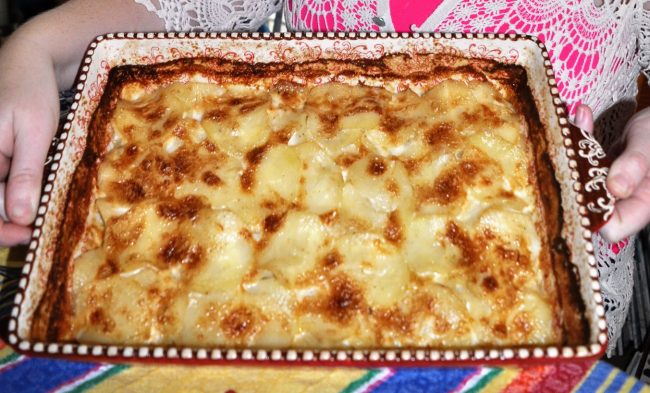
Polly’s Mac n’ Cheese
Yep, I’m totally claimin’ it—Polly’s Mac n’ Cheese! I’ve been promising to post this recipe forever, but I’ve held off because it’s impossible (for me anyway) to get a good picture of Mac n’ Cheese! And the issue is partly…
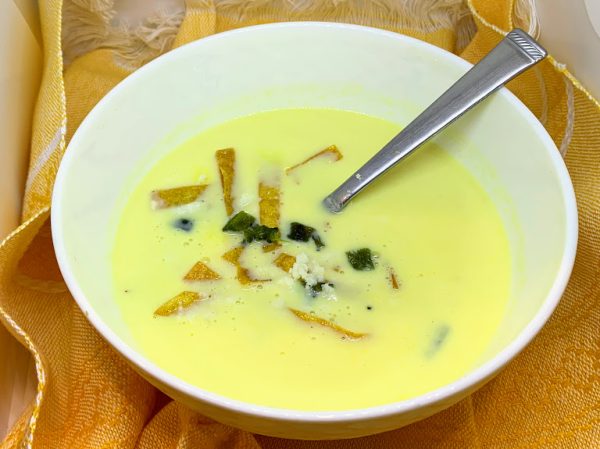
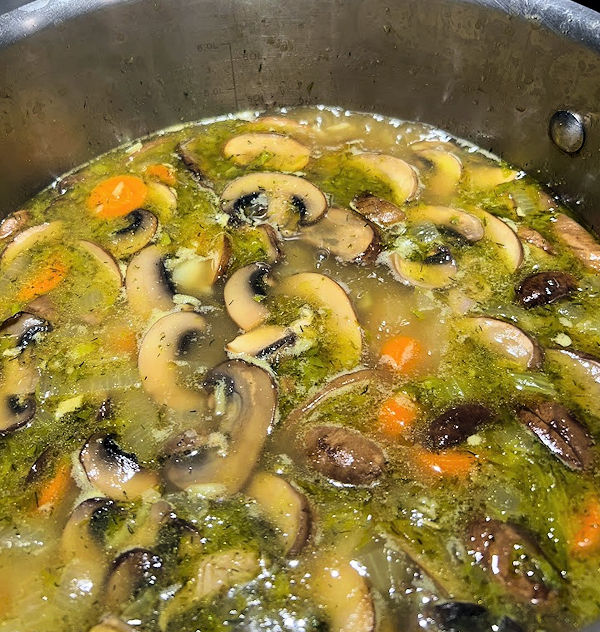
Fresh Corn Soup
This is such a plain and simple recipe, it’s hard to believe such a good tasting soup comes out of it! The ingredient list for this soup is so ordinary that it’s hard to imagine the exceptional taste. Been there,…

Homemade Eggnog for Eggnog Lattes
Years ago I had my first Eggnog Latte at Starbucks and Eggnog Lattes quickly became my favorite seasonal treat. They are rich, creamy, slightly spiced, slightly sweet, and caffeinated. A warm sip of heaven in a cup, sigh. Having a…