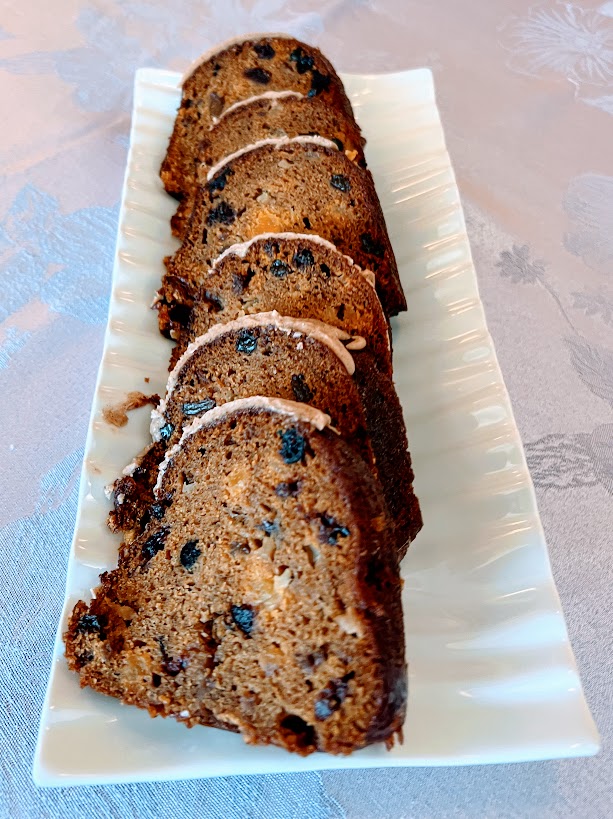
Fruity Pumpkin Bundt Cake
This bundt cake is moist, pumpkin rich, studded with 2 cups of dried fruit and nuts, with a splash o’ rum, a hearty heap o’ cinnamon and topped with an orange-cinnamon glaze—what’s not to like?! I’ve been making this cake…
"It's all about the recipe!"
This bundt cake is moist, pumpkin rich, studded with 2 cups of dried fruit and nuts, with a splash o’ rum, a hearty heap o’ cinnamon and topped with an orange-cinnamon glaze—what’s not to like?! I’ve been making this cake…
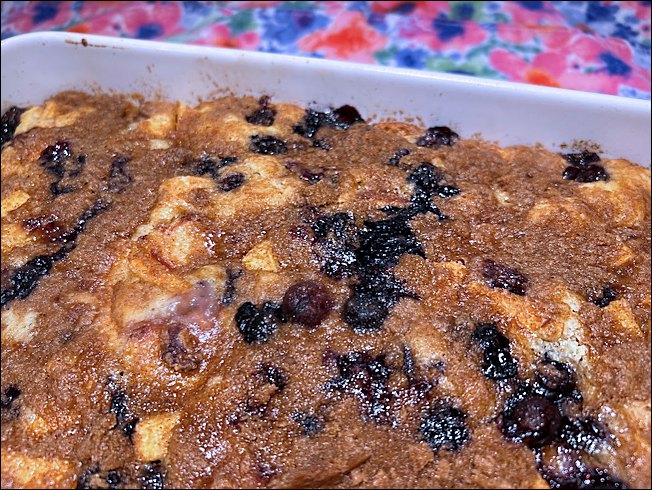
I adore coffeecake. Coffeecake is served warm, so it’s comforting and can be served directly from the pan it was baked in. It doesn’t have frosting, so it’s not too-too overly sweet. It’s communal, shouting out to be shared with…
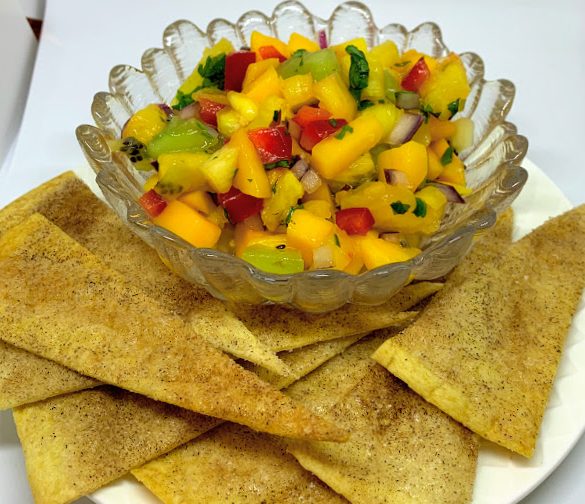
The biggest issue with this dish is when to eat it! Is it a dessert? Appetizer? Snack? All three work, but I think the best is a quiet summer afternoon on the porch with a chilled beverage of choice. Tropical…
This is the BEST cake to serve at this time of year (or any other time of the year, actually)! It’s a good chocolate cake – a very, very good chocolate cake; it’s moist, and nicely chocolate-y, and made richer with some pumpkin…
Bread baking is my Everest—meaning I haven’t conquered it yet! I’m not even at base camp so the bread recipes that appeal to me are easy and pretty much foolproof 🙂 Here’s one of my favorites! The recipe is so…
I love New York style coffeecake. For years I have had in mind the perfect New York style coffeecake, and I have tried many recipes in my search to produce that coffeecake. What I have in mind is a 1:1…
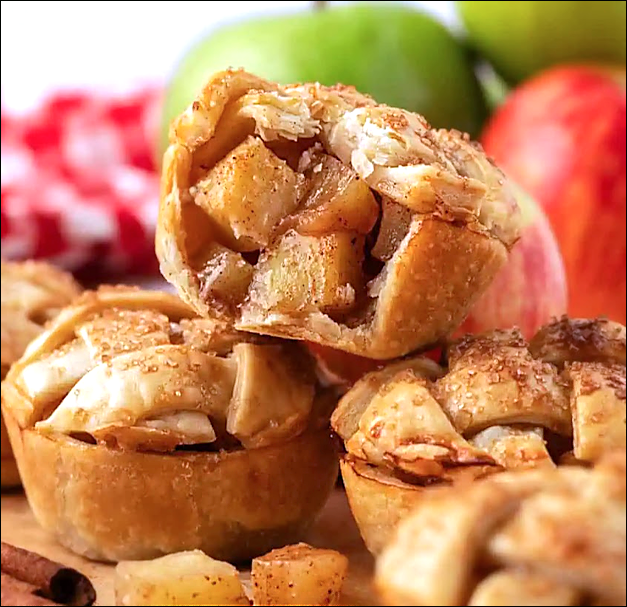
I hear mini pies are all the rage now. Bye-bye cake pops and chocolate with bacon; hellooooooo mini pies! Here’s a great recipe with which to start. Having made this recipe a few times, I now know a few things…
Photo by Home & Plate I love Honey Baked ham. Love it, love it, love it! But have you heard the definition of eternity? Two people and a ham! Thank goodness I have a panini press for grilled ham and Swiss sandwiches. Thank goodness…