Fruity Pumpkin Bundt Cake
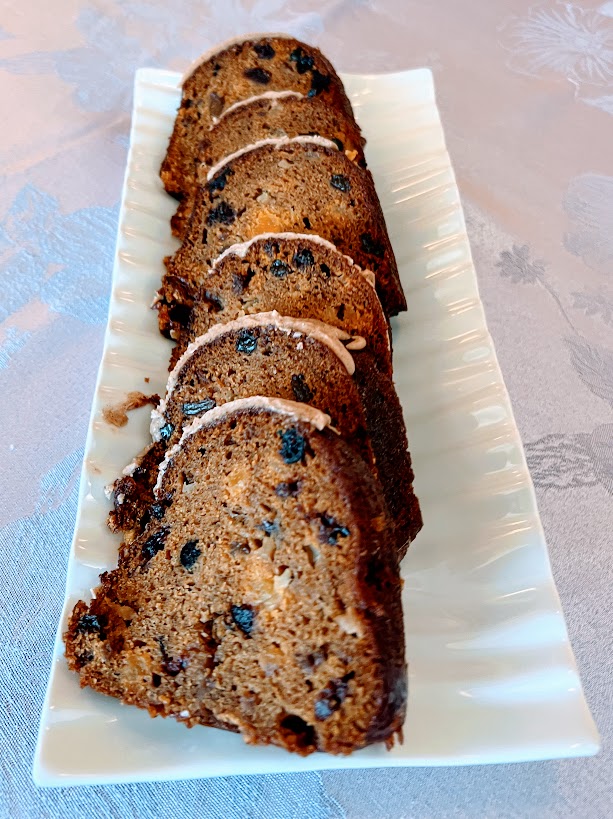
This bundt cake is moist, pumpkin rich, studded with 2 cups of dried fruit and nuts, with a splash o’ rum, a hearty heap o’ cinnamon and topped with an orange-cinnamon glaze—what’s not to like?! I’ve been making this cake…
"It's all about the recipe!"
This bundt cake is moist, pumpkin rich, studded with 2 cups of dried fruit and nuts, with a splash o’ rum, a hearty heap o’ cinnamon and topped with an orange-cinnamon glaze—what’s not to like?! I’ve been making this cake…
This cookie tastes much, much better than it looks. It also tastes much, much better than it’s list of ingredients. Take a bite; trust me! There’s a layer of peanut butter inside! As one of my friends said, one who shall…
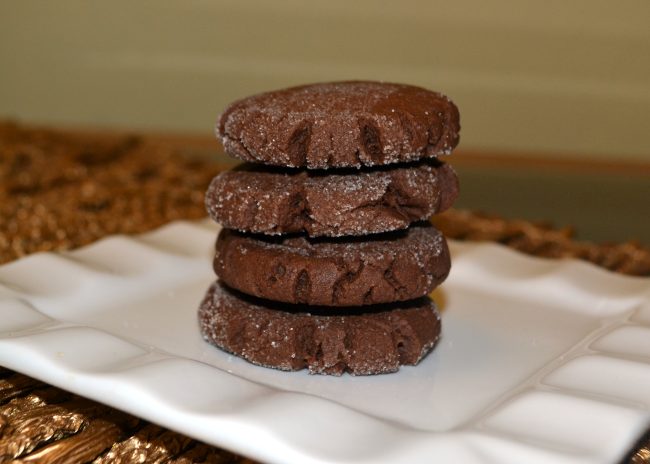
This is the BEST cake to serve at this time of year (or any other time of the year, actually)! It’s a good chocolate cake – a very, very good chocolate cake; it’s moist, and nicely chocolate-y, and made richer with some pumpkin…
It’s that time of year—let the fall baking commence! I’ve started with these Pumpkin Spice Latte Biscotti, my entry for my cookbook club’s ‘Pumpkin Dessert Showstopper Challenge‘ last year—sometimes we act like we are contestants on the mythical ‘Great American…
This recipe is from the back of the bag of Reese’s Peanut Butter Chips. The cookie is fabulous! It’s like a peanut butter cup in cookie form 🙂 My daughter made these cookies for a Back of the Box themed Cookbook…
One of my friends has been making these for years. I was intrigued by her pictures posted on Facebook of roll, after roll, after roll lined up along her kitchen counter, and then the comments from a number of people…
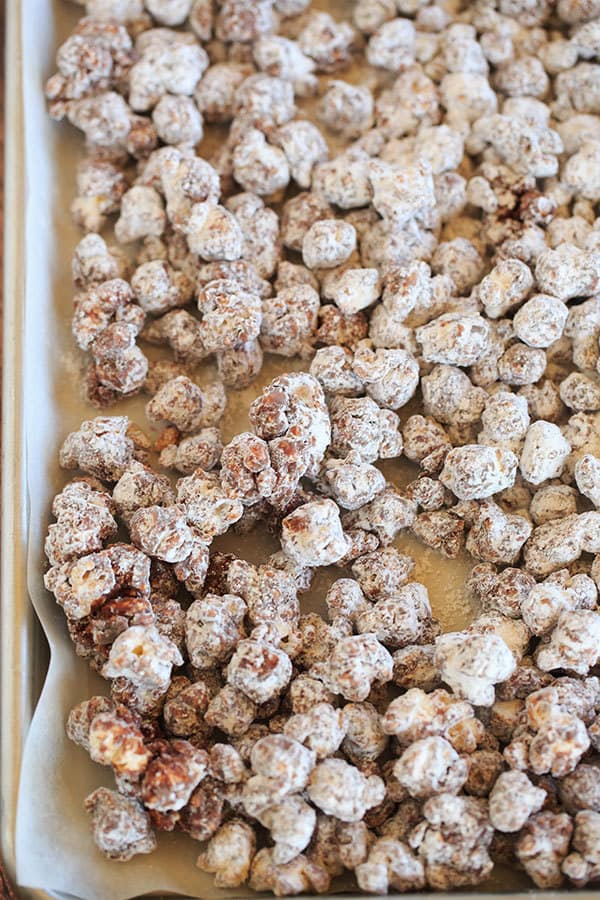
This recipe is almost the same recipe as Muddy Buddies, but using popcorn instead of Rice Chex! It’s a cinch to pull together, and it’s melt-in-your mouth delicious 🙂 I mean, seriously addictive. I am pretty sure you have all…
Just in time for Valentine’s Day—French Hot Chocolate! This is soooo good, made with real cream and real chocolate, and bearing no resemblance at all to that powdery mix in a paper packet. The serving ritual makes this really special.…