Tag: Light Lunch
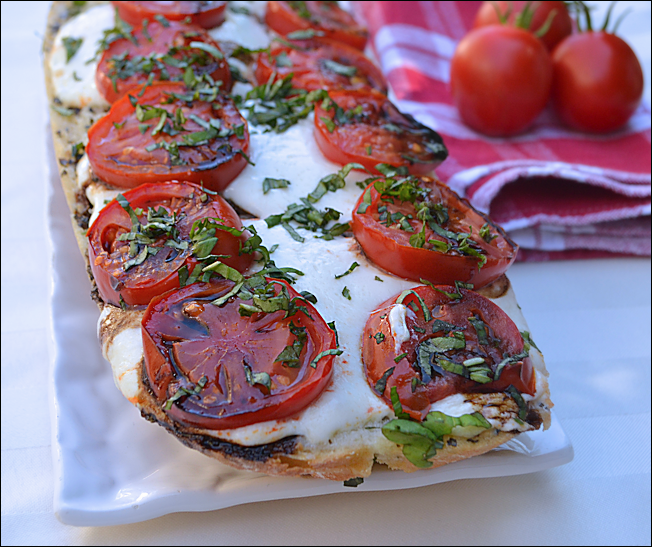
Fresh Tomato Tart
My neighbors and Facebook friends have been asking for recipes to use up their tomatoes. I have two good ones. The Fresh Tomato Lasagna that I posted earlier this week, and this Fresh Tomato Tart were a staple at our…
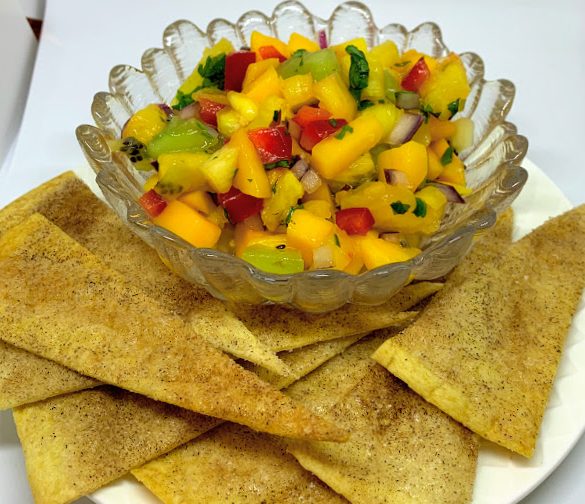
Tropical Fruit Salsa with Cinnamon Tortilla Chips
The biggest issue with this dish is when to eat it! Is it a dessert? Appetizer? Snack? All three work, but I think the best is a quiet summer afternoon on the porch with a chilled beverage of choice. Tropical…
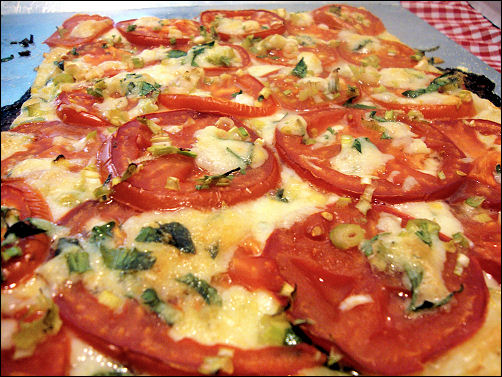
Caprese Garlic Bread
It’s just garlic bread, folks, but it’s garlic bread with an upgrade! There are tomatoes, mozzarella and basil! After running across this recipe at Two Peas and their Pod, I decided I needed to make it—now! I quickly sent texts to a few friends…

Raspberry-Ricotta Snack Cake
Delicious, light and moist, unassuming and satisfying. It’s good for breakfast, it’s good for a light dessert, and it’s good for an afternoon tea or snack. It’s good for company, it’s good for a family treat, and it’s good for…

Peach Iced Tea
This tea, as is, is not too sweet, and definitely has a pronounced peach flavor; it’s like Snapple Peach Iced Tea, only better! Make the big-batch peach base to keep in the freezer and you’ll be able to whip up…

Quesadilla Pie
I definitely need a better picture. Looking for something new for lunch? I have the perfect thing! This lunch has to be baked, so it’s a great fall-winter recipe. I found it at Simply Recipes awhile back—picture cred to Simply Recipes,…