Sparkling Watermelon Lemonade
Last family BBQ of the season? I wish I had posted this recipe as a season opener so that we could have had enjoyed this drink throughout the summer, but at least it is posted in time for the last…
"It's all about the recipe!"
Last family BBQ of the season? I wish I had posted this recipe as a season opener so that we could have had enjoyed this drink throughout the summer, but at least it is posted in time for the last…
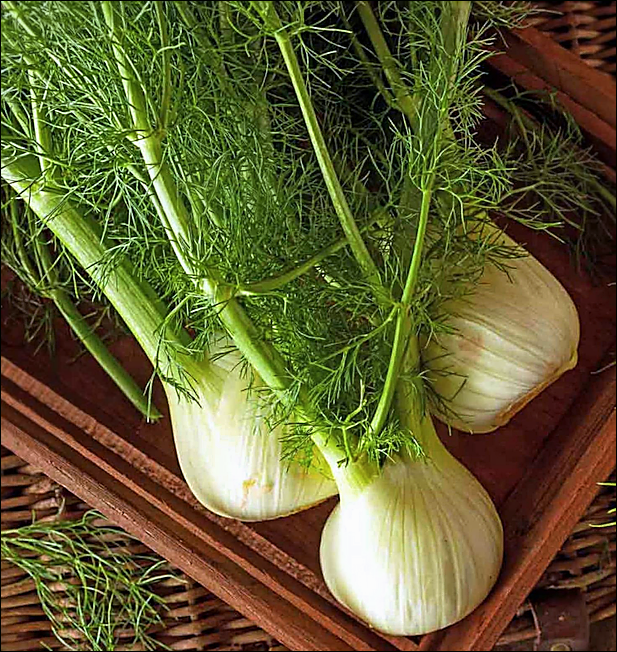
Ever eaten raw fennel? Time to start! And here’s a fabulous recipe to start with: Raw Fennel and Apple Salad. It’s easy to make and it’s shockingly good. I say shockingly because everyone I coerce into trying it has been…
I have never seen a recipe published for this sandwich, but it’s one of my favorites—probably because it’s more like a dessert than a sandwich! I have my demons, and all of them are sweet 🙂 I first encountered this sandwich…
Depending on where you live, you may or may not have a proliferation of “Pho” restaurants in your community. If you do have a Pho restaurant nearby, I encourage you to try it out. You’ll be rewarded with a huge bowl of…
Poached Pear Salad is ideal for any fancy meal and also be good for a light lunch when paired—peared! now there’s a joke in the making—when paired with a sandwich or quiche, baked potato or flat bread, pizza or a…
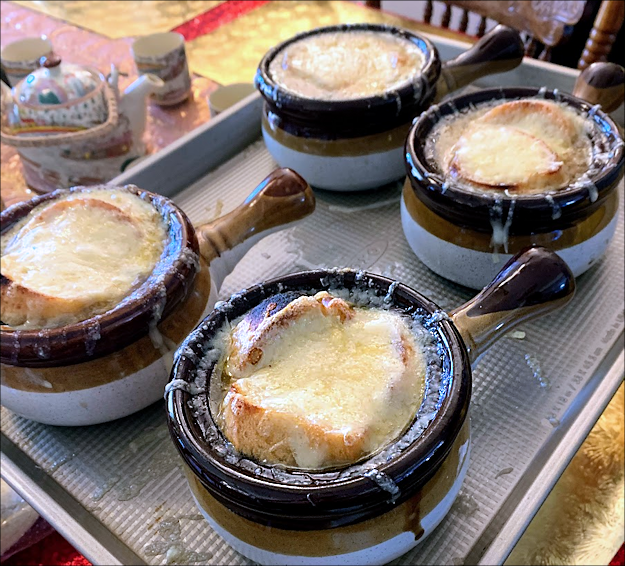
As a newlywed, and married to a man who owned a copy of Mastering the Art of French Cooking, French Onion Soup was one of the first things I learned how to make well—thank you, Julia Child—and one of the…
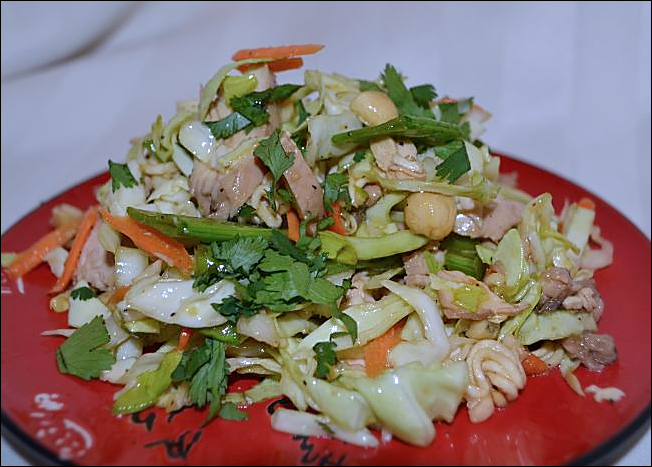
Chinese Chicken Salad: it’s crisp, tasty, and refreshing! My version is made with cabbage, two kinds, which hold up better than lettuce—lettuce is boring, and in almost every other salad—how many chances do you have to eat raw cabbage? Not…
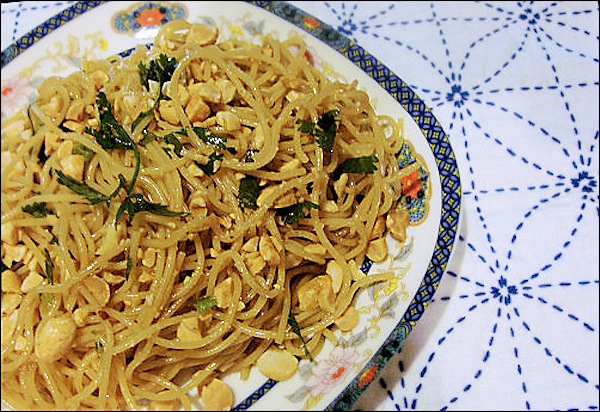
Chinese Pasta Salad? Is there such a thing? I doubt it—so what is this?! I don’t know what else to call it! Chinese Pasta Salad is the name it arrived with and I welcome all suggestions for a new name 🙂 This cold…