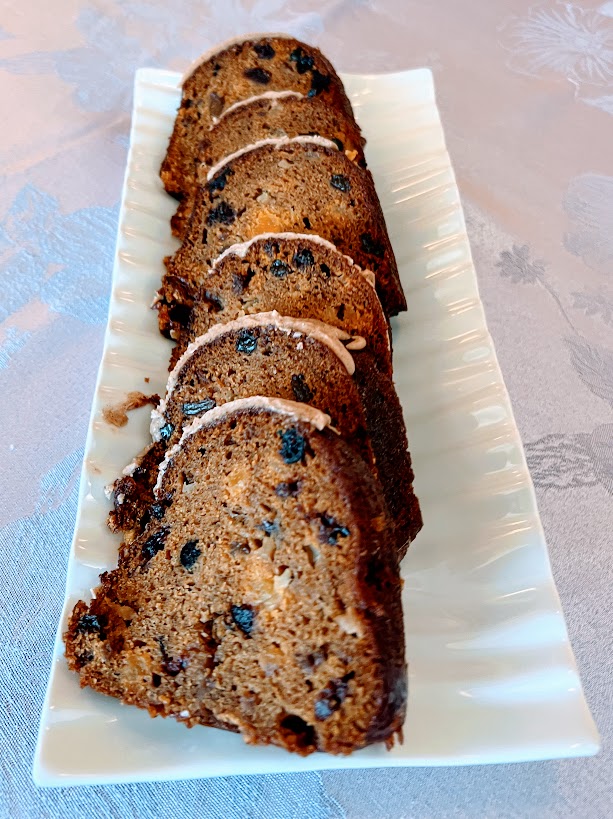
Fruity Pumpkin Bundt Cake
This bundt cake is moist, pumpkin rich, studded with 2 cups of dried fruit and nuts, with a splash o’ rum, a hearty heap o’ cinnamon and topped with an orange-cinnamon glaze—what’s not to like?! I’ve been making this cake…
"It's all about the recipe!"
This bundt cake is moist, pumpkin rich, studded with 2 cups of dried fruit and nuts, with a splash o’ rum, a hearty heap o’ cinnamon and topped with an orange-cinnamon glaze—what’s not to like?! I’ve been making this cake…
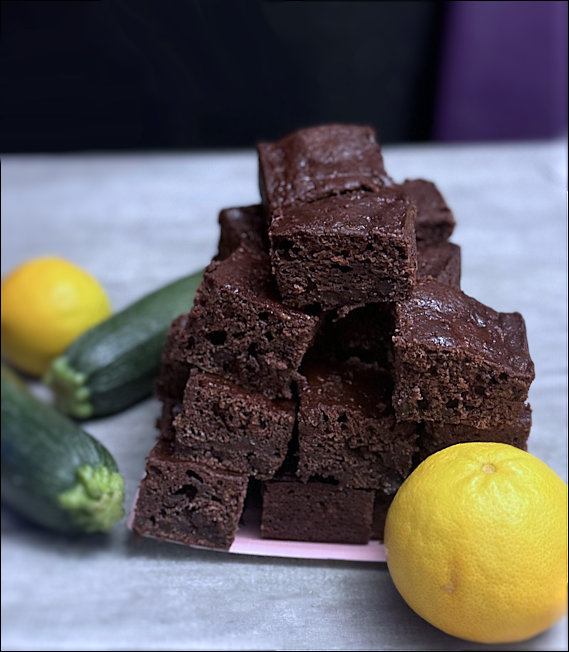
Hannah says it’s the best chocolate cake she’s tasted—I think that’s stretching it a bit. But this cake is quite moist, very tasty and somewhat good for you, as cake goes, with the 2 cups of zucchini, some applesauce in…
All the stars! My favorite cake! I ask for it every year on my birthday 🙂 Rich and moist chocolate cake, a mocha-chocolate filling, and a latte frosting. The recipe for this cake is by Ina Garten which was featured…
This is the cake I wanted for my birthday this year and it’s what a friend requested for her birthday a few months ago. It’s a fabulous trifecta of chocolate: semi sweet chocolate in a brownie-like cake on the bottom,…
This is the BEST cake to serve at this time of year (or any other time of the year, actually)! It’s a good chocolate cake – a very, very good chocolate cake; it’s moist, and nicely chocolate-y, and made richer with some pumpkin…
One of my friends has been making these for years. I was intrigued by her pictures posted on Facebook of roll, after roll, after roll lined up along her kitchen counter, and then the comments from a number of people…
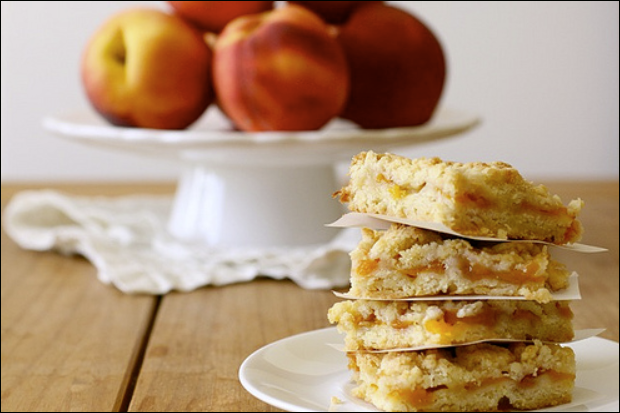
Peaches are really good this year, which is good news after a few disappointing crops the last few years. I’ve enjoyed some delicious, chin dripping peaches this summer. Topping that, I’ve also had success with two new recipes using fresh…
I know, I know, this isn’t a great picture. Please don’t let that put you off though! This is a delicious cake, one of my best! I found the original recipe on epicurious.com the year that my twins graduated from high…