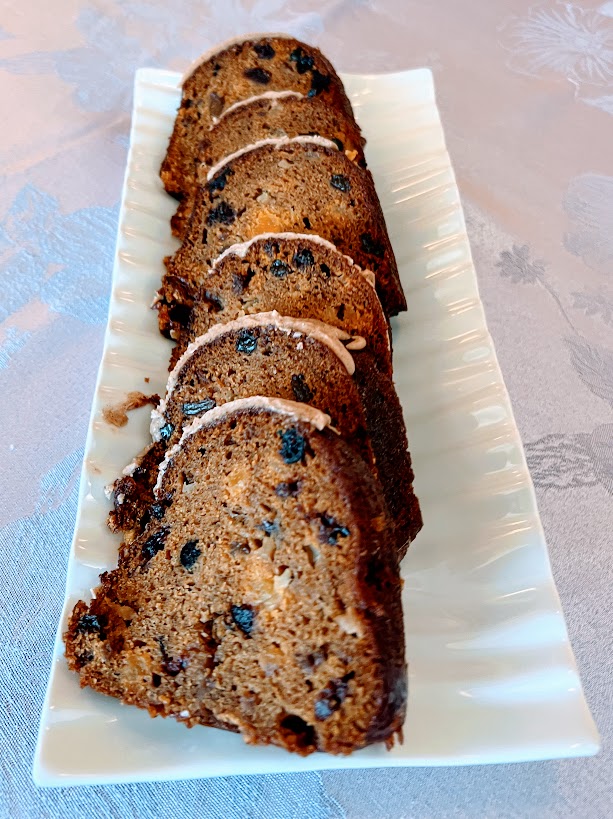
Fruity Pumpkin Bundt Cake
This bundt cake is moist, pumpkin rich, studded with 2 cups of dried fruit and nuts, with a splash o’ rum, a hearty heap o’ cinnamon and topped with an orange-cinnamon glaze—what’s not to like?! I’ve been making this cake…

"It's all about the recipe!"
This bundt cake is moist, pumpkin rich, studded with 2 cups of dried fruit and nuts, with a splash o’ rum, a hearty heap o’ cinnamon and topped with an orange-cinnamon glaze—what’s not to like?! I’ve been making this cake…
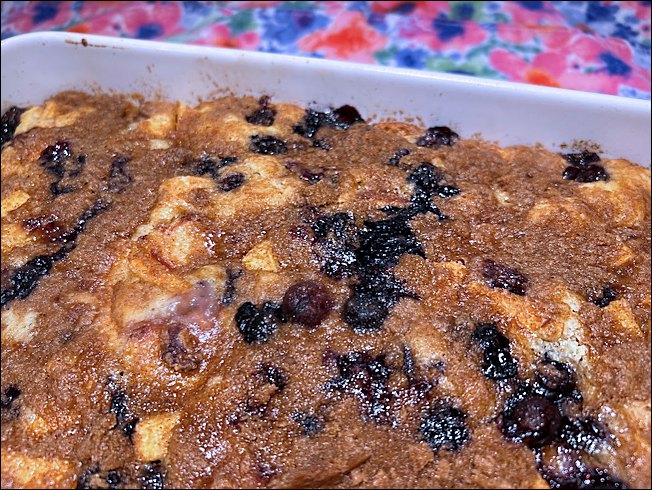
I adore coffeecake. Coffeecake is served warm, so it’s comforting and can be served directly from the pan it was baked in. It doesn’t have frosting, so it’s not too-too overly sweet. It’s communal, shouting out to be shared with…
Soak dried cherries in port, then add them to the batter of these brownies for a tasty departure from the every-day, kid-favorite brownie! I love the unexpected flavor zing from the dried cherries 🙂 This is a cake-like brownie, usually…
In England, Australia, New Zealand and my house, Pavlova is a very popular dessert. I am not sure why it’s not only not popular in the US but it’s not even well known! Pavlova is a quick, light, impressive, and utterly…
This is one of my favorite cheesecakes! It’s showy and special and tastes wonderful. The method for this cheesecake is different from my usual method, but it works like a dream. I’ve never had this cheesecake crack. The only tricky…
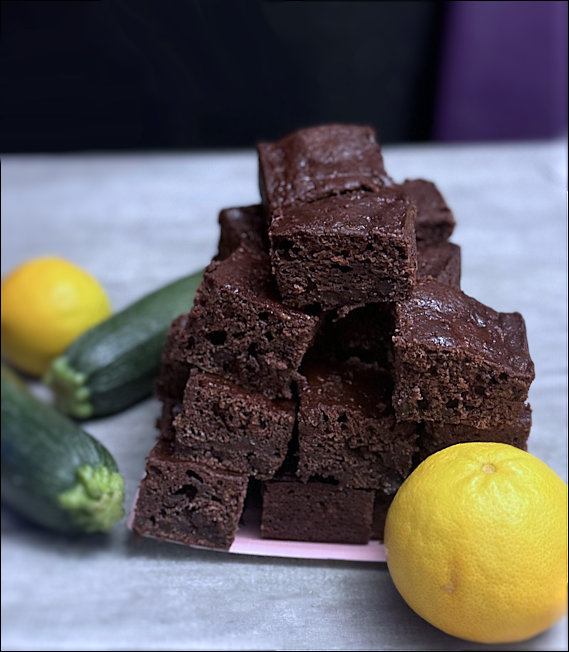
Hannah says it’s the best chocolate cake she’s tasted—I think that’s stretching it a bit. But this cake is quite moist, very tasty and somewhat good for you, as cake goes, with the 2 cups of zucchini, some applesauce in…
All the stars! My favorite cake! I ask for it every year on my birthday 🙂 Rich and moist chocolate cake, a mocha-chocolate filling, and a latte frosting. The recipe for this cake is by Ina Garten which was featured…
This is the cake I wanted for my birthday this year and it’s what a friend requested for her birthday a few months ago. It’s a fabulous trifecta of chocolate: semi sweet chocolate in a brownie-like cake on the bottom,…