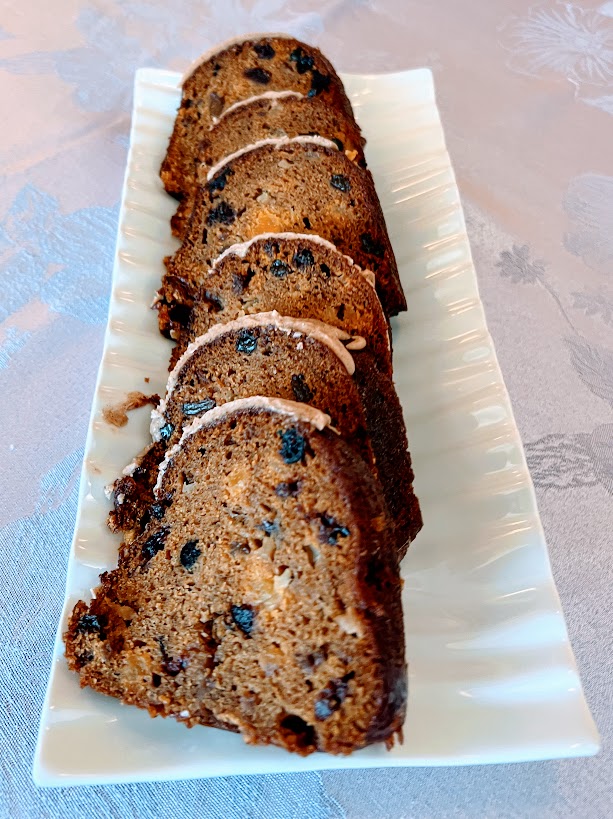
Fruity Pumpkin Bundt Cake
This bundt cake is moist, pumpkin rich, studded with 2 cups of dried fruit and nuts, with a splash o’ rum, a hearty heap o’ cinnamon and topped with an orange-cinnamon glaze—what’s not to like?! I’ve been making this cake…
"It's all about the recipe!"
This bundt cake is moist, pumpkin rich, studded with 2 cups of dried fruit and nuts, with a splash o’ rum, a hearty heap o’ cinnamon and topped with an orange-cinnamon glaze—what’s not to like?! I’ve been making this cake…
This is the BEST cake to serve at this time of year (or any other time of the year, actually)! It’s a good chocolate cake – a very, very good chocolate cake; it’s moist, and nicely chocolate-y, and made richer with some pumpkin…
It’s that time of year—let the fall baking commence! I’ve started with these Pumpkin Spice Latte Biscotti, my entry for my cookbook club’s ‘Pumpkin Dessert Showstopper Challenge‘ last year—sometimes we act like we are contestants on the mythical ‘Great American…
One of my friends has been making these for years. I was intrigued by her pictures posted on Facebook of roll, after roll, after roll lined up along her kitchen counter, and then the comments from a number of people…
Pumpkin isn’t only for October and November, you know. I hope you have an extra can or two of pumpkin puree on hand for the other ten months of the year 🙂 This isn’t a pumpkin muffin, and it isn’t…
I am so excited about this recipe! It’s a paradigm shift recipe! It’s not a recipe in the true sense of the word, it’s more of a road map to a particular destination. A road map allows for more flexibility…
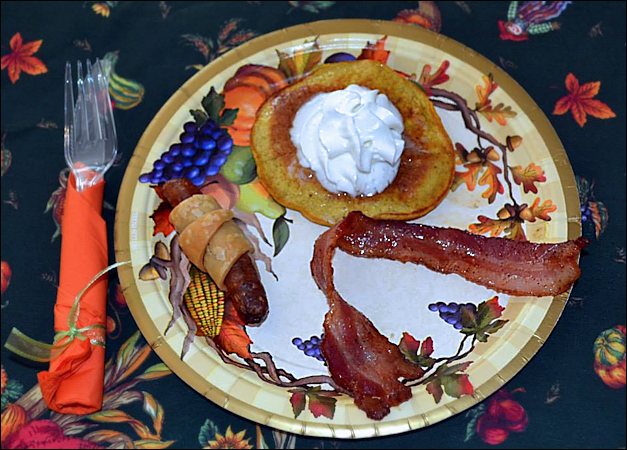
My daughter, Hannah, has started a new Thanksgiving tradition for our family, and I rather like it. She invites our neighbors and friends over for Pumpkin Pancakes on Thanksgiving morning. She suggests they come in their jammies, too! I am not seen…
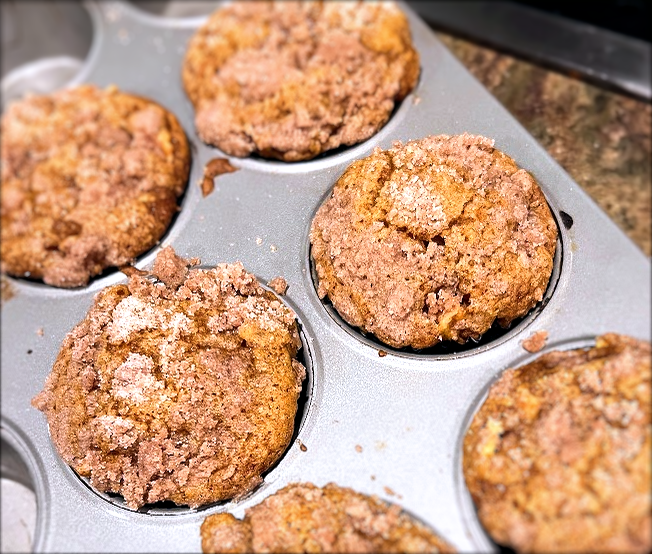
My new favorite muffin recipe, just in time for your fall weekend baking: Pumpkin Cream Cheese Muffins! This muffin has been likened to the Starbucks Cream Cheese Pumpkin Muffins, and I think that’s a fair comparison, but I like this…