A Crockpot of Beans!
I am so excited about this recipe! It’s a paradigm shift recipe! It’s not a recipe in the true sense of the word, it’s more of a road map to a particular destination. A road map allows for more flexibility…
"It's all about the recipe!"
I am so excited about this recipe! It’s a paradigm shift recipe! It’s not a recipe in the true sense of the word, it’s more of a road map to a particular destination. A road map allows for more flexibility…
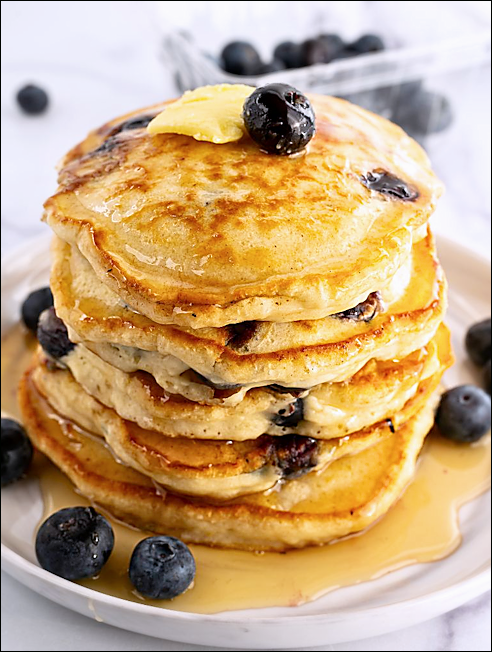
Love blueberries! Love cornmeal! So when I saw this recipe, having bought blueberries just yesterday and forgetting why, I jumped up from my chair (well…, not exactly jumped) to make a special, impromptu breakfast! I saw this recipe on Pinterest…
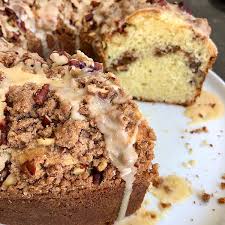
Bake this! It’s yummy. Not too sweet. Classic coffee cake. Goes well with coffee. Very well. A nice Sunday breakfast or mid-morning snack. Or both. Winner, winner, winner! My son likes the two-day old leftovers so much he’s taking them back…
I had heard about cinnamon ice cream a year or so ago and was instantly intrigued—it sounded lovely. Odd, but lovely, and I had a feeling—foodie intuition, if I may be so bold—that Cinnamon Ice Cream would be the perfect…