Chocolate Zucchini Cake
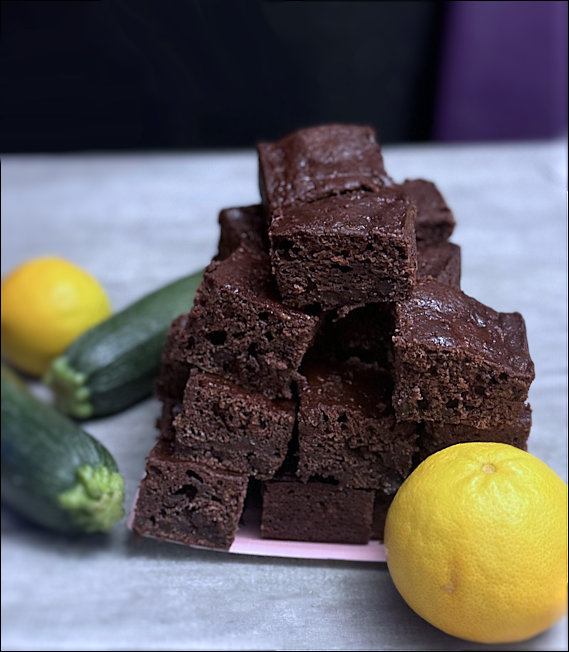
Hannah says it’s the best chocolate cake she’s tasted—I think that’s stretching it a bit. But this cake is quite moist, very tasty and somewhat good for you, as cake goes, with the 2 cups of zucchini, some applesauce in…
"It's all about the recipe!"
Hannah says it’s the best chocolate cake she’s tasted—I think that’s stretching it a bit. But this cake is quite moist, very tasty and somewhat good for you, as cake goes, with the 2 cups of zucchini, some applesauce in…
I am so excited about this recipe! It’s a paradigm shift recipe! It’s not a recipe in the true sense of the word, it’s more of a road map to a particular destination. A road map allows for more flexibility…
I definitely need a better picture. Looking for something new for lunch? I have the perfect thing! This lunch has to be baked, so it’s a great fall-winter recipe. I found it at Simply Recipes awhile back—picture cred to Simply Recipes,…
I have debated back and forth about posting this recipe. Pros: it uses up zucchini, which is very important this time of year! The pasta recipe is good; simple, straightforward, and good. Cons: It’s not GREAT; it’s good, but it’s lacking…


