Pavlova
In England, Australia, New Zealand and my house, Pavlova is a very popular dessert. I am not sure why it’s not only not popular in the US but it’s not even well known! Pavlova is a quick, light, impressive, and utterly…
"It's all about the recipe!"
In England, Australia, New Zealand and my house, Pavlova is a very popular dessert. I am not sure why it’s not only not popular in the US but it’s not even well known! Pavlova is a quick, light, impressive, and utterly…
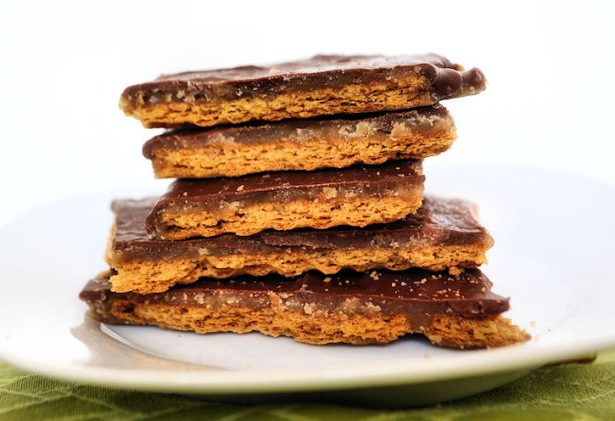
This recipe is rustic, quick, and done in 20 minutes! But once made, the bars have to sit in the refrigerator to harden up a bit 🙂 The finished product also freezes well, so it’s okay to make ahead or…
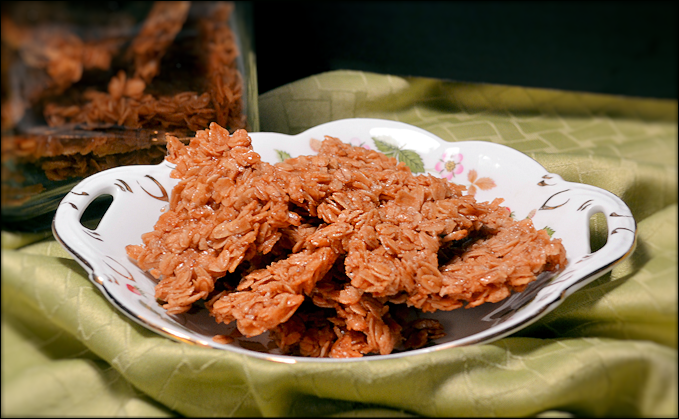
Sometimes, I don’t want to cook in the morning. Sometimes I don’t even want to make toast. I just want a lovely latte—I am always willing to make a latte—and something on the side, while I casually drink my coffee,…
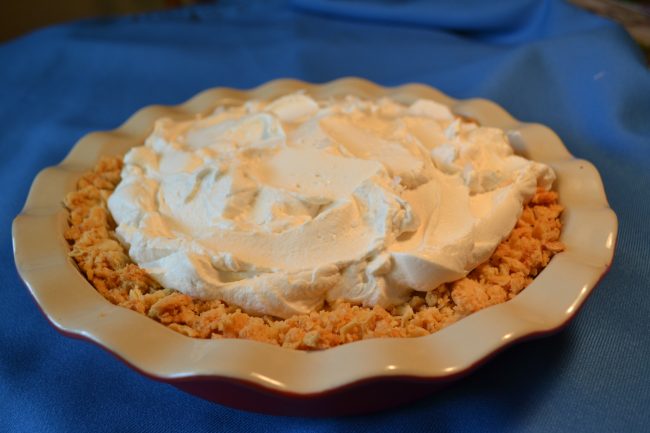
It’s citrusy, and it’s salty, and it’s creamy, and it’s tangy, and it’s delicious. Ever heard of Atlantic Beach Lemon Pie? I hadn’t either. I guess this pie had been a big deal back in North Carolina in the 50s (Crook’s…
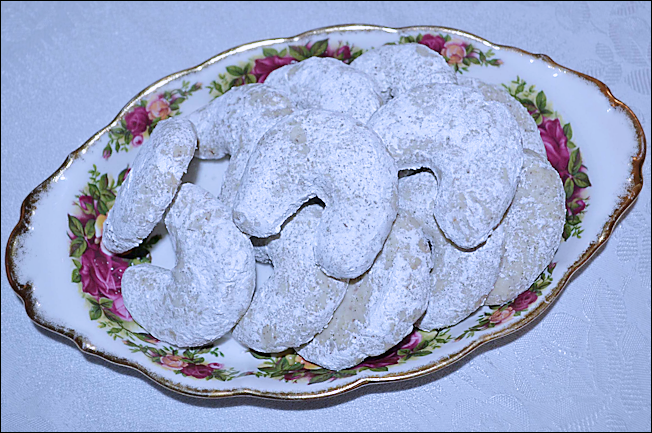
I had never, ever heard of kipferls before. Then, in two weeks they came into my life twice! First, my friend Priscilla made some in the Culinary School Pastry Arts program she is enrolled in. I didn’t try one because…
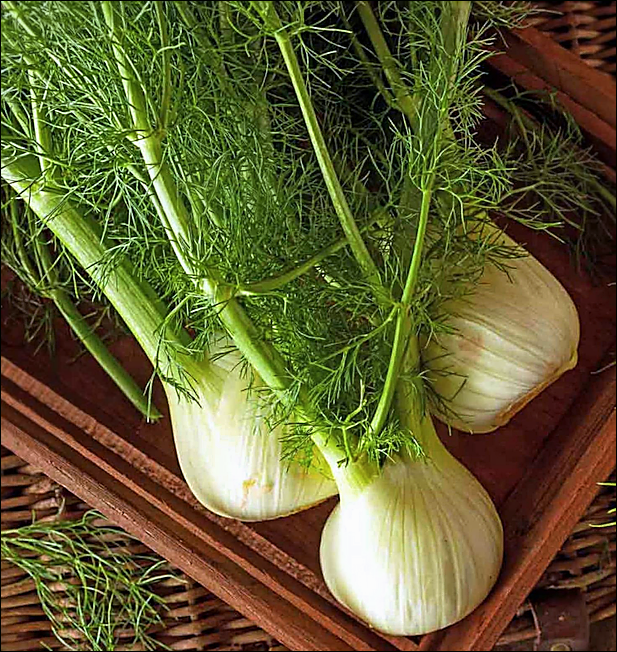
Ever eaten raw fennel? Time to start! And here’s a fabulous recipe to start with: Raw Fennel and Apple Salad. It’s easy to make and it’s shockingly good. I say shockingly because everyone I coerce into trying it has been…
Ooooh, Caramel Corn! Isn’t it lovely? You know I am not talking about that stale, pale, powdery stuff out of a bright and cheerful tin, right? I am talking about real Caramel Corn, the homemade variety! Here’s the recipe I use—I think…
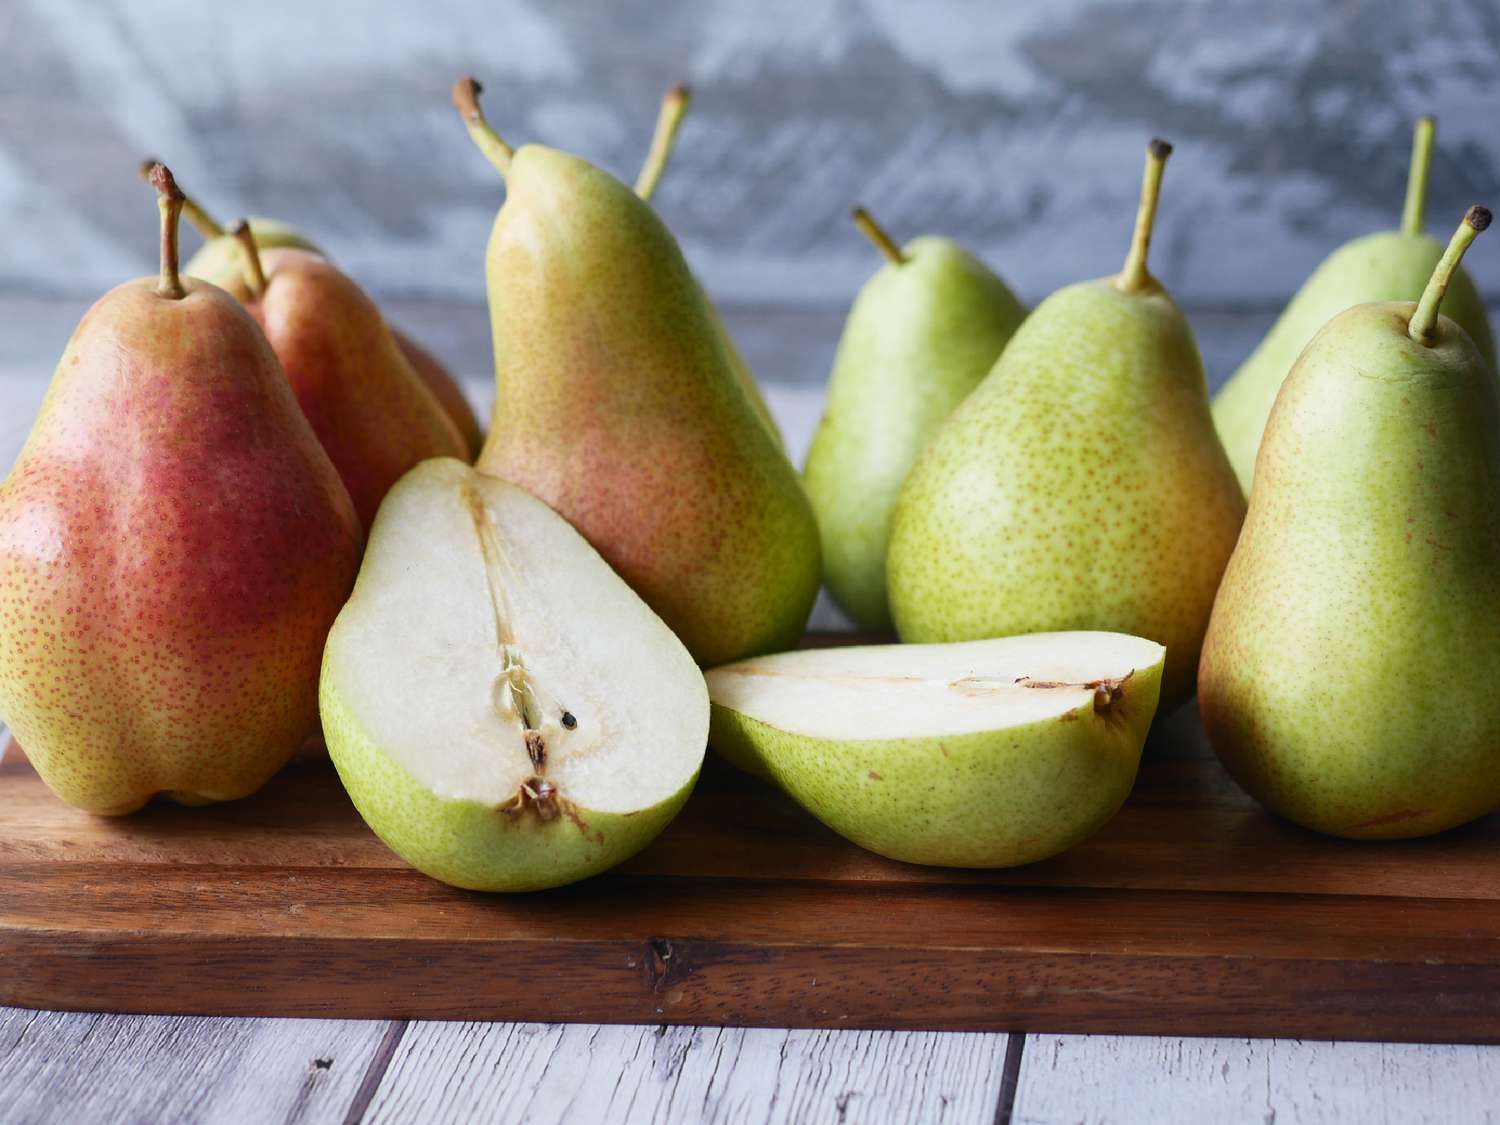
Ahhh, fall comfort food! I love baked pears and I love an oatmeal rich crisp topping, so I was pleased to cut this recipe from a Cooking Light magazine several years ago. I’ve fooled with it quite a bit, more spices, more oatmeal,…