Pavlova
In England, Australia, New Zealand and my house, Pavlova is a very popular dessert. I am not sure why it’s not only not popular in the US but it’s not even well known! Pavlova is a quick, light, impressive, and utterly…
"It's all about the recipe!"
In England, Australia, New Zealand and my house, Pavlova is a very popular dessert. I am not sure why it’s not only not popular in the US but it’s not even well known! Pavlova is a quick, light, impressive, and utterly…
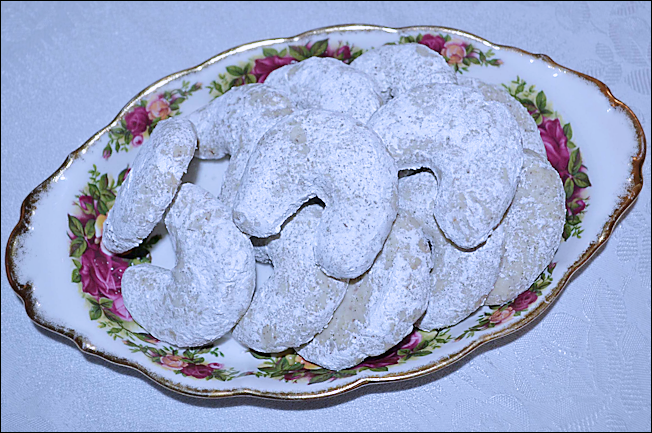
I had never, ever heard of kipferls before. Then, in two weeks they came into my life twice! First, my friend Priscilla made some in the Culinary School Pastry Arts program she is enrolled in. I didn’t try one because…
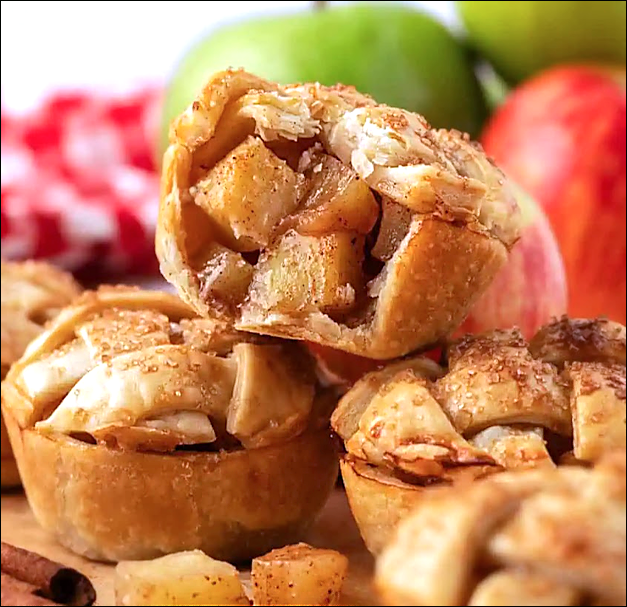
I hear mini pies are all the rage now. Bye-bye cake pops and chocolate with bacon; hellooooooo mini pies! Here’s a great recipe with which to start. Having made this recipe a few times, I now know a few things…
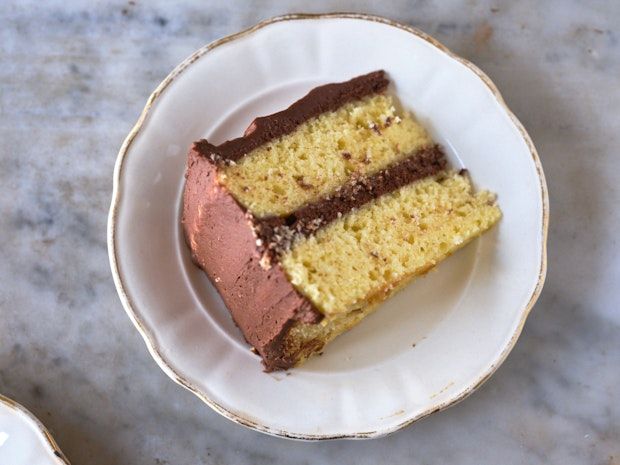
Who doesn’t like yellow cake with chocolate frosting? It’s a classic! This recipe and photo is from Cook’s Illustrated. The little editorial near the recipe on page 51 of the Spring 2011 edition of Cook’s said everything I want to…
My daughter recently catered a birthday dinner for a very bubbly, champagne loving girl, and she knew that Champagne Cupcakes had to be on the menu! The good news is that these are great cupcakes not only for a birthday dinner,…
I have never seen a recipe published for this sandwich, but it’s one of my favorites—probably because it’s more like a dessert than a sandwich! I have my demons, and all of them are sweet 🙂 I first encountered this sandwich…
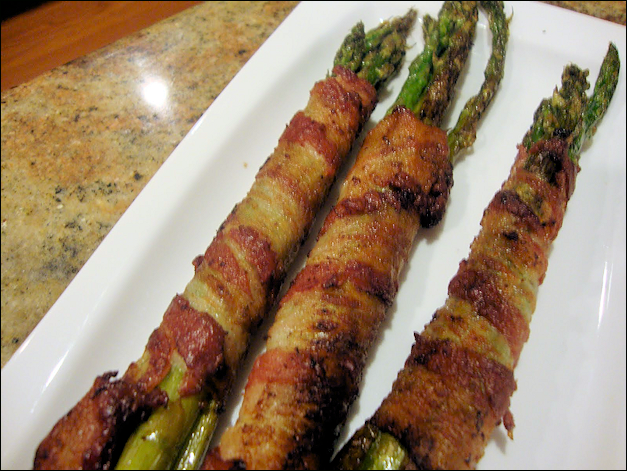
I found this recipe on the Internet this morning, and I ran out to buy some asparagus to try it! Then I hemmed and hawed about posting the link, the recipe, and my pictures. I wasn’t sure the recipe was…
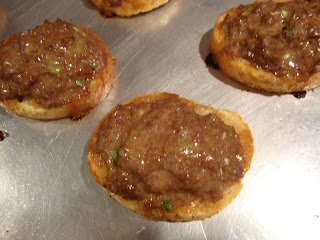
Just what you need for the big Super Bowl party at the neighbors’ house! A yummy, quick and easy appetizer to take with you 🙂 You’ll need a pound of ground beef, a bit of onion (any kind), soy sauce,…