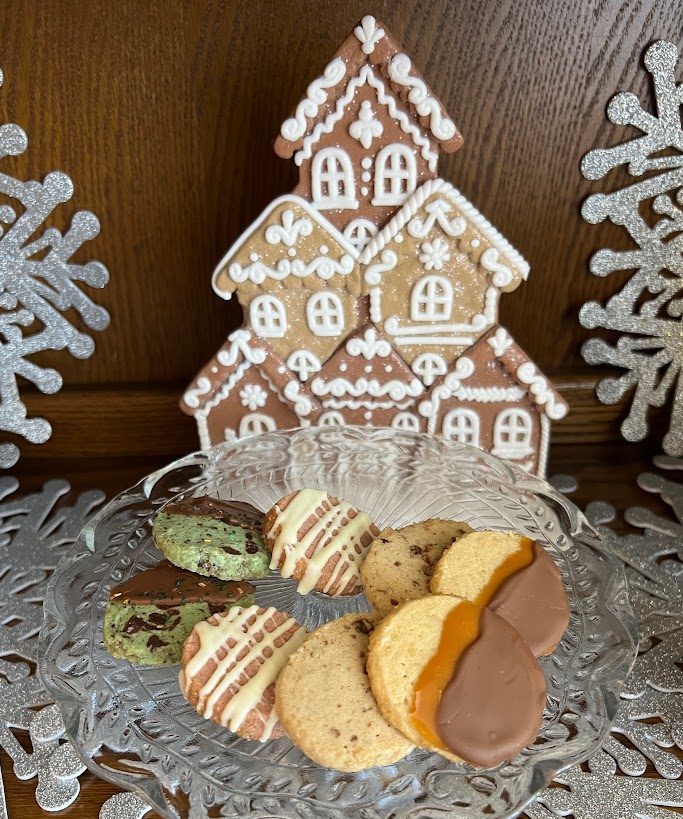
One Dough-Four Cookies
The actual recipe includes five cookie versions, but four are much easier to make at once: make a double batch of the dough, divide it in half, then add half the quantity of ingredients for each variation to make four…
"It's all about the recipe!"
The actual recipe includes five cookie versions, but four are much easier to make at once: make a double batch of the dough, divide it in half, then add half the quantity of ingredients for each variation to make four…
From my days as a mom of little kids, here’s a recipe for some fancy peanut butter bars. Make them for a lunchbox surprise or a special after school treat. They are not just for kids though, these are really…
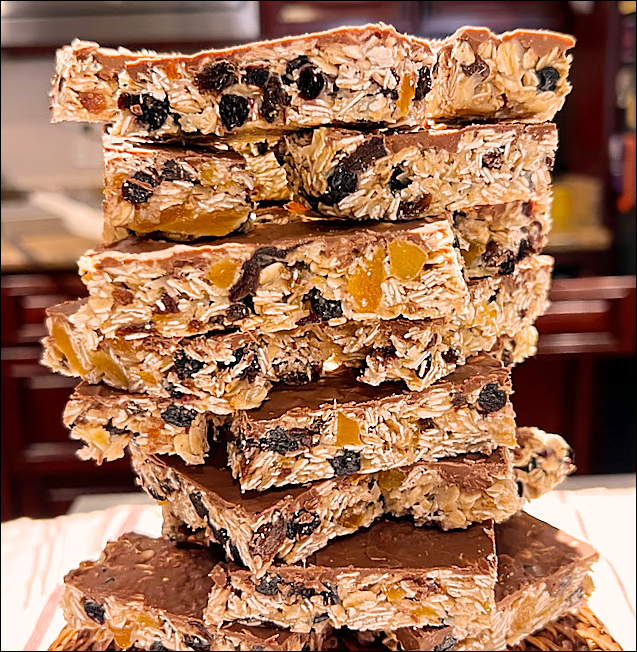
Still buying granola bars? There’s no need! This is an easy recipe for granola bars and you can make them to fit your flavor profile. What kind of nuts do you like? Peanuts, pecans, almonds, cashews or a nice mix?…
Soak dried cherries in port, then add them to the batter of these brownies for a tasty departure from the every-day, kid-favorite brownie! I love the unexpected flavor zing from the dried cherries 🙂 This is a cake-like brownie, usually…
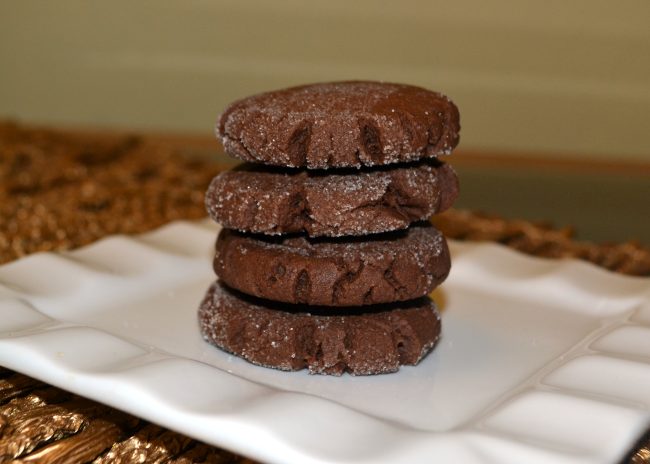
This cookie tastes much, much better than it looks. It also tastes much, much better than it’s list of ingredients. Take a bite; trust me! There’s a layer of peanut butter inside! As one of my friends said, one who shall…
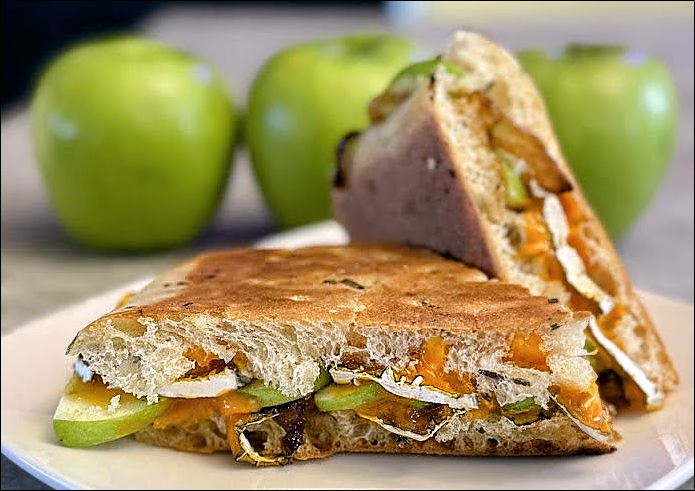
Photo Credit: Hannah Lineberry Bentz My daughter, Hannah, learned how to make this sandwich during her college days when she worked at a small cafe in Sand City, California—population 328, as of 2022, and nestled somewhere between Monterey and Seaside.…
Bread baking is my Everest—meaning I haven’t conquered it yet! I’m not even at base camp so the bread recipes that appeal to me are easy and pretty much foolproof 🙂 Here’s one of my favorites! The recipe is so…
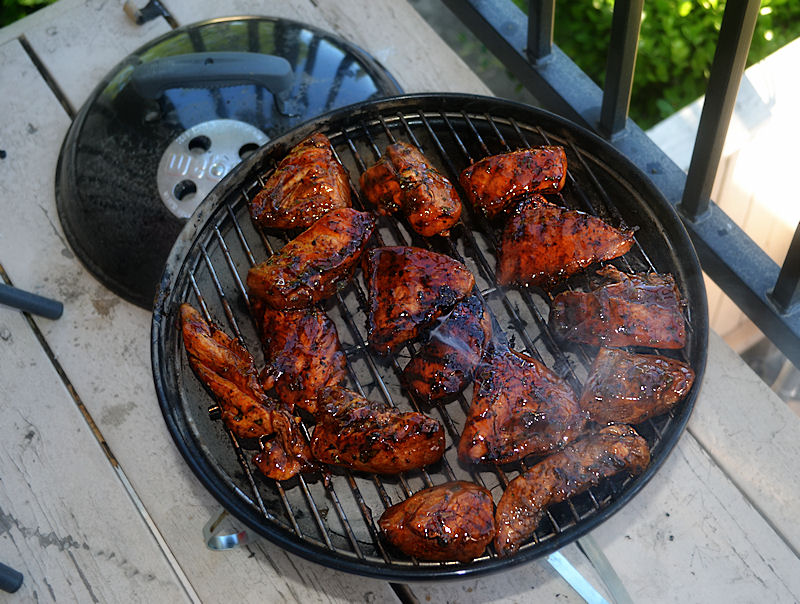
The picture above was taken on the tiny balcony of my daughter’s apartment, the first time she made this chicken, and only the third time she had ever BBQ’d.