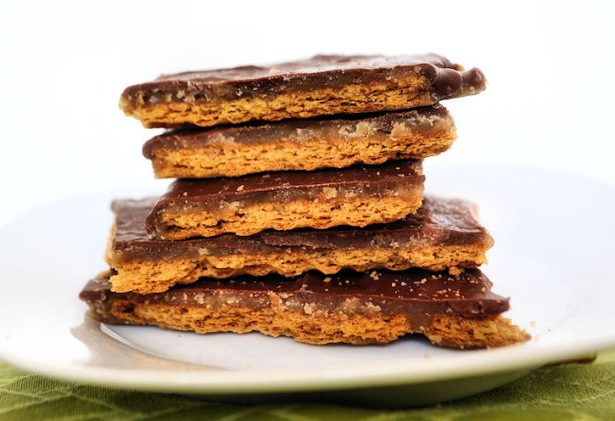
Chocolate Covered Caramel Graham Crackers
This recipe is rustic, quick, and done in 20 minutes! But once made, the bars have to sit in the refrigerator to harden up a bit 🙂 The finished product also freezes well, so it’s okay to make ahead or…
"It's all about the recipe!"
This recipe is rustic, quick, and done in 20 minutes! But once made, the bars have to sit in the refrigerator to harden up a bit 🙂 The finished product also freezes well, so it’s okay to make ahead or…
Hmpfff. I just got through looking at the two hundred and seventeen pictures of a recent bride’s Hawaiian honeymoon. As one of her friends commented, “The envy hurts“! I went to Hawaii once. I did. It was with my kids’…
Ooooh, Caramel Corn! Isn’t it lovely? You know I am not talking about that stale, pale, powdery stuff out of a bright and cheerful tin, right? I am talking about real Caramel Corn, the homemade variety! Here’s the recipe I use—I think…
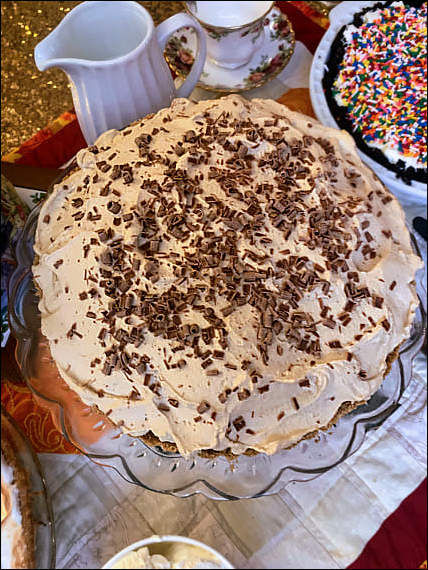
Banoffee Pie! You’ve heard of it, right? Toffee, bananas and coffee flavored cream in a pastry crust? There are more to British desserts than Trifle, Spotted Dick, and Sticky Toffee Pudding, you know! This pie took the British Isles by…
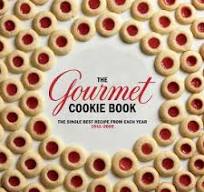
Coconut Bars are a new addition to my repertoire this year. Over the past month or so I’ve spent a bit of time trying to cook my way through The Gourmet Cookie Book: The Single Best Recipe From Each Year 1941-2009…
When I was a kid growing up in the north of England, Caramel Bars were my very favorite tea time treat. My Dad taught me to lick the top of the bar—then announce it loudly—so no one else would select…