Mexican Red Rice
I have a grandchild with ARFID, Avoidant Restrictive Food Intake Disorder. She strongly denies it. She just says she likes what she likes and she’s fine. OK, but since the age of about seven he’s had about 22 very specific…
"It's all about the recipe!"
I have a grandchild with ARFID, Avoidant Restrictive Food Intake Disorder. She strongly denies it. She just says she likes what she likes and she’s fine. OK, but since the age of about seven he’s had about 22 very specific…
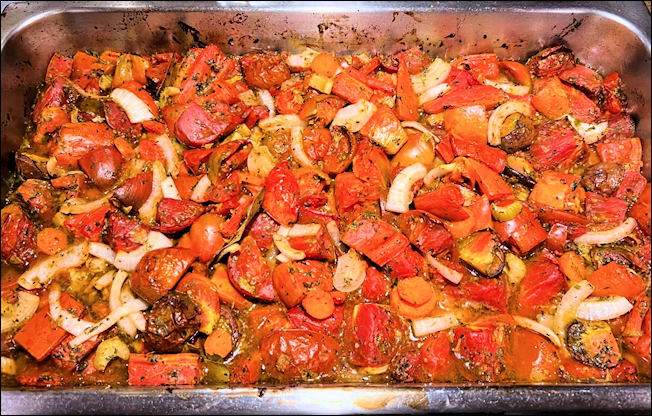
Are you being overrun with homegrown summer tomatoes yet? Then you need to make this sauce! Freeze it, and you’ll have little portions of summer to use as needed in any tomato based dish! After defrosting, the sauce can used…
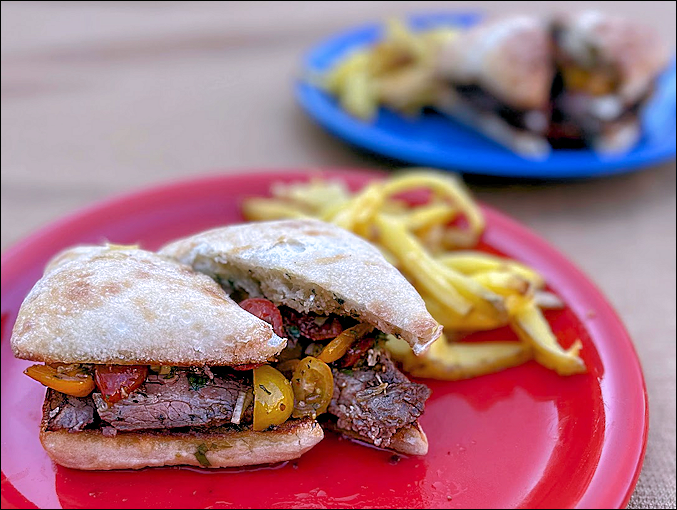
This is one of my family’s favorite BBQ meals—marinated and grilled tri-tip, on a toasted bun, with fresh tomato relish–yum! I’ve been making these for at least a decade, and the bits and pieces of this recipe came from so…
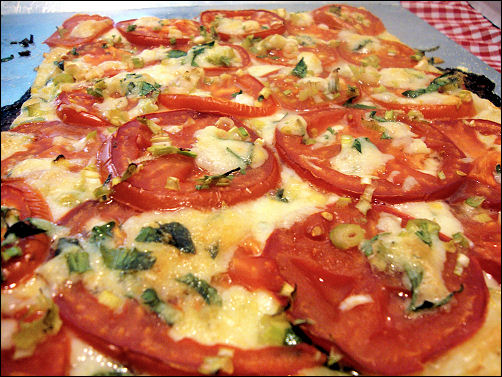
My neighbors and Facebook friends have been asking for recipes to use up their tomatoes. I have two good ones. The Fresh Tomato Lasagna that I posted earlier this week, and this Fresh Tomato Tart were a staple at our…
For years—decades—we have gone tent camping at a State beach in Santa Cruz. We usually stay a whole week and we love it, we have always loved it. Although we sleep in tents, we don’t exactly rough it. We have…
It’s so easy to overlook a simple salad. For all those home gardeners or Farmer’s Market shoppers, this is for you! At some point in the summer, we all end up with an overabundance of our fancy, heirloom tomatoes and…
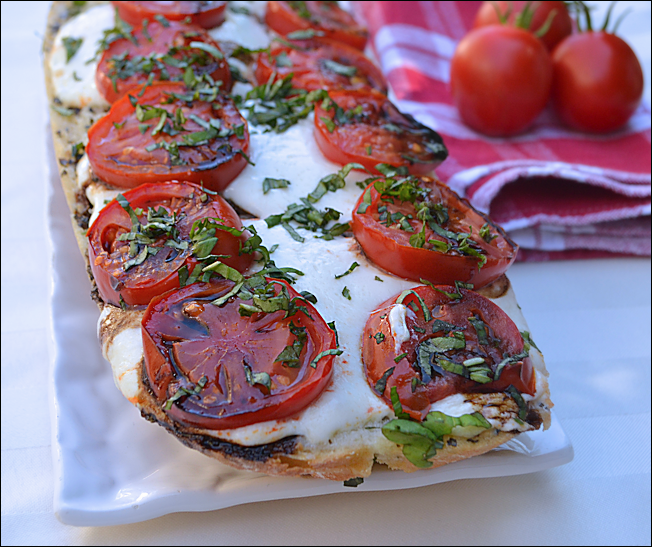
It’s just garlic bread, folks, but it’s garlic bread with an upgrade! There are tomatoes, mozzarella and basil! After running across this recipe at Two Peas and their Pod, I decided I needed to make it—now! I quickly sent texts to a few friends…
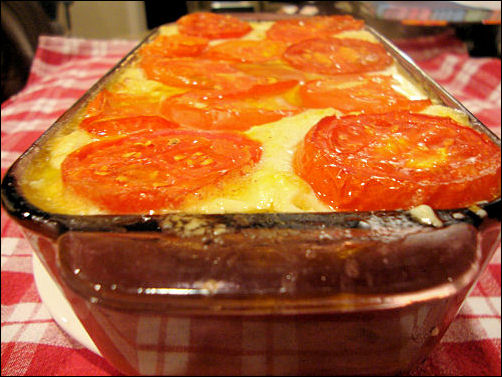
This lasagna is creamy, cheesy and fresh tasting, but lighter than regular lasagna—though still rich. Since there are so few ingredients in this lasagna make sure your tomatoes are the BEST; they’re what makes this lasagna! Although this pan of lasagna looks…