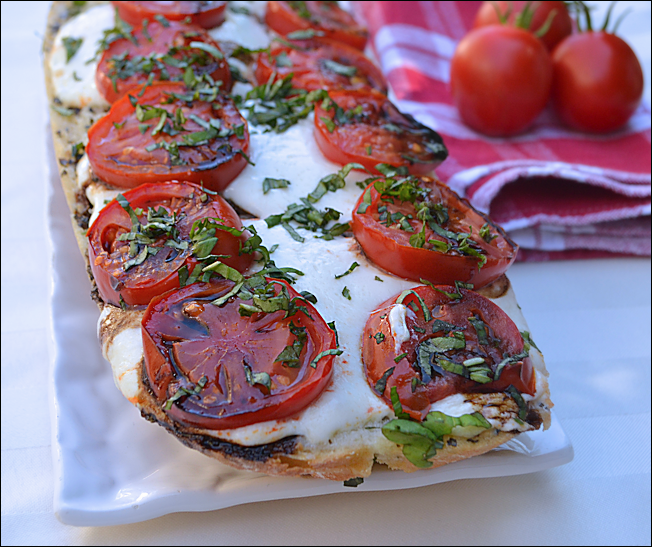
Fresh Tomato Tart
My neighbors and Facebook friends have been asking for recipes to use up their tomatoes. I have two good ones. The Fresh Tomato Lasagna that I posted earlier this week, and this Fresh Tomato Tart were a staple at our…
"It's all about the recipe!"
My neighbors and Facebook friends have been asking for recipes to use up their tomatoes. I have two good ones. The Fresh Tomato Lasagna that I posted earlier this week, and this Fresh Tomato Tart were a staple at our…
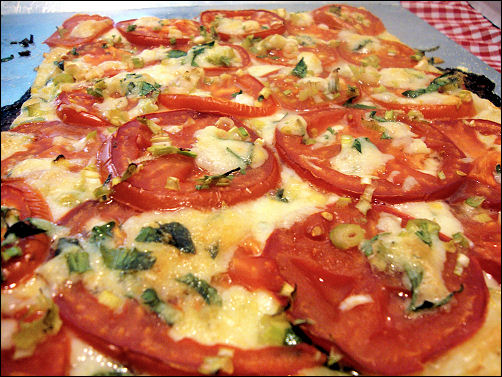
It’s just garlic bread, folks, but it’s garlic bread with an upgrade! There are tomatoes, mozzarella and basil! After running across this recipe at Two Peas and their Pod, I decided I needed to make it—now! I quickly sent texts to a few friends…
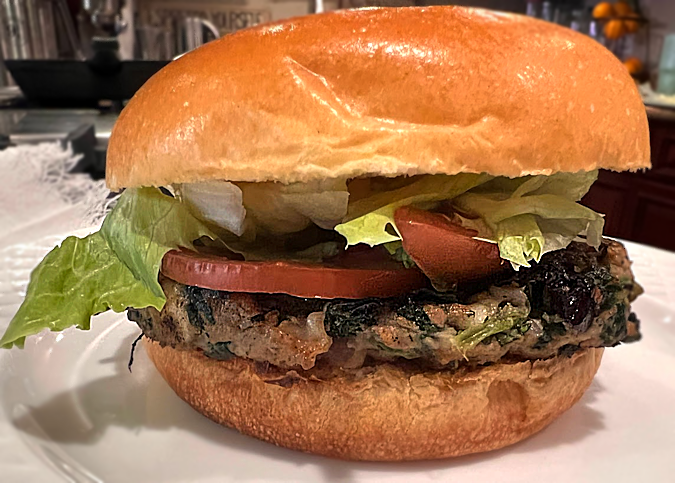
Want a new, different and totally tasty burger to add to your repertoire? Here it is! A turkey burger with a Spanakopita flair! This recipe was inspired by Rachael Ray’s, Spanakopita Burger from her book, 365: No Repeats. I made…
Every once in awhile you run across a recipe that changes everything! This is one of those recipes. Cooking salmon in the microwave, with veggies. How simple is that? How convenient is that? This main dish is simple, delicious and…
Depending on where you live, you may or may not have a proliferation of “Pho” restaurants in your community. If you do have a Pho restaurant nearby, I encourage you to try it out. You’ll be rewarded with a huge bowl of…
I hope you are going to the Farmer’s market this weekend! I was there last week, and there were lovely large bunches of fresh basil. Buy a bunch! Get some potatoes, too—Yukon Golds or white boiling potatoes would be good.…
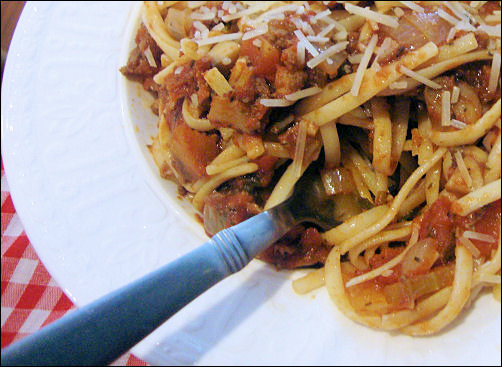
Who eats jarred spaghetti sauce? I hope no one! I don’t; not ever. Well, I’ve had a spoonful here and there, so I do know how bad it is—which is generally too much vinegar. I like wine, tomatoes, onions, fresh mushrooms and…
I’ve finally found something that the crockpot excels in—excels in! This is not just a recipe that can be cooked in the crockpot, it’s a recipe that should be cooked in a crockpot! Yes, a recipe that tastes best cooked in…