Tag: Mushrooms

Quesadilla Pie
I definitely need a better picture. Looking for something new for lunch? I have the perfect thing! This lunch has to be baked, so it’s a great fall-winter recipe. I found it at Simply Recipes awhile back—picture cred to Simply Recipes,…

Turkey Dressing/Stuffing
Yesterday I went to Costco and Trader Joe’s. Both places had samples of make-it-from-a-box turkey dressing. Did they think the samples would entice people to buy that stuff? What WAS it? The texture was glue-y, the taste was, was…, sigh. There was…
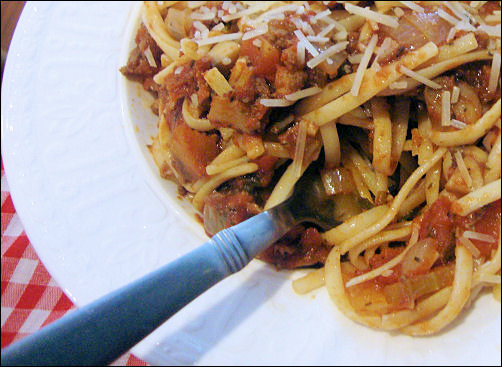
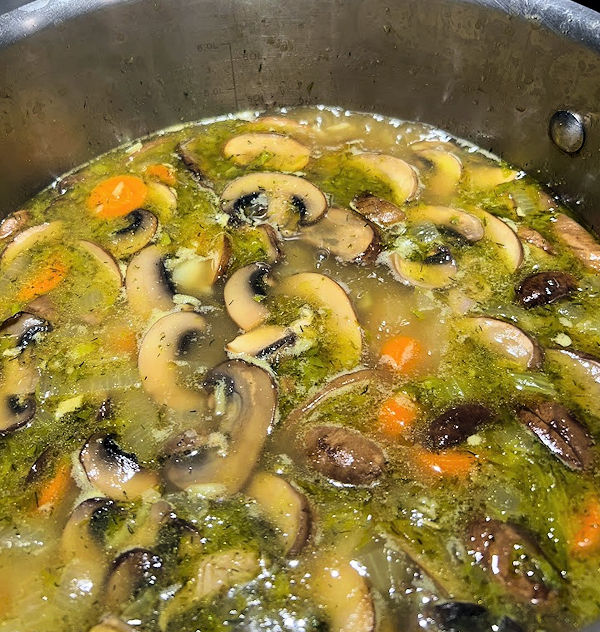
Homemade Spaghetti Sauce
Who eats jarred spaghetti sauce? I hope no one! I don’t; not ever. Well, I’ve had a spoonful here and there, so I do know how bad it is—which is generally too much vinegar. I like wine, tomatoes, onions, fresh mushrooms and…

Hoisin Chicken in Lettuce Cups
Mmmmm… Hoisin chicken, wrapped in a crispy, iceberg lettuce leaf. I don’t remember where I found the original recipe, it was a few years ago. My daughter and I have tinkered with it a bit over the years and now we think…
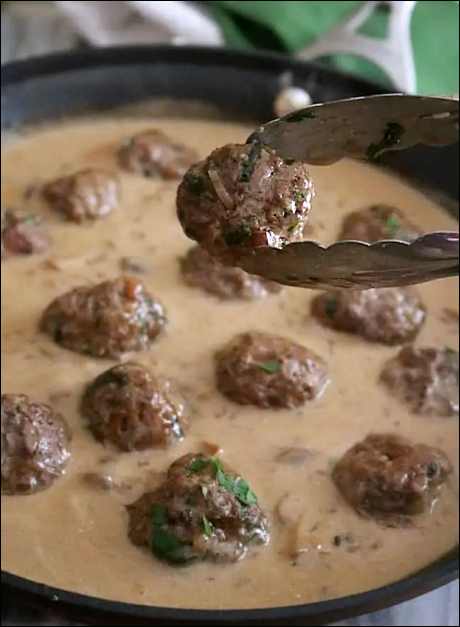
Meatball Beef Stroganoff
So, I decided to go for a pedicure—unfortunately my nail salon is not known for having the most recent magazines with the biggest pictures, so I stopped on the way to treat myself to a glossy dose of gossip. Wouldn’t…