Sparkling Watermelon Lemonade
Last family BBQ of the season? I wish I had posted this recipe as a season opener so that we could have had enjoyed this drink throughout the summer, but at least it is posted in time for the last…

"It's all about the recipe!"
Last family BBQ of the season? I wish I had posted this recipe as a season opener so that we could have had enjoyed this drink throughout the summer, but at least it is posted in time for the last…
Time to huddle in front of the fire with a good book, a quilt, and a cup of grown up hot chocolate, Chai Hot Chocolate. I think you’ll like this; it’s familiar but different, and it’s lighter than regular hot chocolate.…
Just in time for Valentine’s Day—French Hot Chocolate! This is soooo good, made with real cream and real chocolate, and bearing no resemblance at all to that powdery mix in a paper packet. The serving ritual makes this really special.…
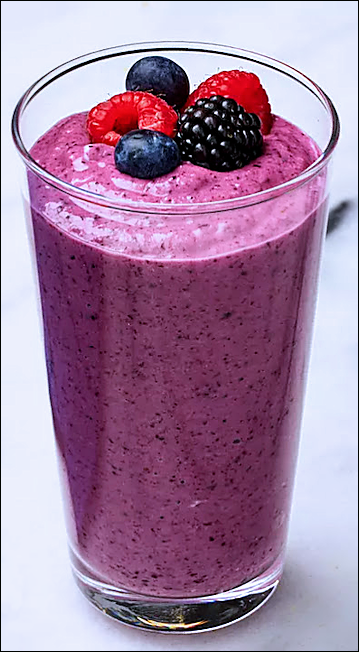
I’m pretty sure I was one of the first people ever to taste a smoothie 🙂 There was a smoothie man on campus at San Diego State University in 1976. He had a blender, fresh pineapple, fresh bananas, and a…