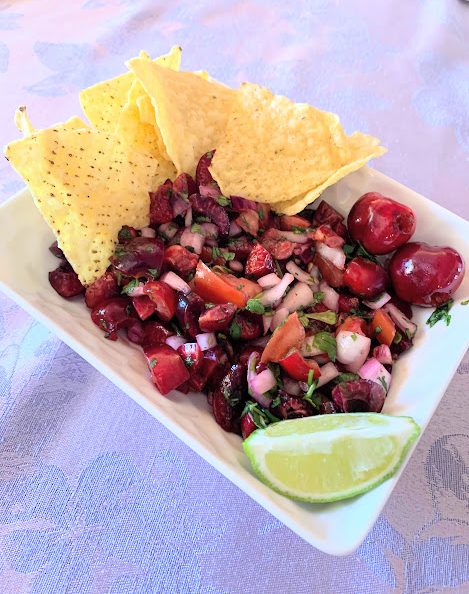
Fresh Cherry Salsa
I am fortunate to live in an area with some remaining cherry orchards. For a few weeks each year these orchards are open for U-Pick cherries. Seeing as how we are in the midst of a pandemic—80 days of Shelter-In-Place…
"It's all about the recipe!"
I am fortunate to live in an area with some remaining cherry orchards. For a few weeks each year these orchards are open for U-Pick cherries. Seeing as how we are in the midst of a pandemic—80 days of Shelter-In-Place…
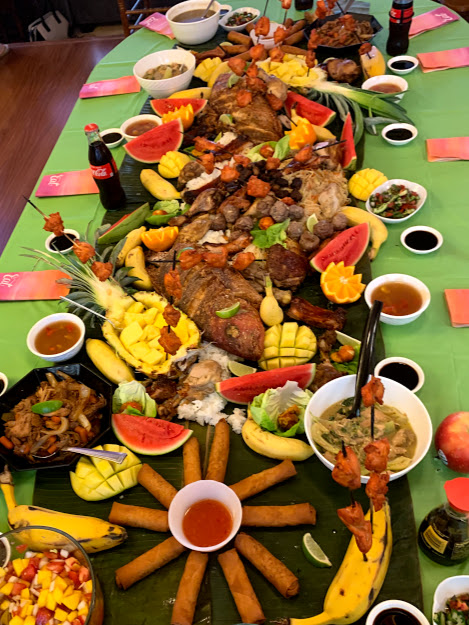
I know nothing about Filipino cooking, but my daughter organized a ‘Boodle Fight’ for one of our cookbook club meetings—look at all that food! A Boodle Fight is a GREAT idea! It looks impressive, there’s an abundant variety of delicious…
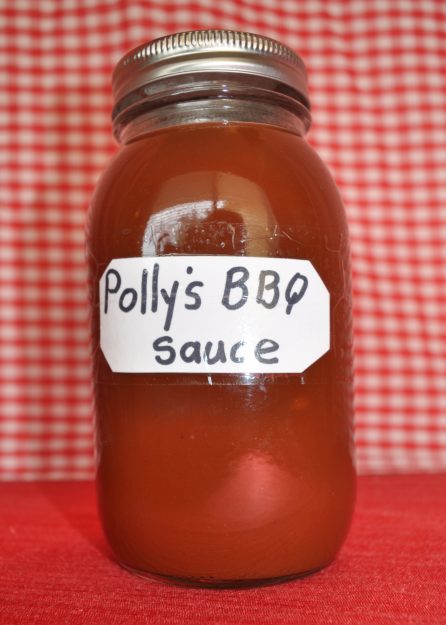
Homemade BBQ sauce is easy to make and it tastes so much better that that squeeze bottle of chemicals with a two-year shelf life! And you can use it on anything! Chicken, ribs, burgers, steak… 🙂 The original recipe for…
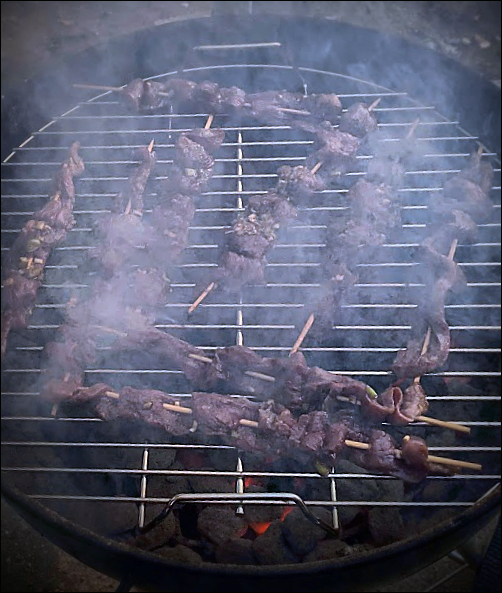
Meat on a stick! Is there anything better? When I was pregnant with my first child, my cravings were iced tea, tomato soup, and “tasty chunks of beef”! Twenty-six year later, I still crave tasty chunks of beef! This is a very…
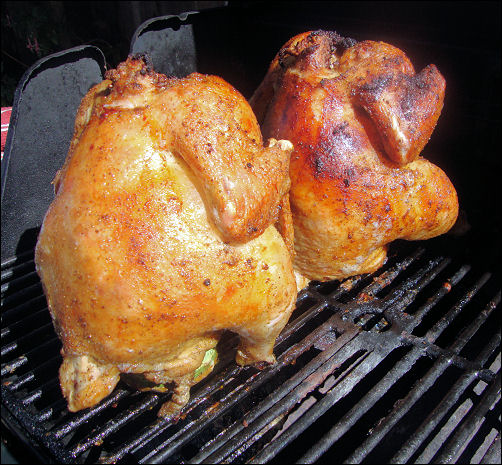
My friend, Adele, is the queen of Beer Can Chicken. She even tried to teach me how to do it, but I failed miserably. Mine just didn’t have the flavor that hers had. Knowing I was beat, I decided that Adele would…
Perfect! Three ingredients, a bit of salt and pepper, then quickly grilled on a skewer! It’s a pretty simple dish, and pretty simple in taste, too. Sometimes, that’s all one wants! It’s fancy enough to serve to guests, especially to…
Ahi Tuna, grilled, and rare—it’s not just restaurant fare, you know! Costco sells great Ahi Tuna steaks. There’s nothing fishy about this fish! Ahi Tuna is absolutely wonderful, it’s good for you, and it can be on the table in…
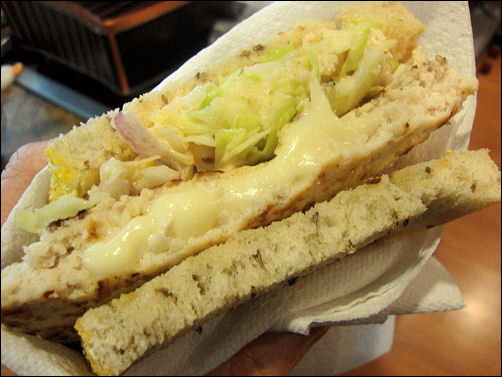
Finally, a real alternative to a hamburger, a Turkey Reuben Burger/Sandwich! It’s tasty, it’s filling, and it’s not that hard to prepare! And that first bite? You’ll moan—really! Oh my, I just thought how great this would be with some…