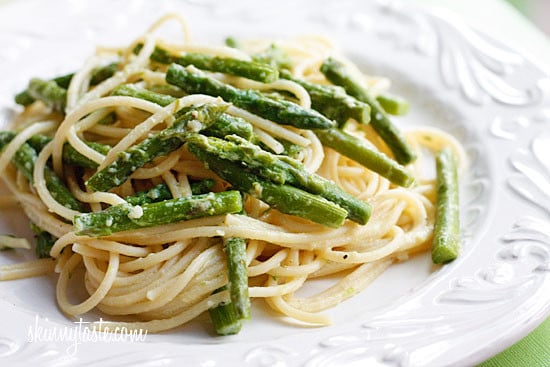
Pasta with Asparagus
I was underwhelmed with this recipe. The ingredient list didn’t add up to much for me. But Abby wanted to make it, and what Abby wants, Abby gets! I was wrong. This is a knock out pasta dish; easy, quick…

"It's all about the recipe!"
I was underwhelmed with this recipe. The ingredient list didn’t add up to much for me. But Abby wanted to make it, and what Abby wants, Abby gets! I was wrong. This is a knock out pasta dish; easy, quick…
Brussels sprouts ruined every Thanksgiving and Christmas dinner for the first thirty years of my life. It was a rule, in my parents’ house, that everyone had to eat one Brussels sprout at Thanksgiving dinner and another at Christmas dinner. I…
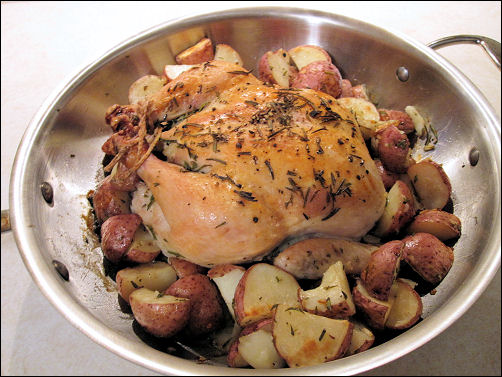
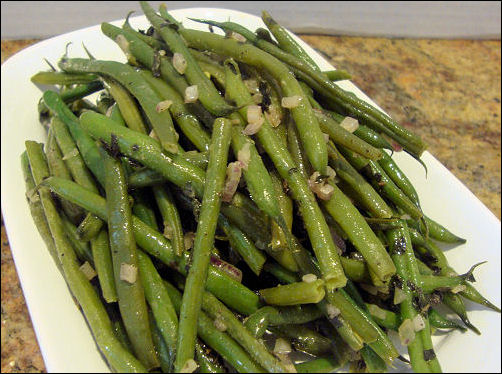
With New Potatoes and Seared Asparagus Spears! My friend John, the rugged, he-man, Lake Superior Chef of Asian Glazed Thigh fame, has submitted another recipe. I am posting this now because it sounds like it’s just the thing for a…
These taste a lot like the lettuce wraps at The Yard House and they are super easy and fast to make. After tasting this, I felt it needed a little heat to contrast with the cool, crispness of the lettuce…
I have debated back and forth about posting this recipe. Pros: it uses up zucchini, which is very important this time of year! The pasta recipe is good; simple, straightforward, and good. Cons: It’s not GREAT; it’s good, but it’s lacking…
Move over Doritos! Get out of here Bagel Bites! Got you beat, baby carrots! I find these to be quite an addictive finger food. They are a perfect summer appetizer, seasonal, chilled, and good for you. What’s wrong with a…
In the US, a “good” dinner is a main dish, maybe a veggie, a starch and a green salad. In England, the norm for a “good” dinner is a main dish, mash and three veggies. I’m English. Three veggies, please! …