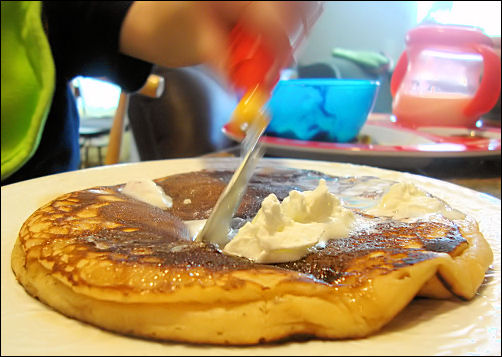
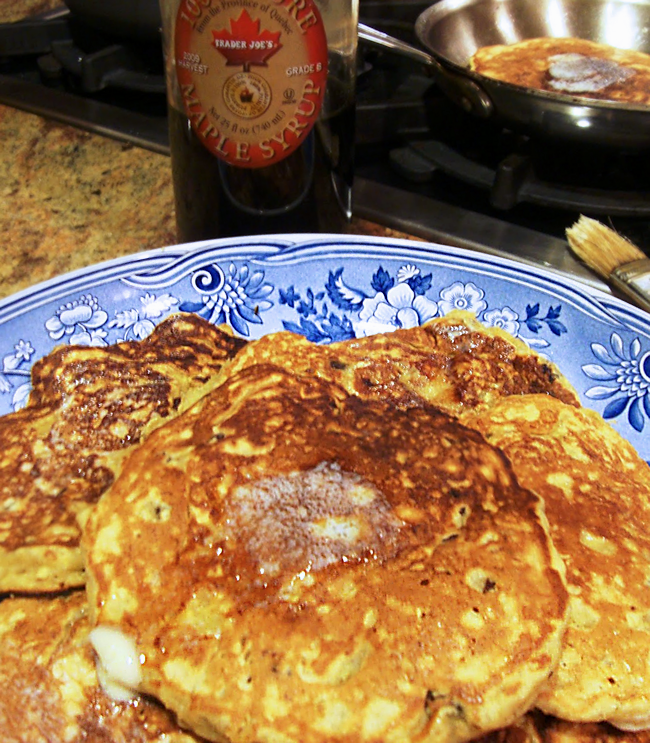
Cinnamon Roll Pancakes
Love these! There have been a couple of recipes floating around the web for the last six months or so for cinnamon roll pancakes, and I have tried several of them hoping to find the perfect recipe. But it was…

"It's all about the recipe!"
Love these! There have been a couple of recipes floating around the web for the last six months or so for cinnamon roll pancakes, and I have tried several of them hoping to find the perfect recipe. But it was…
This is a lovely, moist banana cake with a crunchy, cinnamon-y, chocolate chip-y topping. I reduced the amount of sugar in the original recipe from ¾ cup to 2/3 cup and eliminated the streusel layer in the center since the topping has both brown sugar…
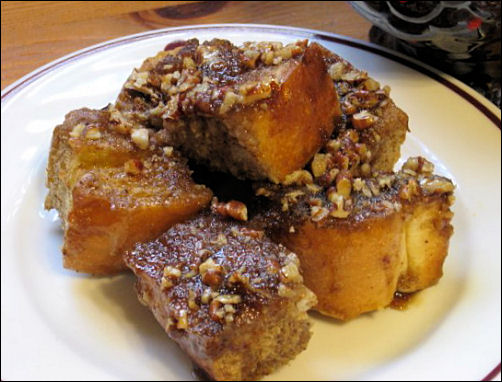
Polly’s Pecan Praline Toast recipe sounded so good that I just had to see if I could veganize it! And it turned out great! Full of buttery, gooey praline goodness 🙂 Veganized! Pecan Praline Toast INGREDIENTS For the French Toast…
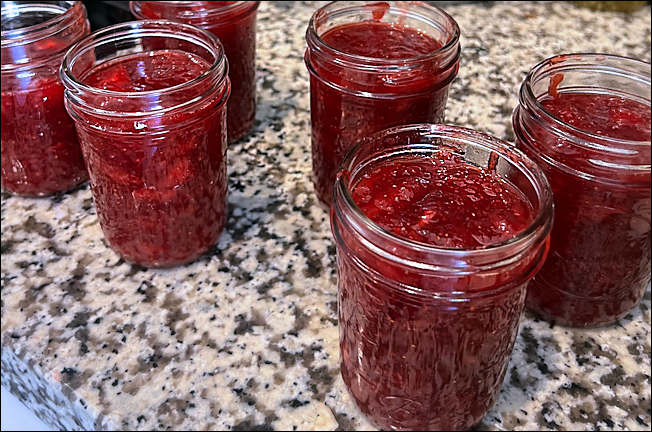
We have a strawberry delivery person in our neighborhood. He first knocked on my door pulling strawberries in a rickety Red Flyer wagon—now he drives a fancy van. He used to just bring strawberries. Now he brings strawberries, mangoes and…
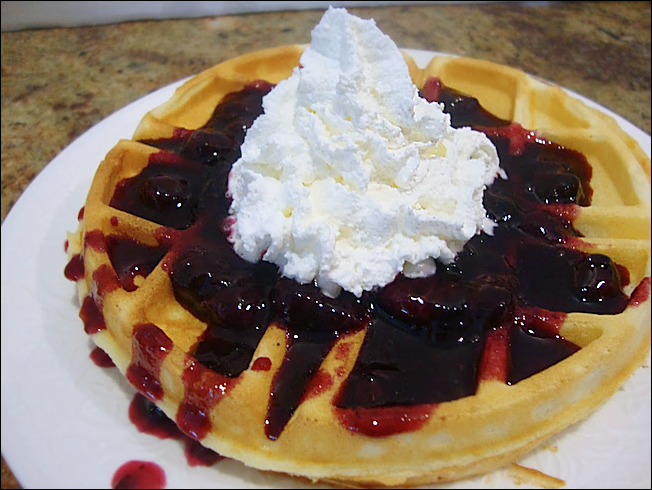
These waffles are delicious; the first bite has a wonderfully light crispness to it, and I know you’ll love it! The waffle batter is mixed the night before, covered and set out on the counter to ferment a bit. In…
I have two daughters—one of them loves all things peanut butter; the other one despises all things peanut butter. The one who loves all things peanut butter is home. She’s working four part-time jobs and taking a summer class at…
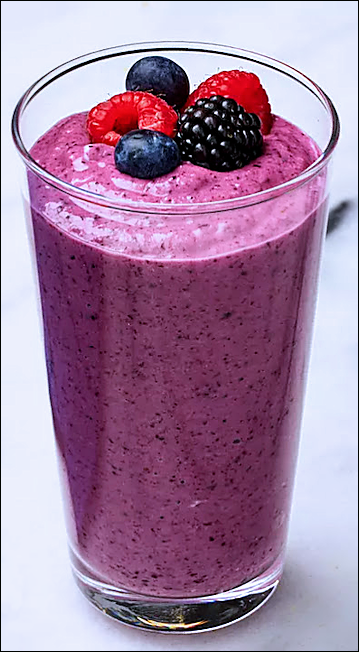
March can be pretty depressing. It’s cold, it’s windy, and there were no diamonds for you on Valentine’s Day—again. You bought yourself some chocolates—twice—and ate all of them in front of the TV while the gym took their automatic payment…
I’m pretty sure I was one of the first people ever to taste a smoothie 🙂 There was a smoothie man on campus at San Diego State University in 1976. He had a blender, fresh pineapple, fresh bananas, and a…