Fresh Corn Soup
This is such a plain and simple recipe, it’s hard to believe such a good tasting soup comes out of it! The ingredient list for this soup is so ordinary that it’s hard to imagine the exceptional taste. Been there,…

"It's all about the recipe!"
This is such a plain and simple recipe, it’s hard to believe such a good tasting soup comes out of it! The ingredient list for this soup is so ordinary that it’s hard to imagine the exceptional taste. Been there,…
I had a rather unfortunate accident with a new immersion blender yesterday. Ranch dressing EVERYWHERE, and very little left in the bowl. Ranch dressing on the counter, down the doors, all over me, on the floor, on the backsplash! White…
I was underwhelmed with this recipe. The ingredient list didn’t add up to much for me. But Abby wanted to make it, and what Abby wants, Abby gets! I was wrong. This is a knock out pasta dish; easy, quick…
This recipe is from one of America’s Test Kitchen 30-minute Meals cookbooks. The meatballs, although very simple with a very plain list of ingredients, are quite tasty. I wanted to up the curry powder just a bit, but my offspring vetoed that…
I am so excited about this recipe! It’s a paradigm shift recipe! It’s not a recipe in the true sense of the word, it’s more of a road map to a particular destination. A road map allows for more flexibility…
Whooooa Nelly! Crab and Brie Macaroni and Cheese? Over-the-top decadence in a comfort food? YEP! And the decadence makes the comfort food even more comforting—like ‘died and gone to heaven’ comforting! Yet another winning recipe from the Better Homes and…
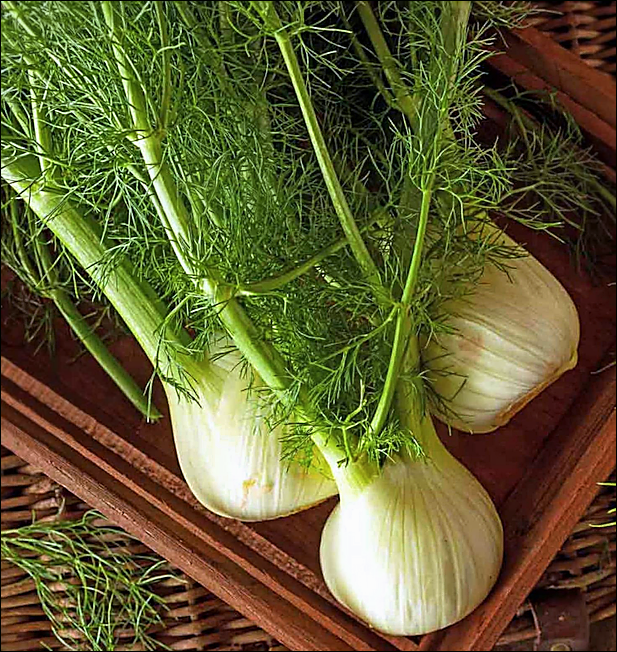
Ever eaten raw fennel? Time to start! And here’s a fabulous recipe to start with: Raw Fennel and Apple Salad. It’s easy to make and it’s shockingly good. I say shockingly because everyone I coerce into trying it has been…
Here’s my wrap-up of In The Kitchen With Polly‘s Top 10 Super Bowl Snacks… Enjoy! Crockpot Bean Dip: A must! Serve with tortilla chips or Frito’s Scoops. It’s easy to mix up the dip the night before, then put in crockpot…