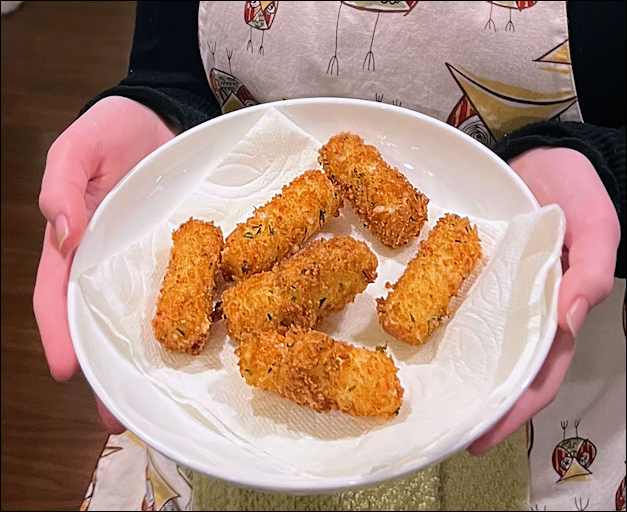
Panko Mozzarella Sticks
I had no idea it was so easy to fry cheese! I also had no idea fried cheese was so delicious. Dang it. There’s no looking back now, unfortunately. Fried Mozzarella sticks are here to stay and they are my 2011…

"It's all about the recipe!"
I had no idea it was so easy to fry cheese! I also had no idea fried cheese was so delicious. Dang it. There’s no looking back now, unfortunately. Fried Mozzarella sticks are here to stay and they are my 2011…
Brussels sprouts ruined every Thanksgiving and Christmas dinner for the first thirty years of my life. It was a rule, in my parents’ house, that everyone had to eat one Brussels sprout at Thanksgiving dinner and another at Christmas dinner. I…
One of our family favorites has always been our oven baked fries. My friend Mary first made these for me about 25 years ago—I had been so impressed to arrive at her house for lunch and find a basket of home…
I hope you are going to the Farmer’s market this weekend! I was there last week, and there were lovely large bunches of fresh basil. Buy a bunch! Get some potatoes, too—Yukon Golds or white boiling potatoes would be good.…
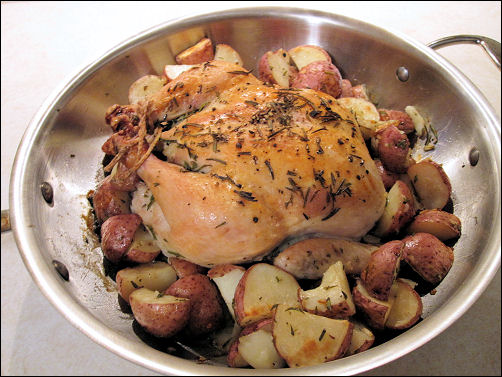
Yesterday I went to Costco and Trader Joe’s. Both places had samples of make-it-from-a-box turkey dressing. Did they think the samples would entice people to buy that stuff? What WAS it? The texture was glue-y, the taste was, was…, sigh. There was…
With New Potatoes and Seared Asparagus Spears! My friend John, the rugged, he-man, Lake Superior Chef of Asian Glazed Thigh fame, has submitted another recipe. I am posting this now because it sounds like it’s just the thing for a…
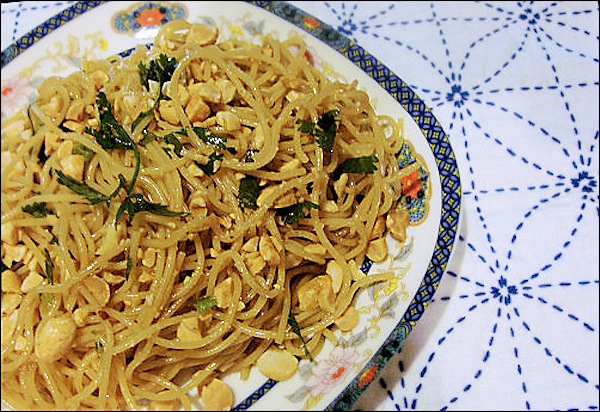
Chinese Pasta Salad? Is there such a thing? I doubt it—so what is this?! I don’t know what else to call it! Chinese Pasta Salad is the name it arrived with and I welcome all suggestions for a new name 🙂 This cold…
These taste a lot like the lettuce wraps at The Yard House and they are super easy and fast to make. After tasting this, I felt it needed a little heat to contrast with the cool, crispness of the lettuce…