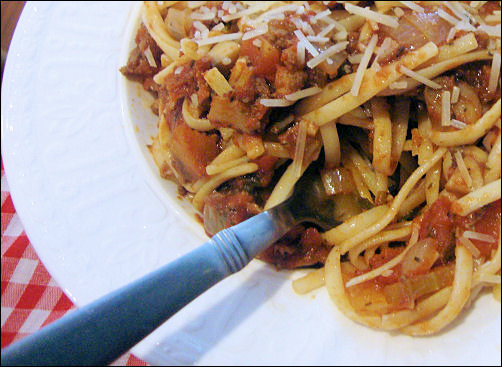
Homemade Spaghetti Sauce
Who eats jarred spaghetti sauce? I hope no one! I don’t; not ever. Well, I’ve had a spoonful here and there, so I do know how bad it is—which is generally too much vinegar. I like wine, tomatoes, onions, fresh mushrooms and…
"It's all about the recipe!"
Who eats jarred spaghetti sauce? I hope no one! I don’t; not ever. Well, I’ve had a spoonful here and there, so I do know how bad it is—which is generally too much vinegar. I like wine, tomatoes, onions, fresh mushrooms and…
So, I decided to go for a pedicure—unfortunately my nail salon is not known for having the most recent magazines with the biggest pictures, so I stopped on the way to treat myself to a glossy dose of gossip. Wouldn’t…
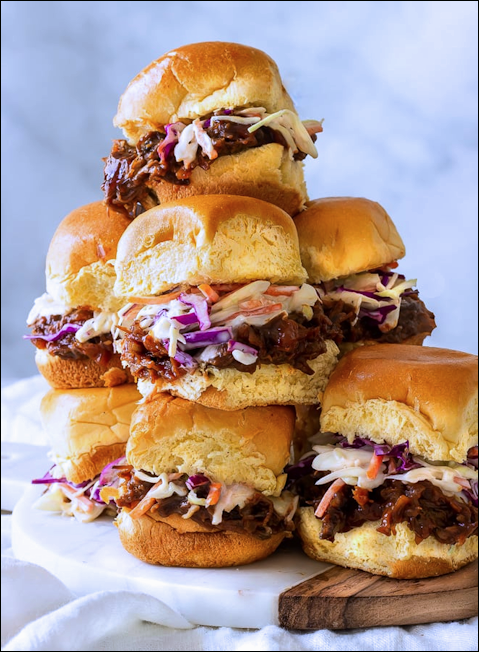
Here’s one more recipe suggestion, tried and true, an easy one for your Super Bowl party! On your way home tonight (Game Day minus two) pick up a 3-4 lb. beef roast, any kind—bottom round or rump are fine—just get…
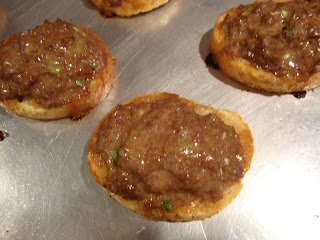
Just what you need for the big Super Bowl party at the neighbors’ house! A yummy, quick and easy appetizer to take with you 🙂 You’ll need a pound of ground beef, a bit of onion (any kind), soy sauce,…