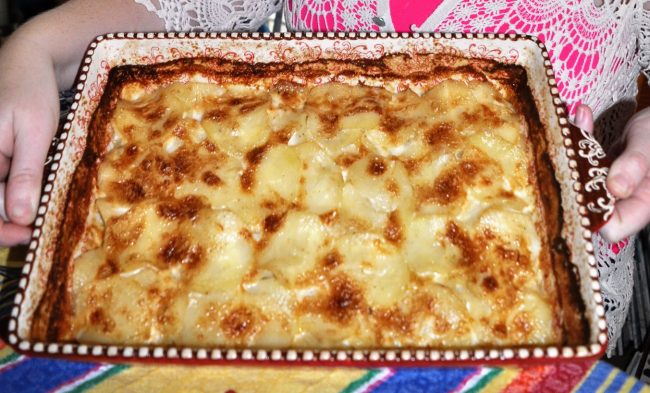
Potatoes Baked in Cream
Did the name of the recipe entice you click on this?! Well then, that makes us friends forever! When my friends from Southern France were staying with us, they offered to make a side dish for dinner. They didn’t use a recipe. They…