Chai Hot Chocolate For Two
Time to huddle in front of the fire with a good book, a quilt, and a cup of grown up hot chocolate, Chai Hot Chocolate. I think you’ll like this; it’s familiar but different, and it’s lighter than regular hot chocolate.…
"It's all about the recipe!"
Time to huddle in front of the fire with a good book, a quilt, and a cup of grown up hot chocolate, Chai Hot Chocolate. I think you’ll like this; it’s familiar but different, and it’s lighter than regular hot chocolate.…
My daughter recently catered a birthday dinner for a very bubbly, champagne loving girl, and she knew that Champagne Cupcakes had to be on the menu! The good news is that these are great cupcakes not only for a birthday dinner,…
Just in time for Valentine’s Day—French Hot Chocolate! This is soooo good, made with real cream and real chocolate, and bearing no resemblance at all to that powdery mix in a paper packet. The serving ritual makes this really special.…
Ooooh, Caramel Corn! Isn’t it lovely? You know I am not talking about that stale, pale, powdery stuff out of a bright and cheerful tin, right? I am talking about real Caramel Corn, the homemade variety! Here’s the recipe I use—I think…
I have never seen a recipe published for this sandwich, but it’s one of my favorites—probably because it’s more like a dessert than a sandwich! I have my demons, and all of them are sweet 🙂 I first encountered this sandwich…
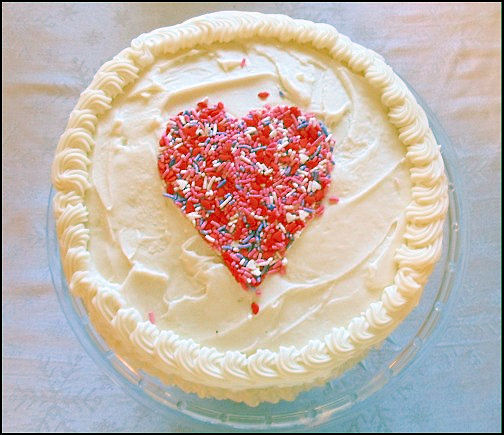
I have been in a funk all week—I made two more cakes from that book I was all aglow about last weekend, and I’m no longer glowing 🙁 First off, I wanted to try the Red Velvet cake recipe; the…
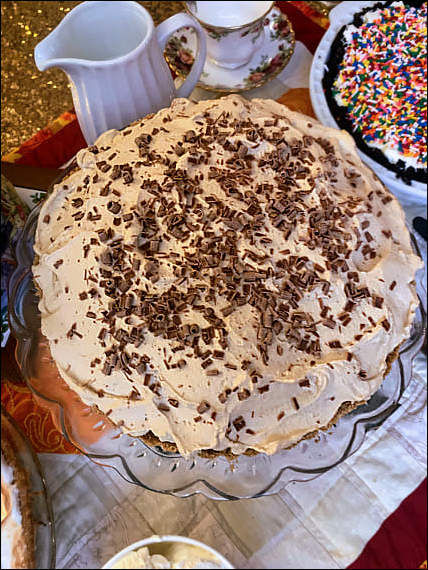
Banoffee Pie! You’ve heard of it, right? Toffee, bananas and coffee flavored cream in a pastry crust? There are more to British desserts than Trifle, Spotted Dick, and Sticky Toffee Pudding, you know! This pie took the British Isles by…
When I was a kid growing up in the north of England, Caramel Bars were my very favorite tea time treat. My Dad taught me to lick the top of the bar—then announce it loudly—so no one else would select…