English Caramel Bars (Millionaire Bars)
When I was a kid growing up in the north of England, Caramel Bars were my very favorite tea time treat. My Dad taught me to lick the top of the bar—then announce it loudly—so no one else would select…

"It's all about the recipe!"
When I was a kid growing up in the north of England, Caramel Bars were my very favorite tea time treat. My Dad taught me to lick the top of the bar—then announce it loudly—so no one else would select…
I firmly believe every cookie tray needs an old fashioned jam cookie. Those coconut, chocolate, peanut butter, peppermint, gingerbread, sugared pecan concoctions have their place but, in the midst of such chaos, a straightforward old fashioned cookie is just the thing. …
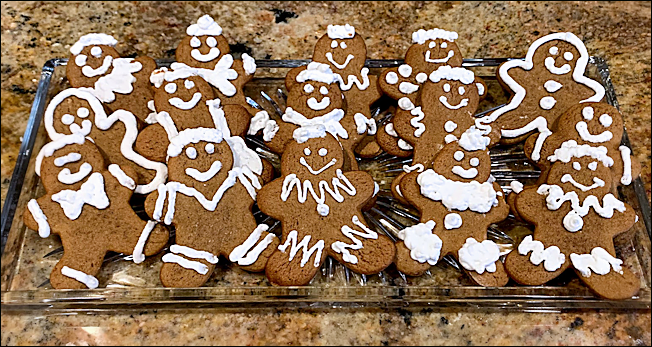
Every Christmas cookie plate needs an old fashioned Gingerbread cookie! I have been using this recipe for years. The cookie is sturdy, bakes flat and although it has a pronounced gingerbread taste, it’s not overwhelming; kids can decorate it without it…
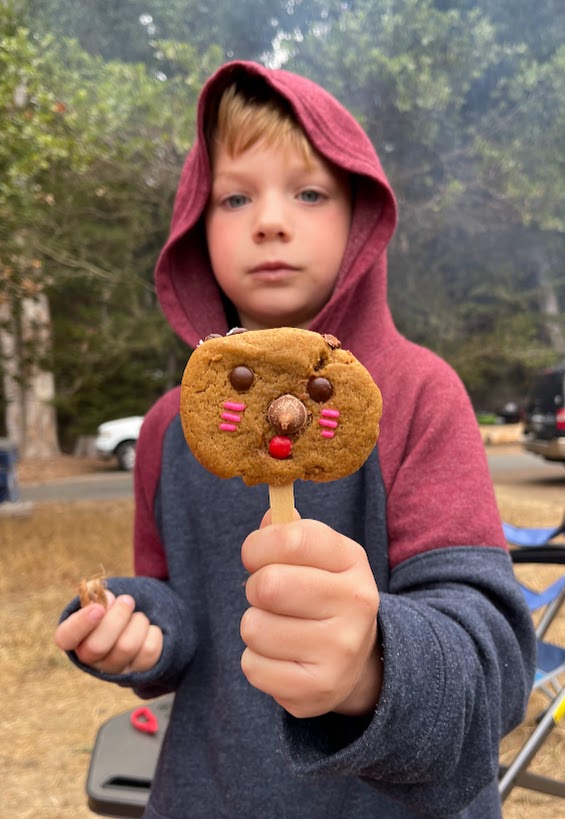
Is it a cookie? Is it a lollipop? It’s a Fun-Face Cookie-Pop! My kids loved these, both making them and eating them. We’ve been making these candy studded spice cookie pops every Fall since 1998, and unfortunately I don’t remember where I originally found the recipe. One…
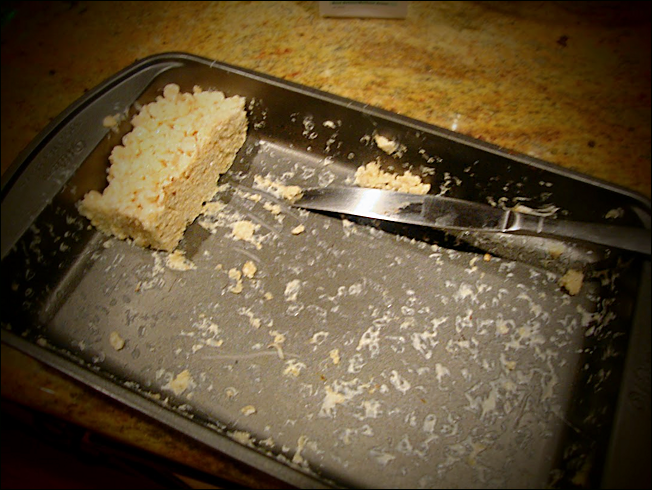
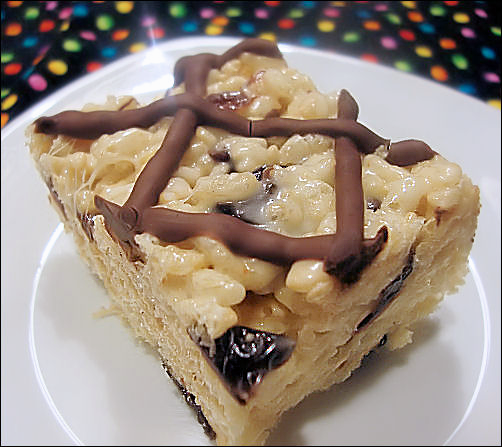
In our recent Rice Krispie Treats taste tests, these were definitely the winners! I think they won because they tasted the most like traditional Rice Krispie Treats, but were cranked up a notch, a big notch! The browned butter and the sea…
I looooove coconut so much that I had to make these—had to! And I’m glad I did, too. This recipe is a keeper! I found this recipe at Craving Chronicles but had to change it up a bit—I wish I’d…
For years I had forgotten about Rice Krispie Treats, thinking of them as kid stuff, when a neighbor brought a batch to a block party—I went wild! Rice Krispie Treats are officially one of my danger foods now—don’t leave me…
With White Chocolate and Cherries! This recipe has been floating around the internet quite a bit lately—seems like everyone is making it! I found the recipe at My Baking Addiction. My verdict? This is a good seasonal cookie—the white chocolate and…