Tag: Family Friendly


Bloomin’ Onion Tear and Share Loaf
You know how you read a recipe and you just KNOW it’s going to be good? This was one of those recipes—a Sourdough bread round, cheese, butter, green onions and a sprinkling of poppy seeds, baked. What’s not to like?…
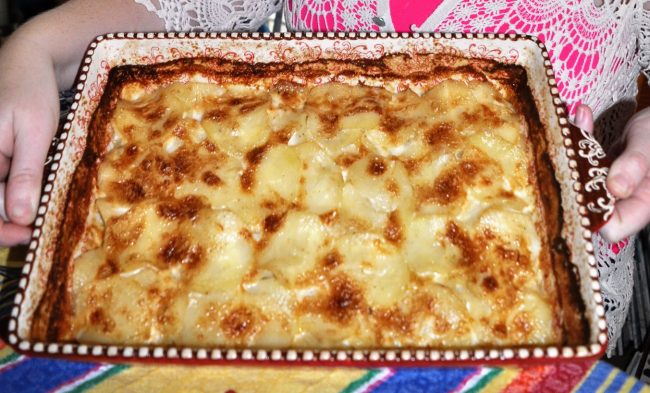
Potatoes Baked in Cream
Did the name of the recipe entice you click on this?! Well then, that makes us friends forever! When my friends from Southern France were staying with us, they offered to make a side dish for dinner. They didn’t use a recipe. They…
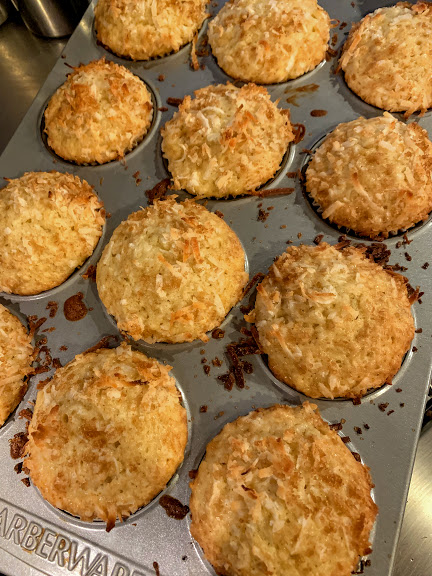
Coconut-Banana Muffins
I love muffins and I love all things coconut! I can’t think of anything better on a cool Sunday morning than a warm coconut muffin, a latte, some social media, something to read, jammies, and fluffy slippers. This recipe makes…

Triple Chocolate Mousse Torte
This is the cake I wanted for my birthday this year and it’s what a friend requested for her birthday a few months ago. It’s a fabulous trifecta of chocolate: semi sweet chocolate in a brownie-like cake on the bottom,…

Pumpkin-Chocolate Cake
This is the BEST cake to serve at this time of year (or any other time of the year, actually)! It’s a good chocolate cake – a very, very good chocolate cake; it’s moist, and nicely chocolate-y, and made richer with some pumpkin…

Pumpkin Spice Biscotti
It’s that time of year—let the fall baking commence! I’ve started with these Pumpkin Spice Latte Biscotti, my entry for my cookbook club’s ‘Pumpkin Dessert Showstopper Challenge‘ last year—sometimes we act like we are contestants on the mythical ‘Great American…
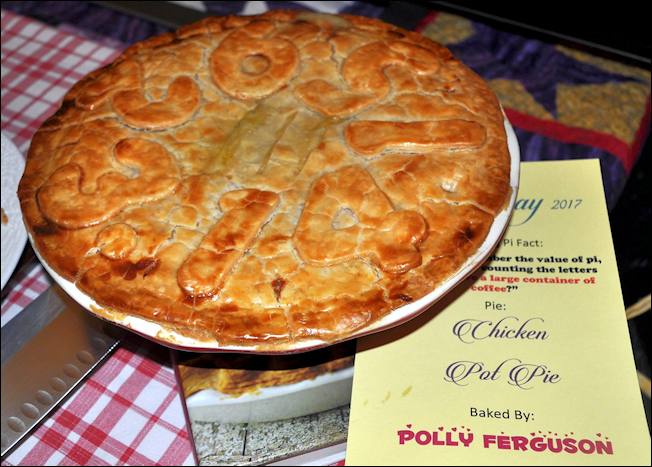
Chicken Pot Pie
This is a pretty simple Chicken Pot Pie. Absolute comfort food! No spices other than salt and pepper, so the true taste of sauteed chicken and fresh veggies shine whilst snuggled up in a smooth gravy and encased in pastry. Yummmm!…