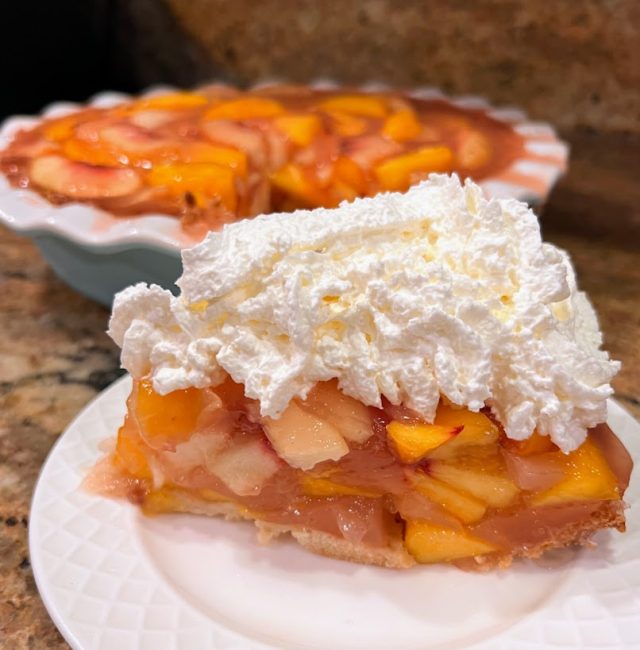
Fresh Peach Pie
I found two good recipe for fresh peaches this year! This one is the standout—I hope it’s served at every summer BBQ 🙂 The previously posted Peach Crumble Bars are delicious, too 🙂 As you can see from the picture above,…
"It's all about the recipe!"
I found two good recipe for fresh peaches this year! This one is the standout—I hope it’s served at every summer BBQ 🙂 The previously posted Peach Crumble Bars are delicious, too 🙂 As you can see from the picture above,…
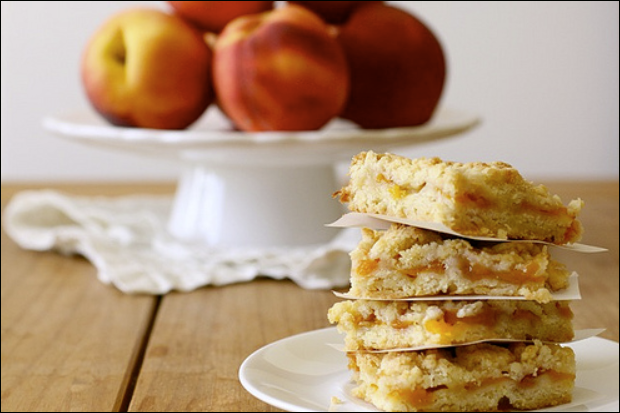
Peaches are really good this year, which is good news after a few disappointing crops the last few years. I’ve enjoyed some delicious, chin dripping peaches this summer. Topping that, I’ve also had success with two new recipes using fresh…
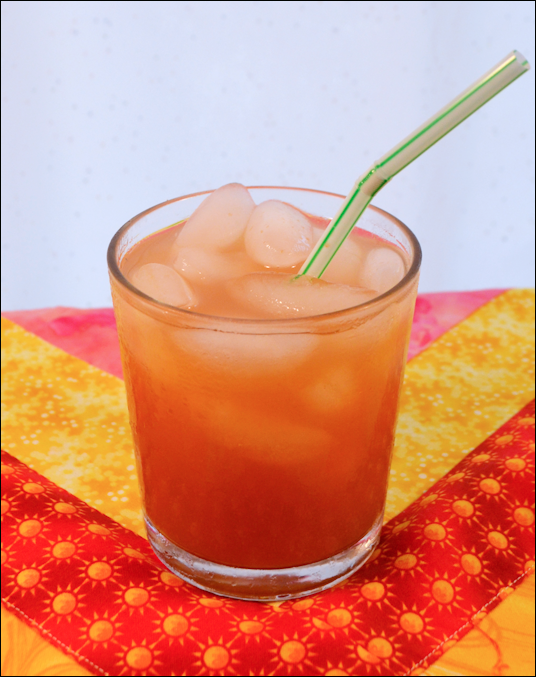
This tea, as is, is not too sweet, and definitely has a pronounced peach flavor; it’s like Snapple Peach Iced Tea, only better! Make the big-batch peach base to keep in the freezer and you’ll be able to whip up…
Hmpfff. I just got through looking at the two hundred and seventeen pictures of a recent bride’s Hawaiian honeymoon. As one of her friends commented, “The envy hurts“! I went to Hawaii once. I did. It was with my kids’…
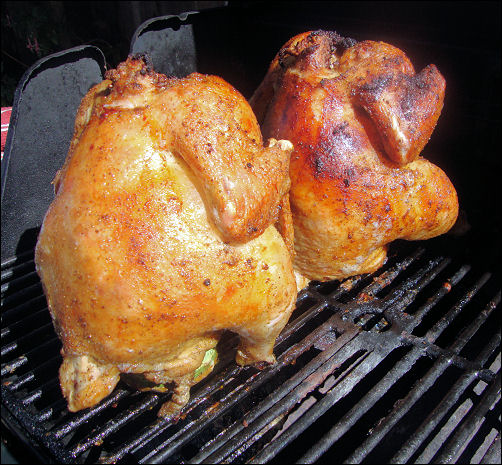
My friend, Adele, is the queen of Beer Can Chicken. She even tried to teach me how to do it, but I failed miserably. Mine just didn’t have the flavor that hers had. Knowing I was beat, I decided that Adele would…