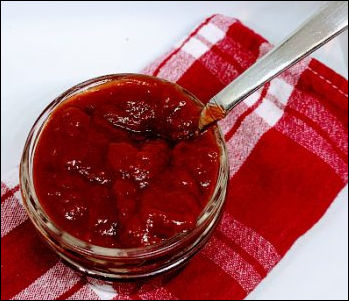
Homemade Ketchup
Every year I plant tomatoes and every year, for a period of a few weeks, I have more tomatoes than any one family could ever use. I have some recipes on this blog that call for a lot of homegrown…

"It's all about the recipe!"
Every year I plant tomatoes and every year, for a period of a few weeks, I have more tomatoes than any one family could ever use. I have some recipes on this blog that call for a lot of homegrown…
I definitely need a better picture. Looking for something new for lunch? I have the perfect thing! This lunch has to be baked, so it’s a great fall-winter recipe. I found it at Simply Recipes awhile back—picture cred to Simply Recipes,…
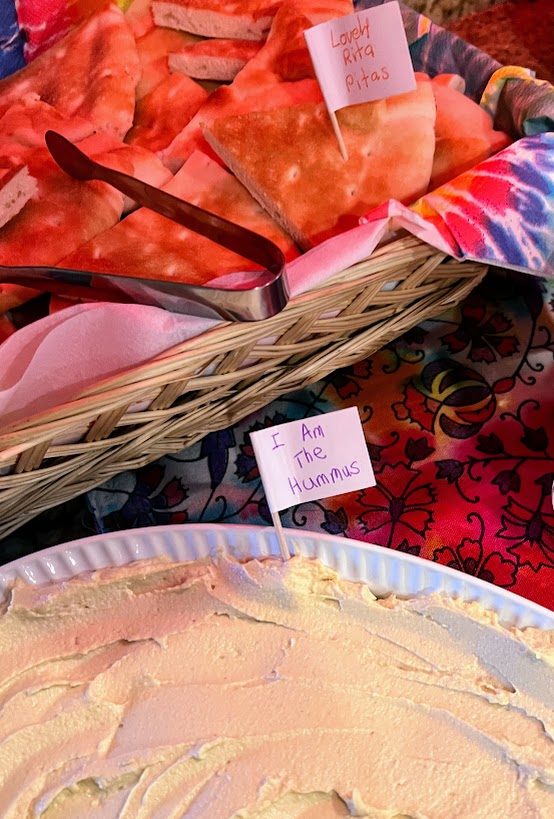
Traditional Arabic hummus—how do I know its traditional? Because I learned how to make it from my Saudi and Kuwaiti students in 1981 and 1982. I watched how they made it, wrote everything down, and have followed the recipe ever since. Well,…
I am sooooo bad. I KNOW I shouldn’t cook like this. I know it, I know it, I know it! But I did. And my little experiment turned out too wonderfully well 🙂 Who knew homemade corn dogs were so easy to make?! I…
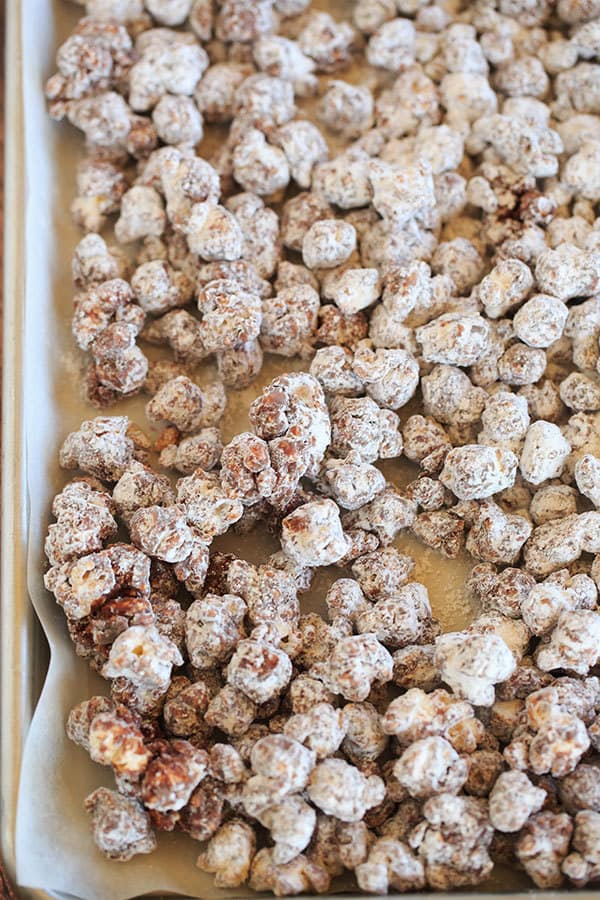
This recipe is almost the same recipe as Muddy Buddies, but using popcorn instead of Rice Chex! It’s a cinch to pull together, and it’s melt-in-your mouth delicious 🙂 I mean, seriously addictive. I am pretty sure you have all…
Here’s my wrap-up of In The Kitchen With Polly‘s Top 10 Super Bowl Snacks… Enjoy! Crockpot Bean Dip: A must! Serve with tortilla chips or Frito’s Scoops. It’s easy to mix up the dip the night before, then put in crockpot…
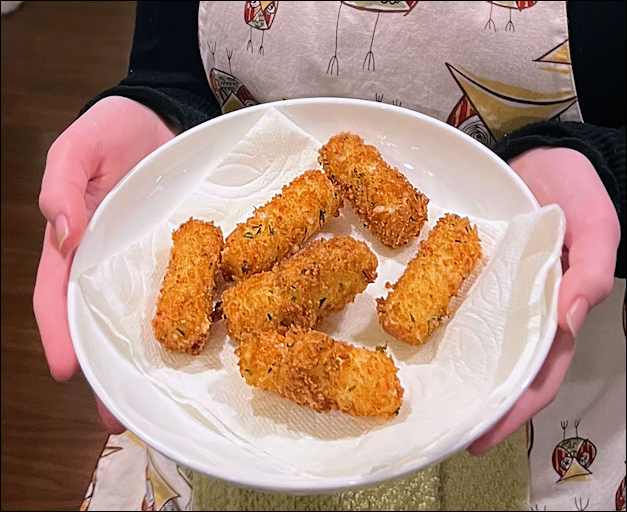
I had no idea it was so easy to fry cheese! I also had no idea fried cheese was so delicious. Dang it. There’s no looking back now, unfortunately. Fried Mozzarella sticks are here to stay and they are my 2011…
Ooooh, Caramel Corn! Isn’t it lovely? You know I am not talking about that stale, pale, powdery stuff out of a bright and cheerful tin, right? I am talking about real Caramel Corn, the homemade variety! Here’s the recipe I use—I think…