Peanut Butter and Jelly Bars
From my days as a mom of little kids, here’s a recipe for some fancy peanut butter bars. Make them for a lunchbox surprise or a special after school treat. They are not just for kids though, these are really…
"It's all about the recipe!"
From my days as a mom of little kids, here’s a recipe for some fancy peanut butter bars. Make them for a lunchbox surprise or a special after school treat. They are not just for kids though, these are really…
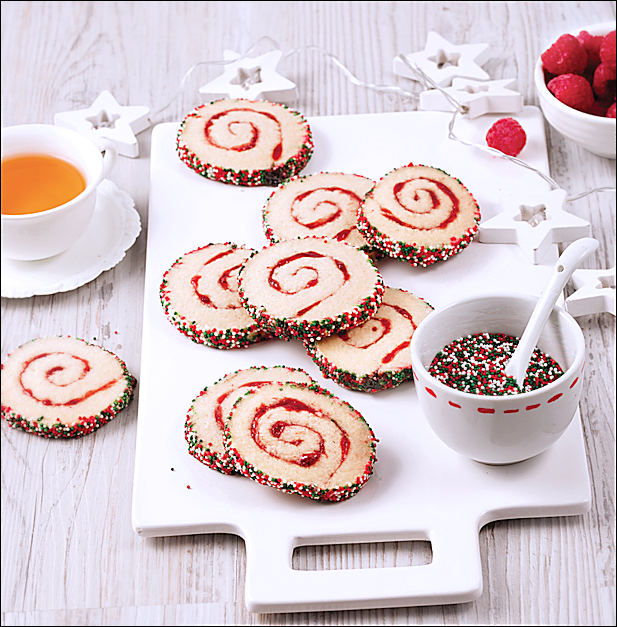
I firmly believe every cookie tray needs an old fashioned jam cookie. Those coconut, chocolate, peanut butter, peppermint, gingerbread, sugared pecan concoctions have their place but, in the midst of such chaos, a straightforward old fashioned cookie is just the thing. …
My nineteen-year-old daughter whipped this up for her dinner—over high heat—in her on-campus apartment over the weekend. The firefighters came to call, in their big red truck, with the sirens blaring. She’d set off the smoke alarm—with one pork chop!…
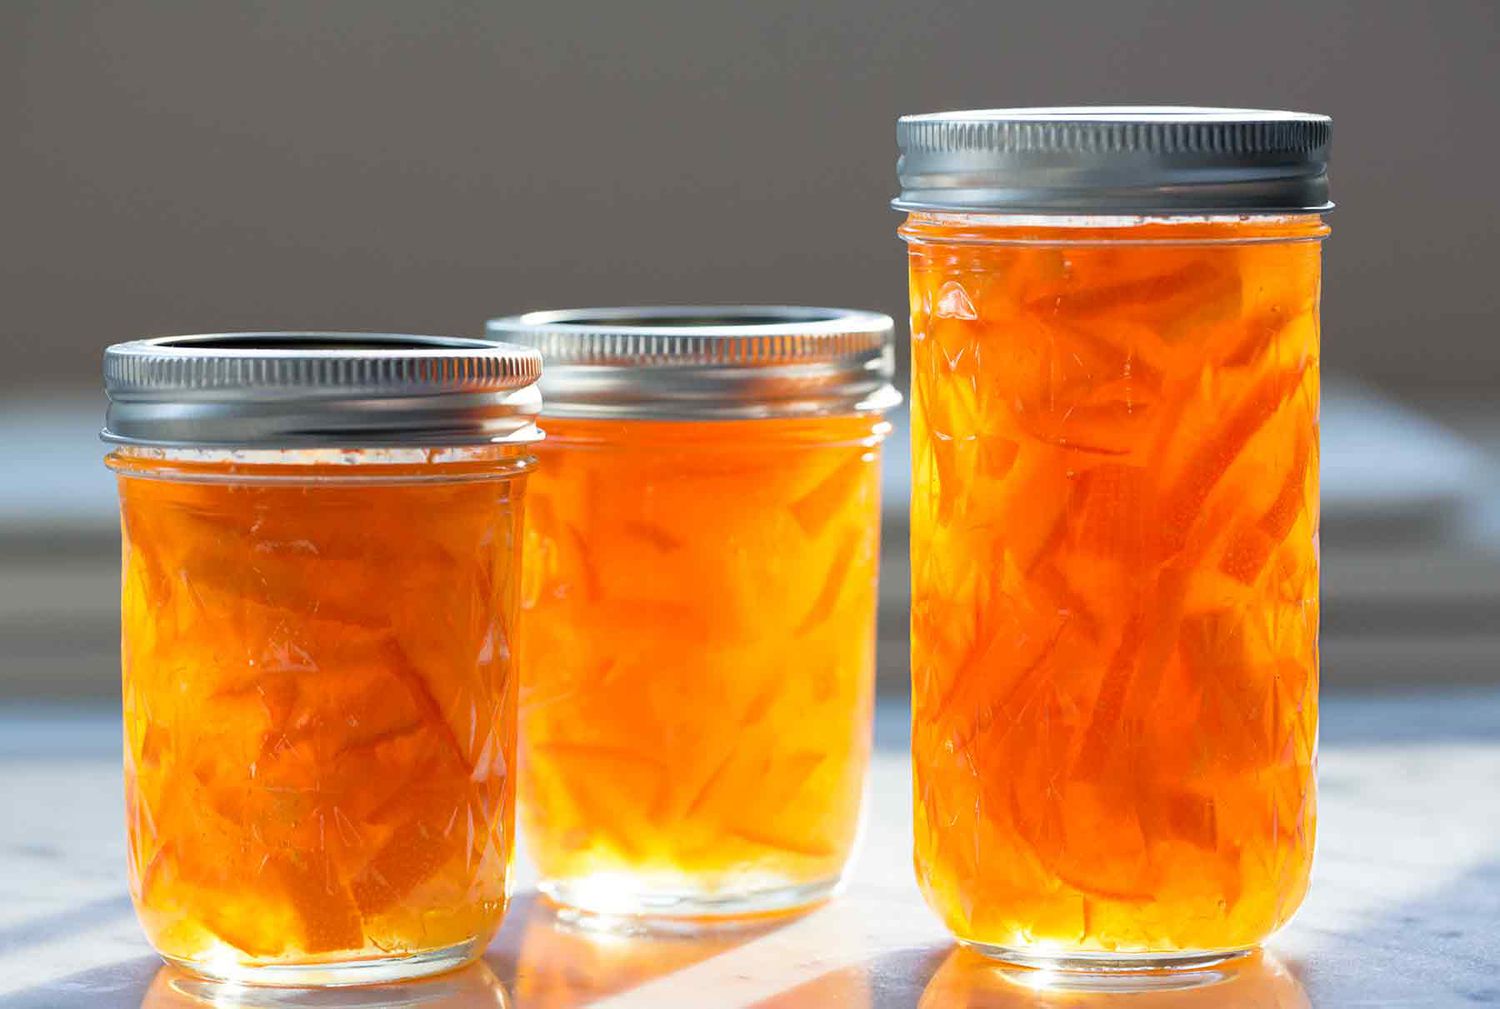
You can make marmalade for breakfast! Honest, you can! It’s amazing! I have made orange, lemon and lime marmalade with this recipe—it’s so QUICK! I was very impressed 🙂 I have had better marmalades (hrmm, have I, really?), but they…
Lemon Curd [lemen kerd] n. 1 a wonderful treat cursed with an unfortunate name. 2 a custard made with lemon juice, butter, sugar, and eggs and used as a spread or filling. She spread the tasty lemon curd on her…