Archive for ◊ 2013 ◊

21 Jul 2013 “Magic Shell” Topping for Ice Cream

magic shell with bottle[3] rattie

It’s summer.  It’s time for ice cream, and the easiest recipe ever posted on this site! Magic Shell!  You know the stuff, right?  You squeeze the chocolate-y liquid onto ice cream and it hardens up almost immediately.  Then you can use your spoon and shatter the thin chocolate all over the ice cream. Then you can stir the chocolate pieces  into your ice cream, and when you have a spoonful of the concoction the magic shell shatters again in your mouth.  It’s lovely.  It’s chocolate-y. It’s fun. It’s magic. It’s easy.

The recipe only calls for two ingredients.  And once you make it, you can keep it on the kitchen counter in a squeeze bottle for up to a month.

You need good chocolate, and coconut oil. Coconut oil?  Yep.  It’s not as hard to find as it used to be.  I even saw jars of coconut oil at Walmart, and Costco is selling huge bottles of it now.  It should be on the shelf of your grocery store, next to all the other oils.  If not there, and you don’t shop at either Walmart or Costco, try Trader Joe’s.

Magic Shell

  • 5  ½ oz. good quality chocolate, milk or dark, whatever is your personal preference (don’t use chocolate chips, use some good quality bar chocolate)
  • ½ cup coconut oil
  • Ice cream, for serving

Makes 1 cup

  1. Chop your chocolate and add it to a microwave-safe container along with coconut oil.
  2. Zap at 30-second intervals until chocolate melts into the coconut oil.  Stir well. At this point I like to pour my Magic Shell into a squeeze bottle, but this is not absolutely necessary.
  3. Pour mixture over ice cream, watch it harden, crack it open! Magic! Fun! Delicious!
  4. Because of the melting point of the coconut oil, the magic shell will stay liquid in a hot kitchen and solidify after sitting in a cold kitchen or the fridge. If your leftover shell hardens, just re-melt in the microwave. Stored at room temperature Magic Shell should keep for at least a month

Keep some of homemade “Magic Shell” and a carton of your favorite ice cream on-hand for quick, no cook, sort of special dessert.  Psssst…! Kids like to pour some rainbow sprinkles onto the chocolate sauce just before it hardens!

Thanks for stopping by my kitchen today.  See you again soon!


06 Jul 2013 Turkey Burgers with a Greek Flair

Turkey Burger

Want a new, different and totally tasty burger to add to your repertoire?  Here it is! A Turkey burger with a Spanakopita Flair.  This recipe was inspired by Rachael Ray’s, Spanakopita Burger from her book, 365: No Repeats.  I made her recipe “as is” last year, and it was good, but this year I made it my way (below), and loved it.  I grill these burgers, but pan frying works, too.  I am sure some cucumber raita would go well on these burgers but we ate them the traditional American way, on a good bun with sliced homegrown tomatoes, a bit of crunchy lettuce and ketchup. Make the patties as big or as little as you want. I made 8 patties, approx 6 oz. each, but I love those little slider buns that are available now and think hosting a BBQ and serving a variety of burgers would be fun.  You could make slider sized regular hamburgers, these Greek Turkey Burgers, and maybe a Salmon burger. Don’t forget the sides of watermelon, corn, and a pasta salad, and grill some of that zucchini that I know is taking over  your garden.  S’mores for dessert, of course.  How about my Peach Iced Tea or Blueberry Lemonade to drink? Done!  Send out the e-vite!

My son’s girlfriend just took a bite of my his leftover and warmed up Turkey burger.  Her exact words were, “WOW. That’s fantastic!” Yup 🙂  And she scored big points with the boyfriend’s mama!

Turkey Burgers with a Greek Flair

  • 1  1/2 lb – 1  1/3 lb ground turkey
  • 1 box (10 oz) frozen spinach, thawed and squeezed dry
  • 1 cup (4 oz) crumbled feta cheese
  • 18-24 (2-3 oz) Kalamata olives, diced
  • 1/2 cup very finely diced or grated red onion
  • 1/4 cup chopped fresh basil or parsley, if you have some on hand
  • 1 tsp. minced garlic
  • 1 tsp dried oregano
  • 1/2 tsp. – 1 tsp. black pepper
  • 1/2 tsp. salt (the feta and olives are already salty so you can skip the added salt if you are salt sensitive)
  • 4 oz. applesauce (1 individual serving cup) OR 1/2 peeled apple, grated
  • 1/4 cup seasoned breadcrumbs (any breadcrumbs or Panko will work)
  • 1 egg, beaten

To serve: Buns, and choice of toppings.

  1. Place the ground turkey in a large bowl.
  2. Remove the defrosted spinach from the box and squeeze, and I do mean s-q-u-e-e-z-e ALL the water from the spinach.  I did not say drain, I said squeeze.  Take about 1/3 of the spinach into your hand and squeeze, squeeze, squeeze until totally dry.  Repeat until all the spinach is in little tight balls.  Fluff the balls up and add to the ground turkey in the bowl.
  3. Add to the turkey mixture the feta, olives, red onion, garlic, oregano, basil or parsley, salt and pepper, applesauce or grated apple, and the bread crumbs.  With a fork lightly mix the ingredients until everything has been uniformly distributed.
  4. Divide the mixture into 8 equal parts. Pat each part into a flat patty, just slightly bigger than your hamburger buns.
  5. Grill, or pan fry until done, about 3 minutes on each side, but this all depends on how hot the grill/pan is.
  6. Toast the buns!  (I love toasted buns)
  7. Serve with your choice of condiments–ketchup, mayonnaise, mustard, riata, tomatoes, lettuce, grilled red peppers…

Thanks for stopping by my kitchen today!  I hope you enjoy these burgers, we sure did!  They’re VERY tasty 🙂

24 Jun 2013 Crab and Brie Macaroni and Cheese

Crab and brie mac n cheese

Whooooa Nelly!  Crab and Brie Macaroni and Cheese?  Over-the-top decadence in a comfort food?  YEP! And the decadence makes the comfort food even more comforting–like ‘died and gone to heaven’ comforting!  Yet another winning recipe from Better Homes and Gardens Special Interest Publication “Best Loved Reader Recipes; 125 Winners from 1930 to Today”. (My last post was a recipe for “Peach Iced Tea” inspired by a recipe from this magazine)

If someone is having a hard time, and that sweet “I am going to drop off a casserole” American tradition seems appropriate, THIS is the casserole to take.  I took it to my 120-miles away daughter who is bravely attempting a semester long college Physics course in a six-week summer session, working the 4 PM-midnight shift at Target, and sweltering in the hot central valley heat. I am not saying this Macaroni and Cheese is miraculous or anything, but she did  score 15 points over the class average on her first mid-term. Not dropping off a casserole to a friend-in-need anytime soon?  I’ll bet you’ll be going to a potluck then. Take this!  Want to eat it at home, like we did?  We had it with mixed roasted veggies, but a leafy green salad would be nice too, and a corn muffin.

This casserole is not cheap, but if you shop at Costco for your pound of brie and pound of crab (the only two expensive ingredients), it won’t break the bank and you’ll have made a casserole big enough feed a small army.

Truth be told, I was a bit afraid of this recipe at first, wondering if the Brie would be too strong, and wondering if I would be able to taste the crab over the brie.  Both worries proved needless.  Everything melds together nicely.  Comfortingly nice.  I’ll say it again, because it’s true, ‘died and gone to heaven’ nice!

I changed the recipe just just a bit; one, to conform to the quantities of crab and brie sold at Costco (no leftover bits and no need to buy two big cartons of anything) and two, to make the recipe a bit easier by  substituting panko instead of homemade bread crumbs. I also re-wrote the recipe a bit, making roux is not hard, just follow my instructions: brown the flour and butter (and don’t skimp on the butter), remove the pan from the heat, then vigorously stir in hot milk until sauce is smooth.

Enjoy your comfort food decadance.

Crab and Brie Macaroni and Cheese

  • 1 lb. dried macaroni (small shells or elbows)
  • 1 medium onion, chopped
  • 5 tablespoons butter (maybe a bit more)
  • 3 cups milk (I used 2%)
  • 1/3 cup all-purpose flour
  • 1 teaspoon salt
  • 1/2 teaspoon black pepper
  • 13-16 oz. Brie, cubed
  • 16 oz. refrigerated container crabmeat, drained and flaked
  • 1/2 cup Panko or favorite breadcrumbs
  1. Cook macaroni in salted water according to package directions.  (Choose the shortest cooking time since pasta will continue to cook when baked.) Drain and set aside.
  2. Preheat oven to 350 degrees. Grease a 9-in by 13-in casserole dish.
  3. In a large skillet over medium-high heat, saute onion in butter until tender and golden, about 15 minutes.  (Do not skimp on the butter.  You’ll need the full quantity of  butter to make the roux in the step 5.)
  4. Heat 3 cups of milk in microwave until hot (3-5 minutes).
  5. Meanwhile, over medium heat, stir flour into onion and butter mixture.  Stir constantly for 3 minutes (to cook flour and to incorporate butter into the flour).  If mixture is too lumpy or dry, add an additional tablespoon of butter.
  6. Remove hot pan with onion and roux from heat.  Pour in 1 cup of hot milk.  Stir well, and keep stirring-vigorously if needed-until mixture is smooth and lump free.  Add another cup of hot milk, stir and mix again.  When mixture is smooth and lump free, repeat with last cup of milk.
  7. Return pan to medium heat. Add cubed brie to sauce in pan.  Stir constantly until brie is melted and incorporated.  Remove pan from heat when brie has melted and the sauce is smooth once again.
  8. Fold drained crab into cheese sauce then stir in cooked and well-drained macaroni.
  9. Season with salt and pepper.
  10. Pour crab-brie-macaroni mixture into a well buttered 9-in x 13-in casserole dish.
  11. Sprinkle bread crumbs over top of macaroni and cheese.
  12. Bake in preheated 350 degree oven for 30 minutes or until mixture is heated through and bread crumbs have browned.  If breadcrumbs don’t brown, turn on the broiler and broil casserole for a few minutes.
  13. Remove casserole from oven. Let cool 5 – 10 minutes, then serve. In a bowl, while curled up on the couch with a good book or good movie, or on a plate with roasted veggies or a salad, and maybe a small corn muffin. Enjoy.  Feel better. Ace the Physics test!

Leftovers can be reheated in microwave or frozen for a future treat.

Thank you for stopping by my kitchen again today,  I love having you drop by!  Let’s see what else I can make from this magazine. It’s supposed to be on the shelves until July 15, 2013, so if you see it, you might want to pick up a copy.

08 Jun 2013 Peach Iced Tea

2 Peach Iced Tea Vert

I made a Peach Iced Tea! I am so excited that I have to share the recipe with you, even as I work to make it more natural (off to the farmer’s market tomorrow for my first try). I didn’t want you all to have to wait until I got the natural version perfected as this version works fine!  I know there are hot days and summer parties in your near future–graduations, Father’s Day, showers, birthday parties, July 4th celebrations, and BBQ’s, so I know you need this recipe now!

This tea, as is, is not too sweet, and definitely has a pronounced peach flavor; it’s like Snapple Peach Iced Tea, only better!  Make the big-batch peach base to keep in the freezer and you’ll be able to whip up a quart of Peach Iced Tea for yourself and a good book! Or make a gallon or two  for a  summer party in a flash.  I, for one, would love to go to a summer party where there’s something to drink other than bottles of beer, soda and water 🙂 (BTW, I have a recipe posted for Blueberry Lemonade, too, which is also very good!).

The peach part of the tea was inspired by a recipe I found in a “Better Homes and Gardens Special Interest Publication” entitled , “Best Loved Reader Recipes; 125 Winners from 1930 to Today”.  The recipe in the magazine was for a “Sparkling Peach Punch”, where the base below is mixed with ginger ale or sparkling water.  I tried both versions. The ginger ale version was very sweet, the sparkling water version was given a thumbs up by my daughters, but the iced tea version created by yours truly was the star of the show.

Notes:

#1 Make the base and freeze it in three 1-quart batches or six 2-cup batches.  Each 1-quart peach base will mix with 2 quarts of strong tea to make 12 cups/3 quarts of  Peach Iced Tea, add ice and you have a party!  Each 2-cup peach base mixed with 6 cups of strong tea will make 8 cups/2 quarts of Peach Iced Tea, add ice and a friend and you have a cool and tasty summer drink with which you and  your friend can enjoy a little down time.

#2 Make the tea twice as strong as you would for regular hot tea!  I prefer English or Irish tea bags such as Barry’s Irish Gold, or Yorkshire Gold or PG tips.  Trader Joe’s Irish Breakfast tea is also very good (but, oddly, the English Breakfast tea isn’t very good at all). I use 3 or 4 tea bags to each quart of boiling water.  If I had to use Lipton or Red Rose Tea, I’d use at least six tea bags to a quart of boiling water.  I haven’t experimented with green tea, as I am not a big fan, but I am sure green tea could substitute for the black tea, and of course, decaf tea could be used too, if that is your preference.

#3 I don’t know why there is gelatin in the base, that’s one of the things I am going to experiment with and try to remove, but, I think it probably does add to the overall peachiness of the drink. Yes, yes, yes, one of the first things I will experiment with is using fresh peaches in place of the canned peaches…but until that happens, make this version, it’s yummy!

Peach Iced Tea

For the Peach Base:

  • 3 cups water
  • 1 1/2 cups sugar
  • 13-ounce package peach-flavored gelatin
  • 1 29-ounce can peach slices in light syrup
  • 4 11 ounce cans peach nectar (find them on the shelves of the grocery store next to the bottled juices)
  • 1/2 cup lemon juice
  1. Combine water, sugar, and gelatin in a saucepan. Bring to a boil, stir to dissolve the gelatin then remove from heat and allow to cool.
  2. Place undrained peach slices in blender, and blend until smooth.
  3. In a 1 gallon capacity bowl, pan or pitcher combine gelatin mixture, pureed peaches, peach nectar, and lemon juice. Stir to combine.
  4. Divide peach mixture into three 1-quart batches or six 2-cup batches.  Use now (see steps below), or freeze until needed.  According to the original recipe, the base can be frozen for up to 3 months.

To Brew the Tea and Combine With the Peach Flavor:

  • Desired quantity of peach base (remove from freezer an hour or two before needing)
  • Tea bags (Make the tea twice as strong as you would for regular hot tea, see note #2 above)
  • Boiling water (You will need to make 2X the amount of water for the quantity of base you are using, see note #1 above)
  1. Pour the required amount of boiling water over the tea bags and let steep for 3-5 minutes.  Don’t let the tea steep for more than 5 minutes or it will start to get bitter.
  2. Fill a pitcher half full of  ice.  Pour the hot brewed tea over the ice. Discard the tea bags.
  3. Stir the peach base into the iced tea.
  4. Pour into glass and enjoy! ahhhhhhhh

It’s mercilessly HOT here, and I hate hot, but a glass of Peach Iced Tea, a day off, and a good book does make the summer somewhat enjoyable(!)

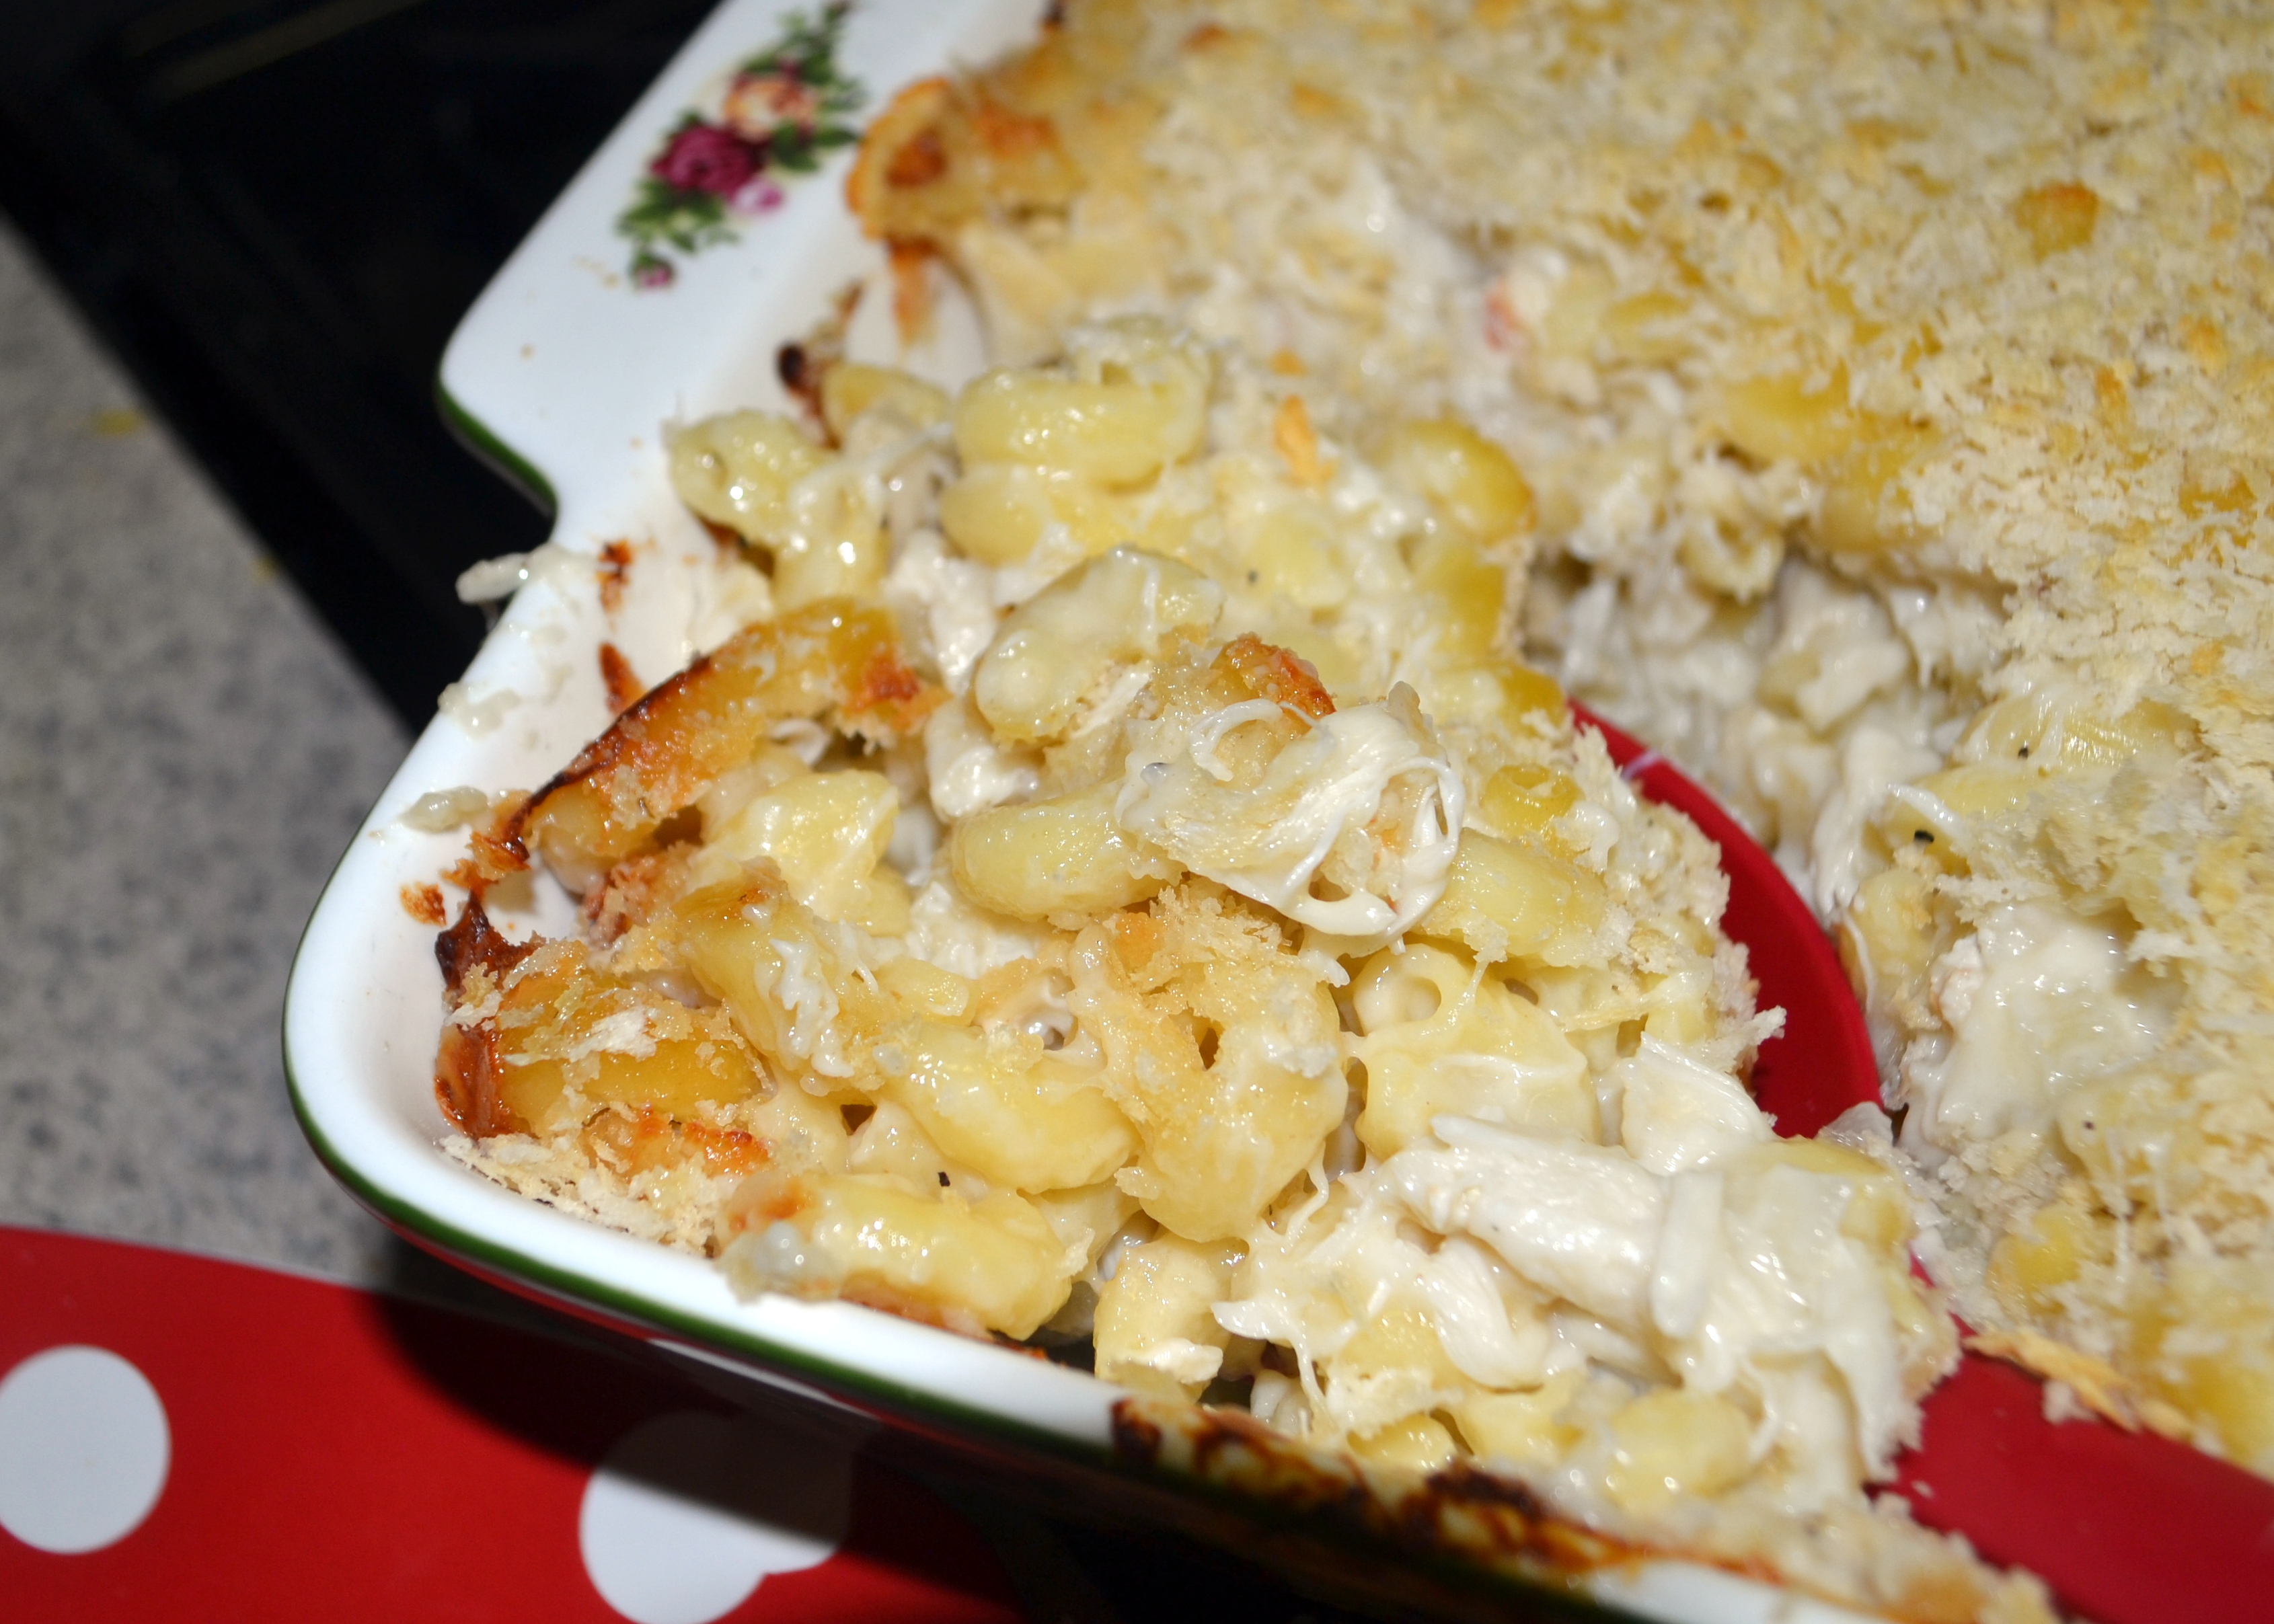
Thanks for stopping by my kitchen today!  I am going to try some more recipes from this magazine–Calypso Shrimp Skewers, Coconut Salmon Curry, Macaroni and Brie with Crab, Green Beans with Basil and Mint, so stay tuned!

BTW, if you have the magazine, I’ve already tried the “Bagel, Lox and Egg Strata” recipe… The picture looked great.  The make-ahead casserole wasn’t bad, but neither was it great, and I see no reason to make it again.