Atlantic Beach Lemon Pie
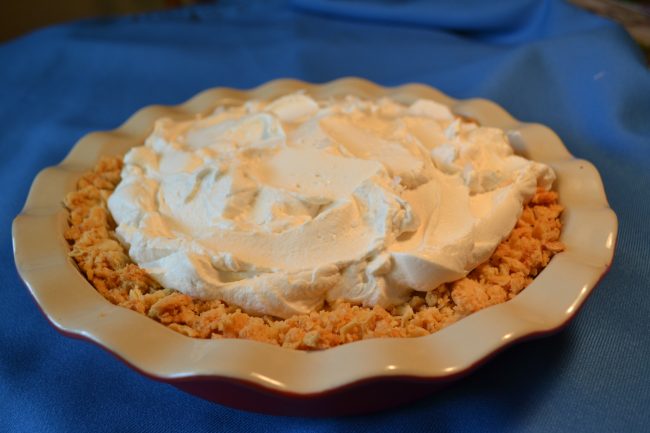
It’s citrusy, and it’s salty, and it’s creamy, and it’s tangy, and it’s delicious. Ever heard of Atlantic Beach Lemon Pie? I hadn’t either. I guess this pie had been a big deal back in North Carolina in the 50s (Crook’s…
"It's all about the recipe!"
It’s citrusy, and it’s salty, and it’s creamy, and it’s tangy, and it’s delicious. Ever heard of Atlantic Beach Lemon Pie? I hadn’t either. I guess this pie had been a big deal back in North Carolina in the 50s (Crook’s…
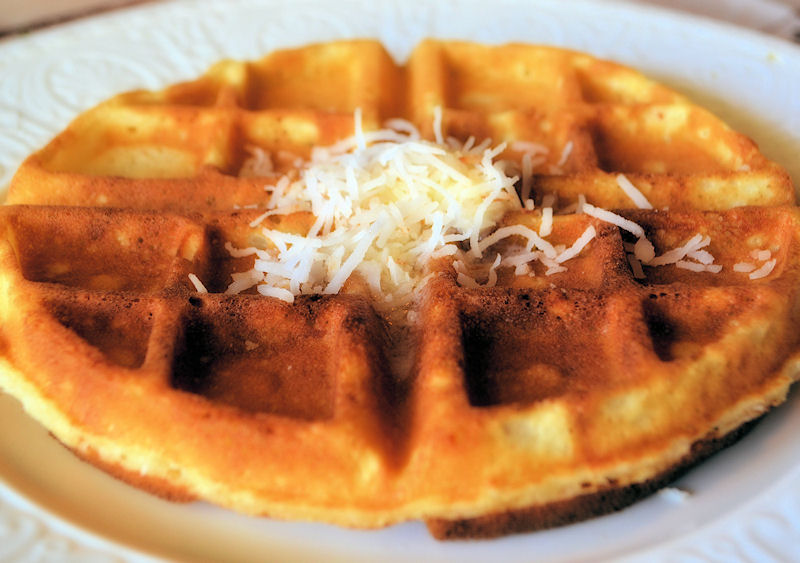
I know there is no toasted coconut on the top of this waffle. Oops! It was all gone before I took the picture. Don’t do this! Put toasted coconut in your waffle batter and save some to sprinkle on top…
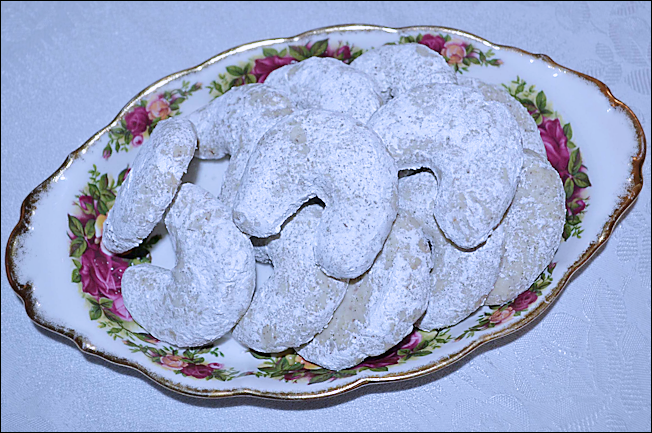
I had never, ever heard of kipferls before. Then, in two weeks they came into my life twice! First, my friend Priscilla made some in the Culinary School Pastry Arts program she is enrolled in. I didn’t try one because…
Once a year I host a book club meeting at my house, and my night was last night. The book was “The Book Thief” so the theme was German food. Thanks to input from the internet, I decided to make a…
Do you ever go into a bakery? Of COURSE you do! Do you ever buy a pastry that looks delicious, but then are seriously disappointed in the taste…? And then, to top it off, are you overwhelmed price you just…
Whooooa Nelly! Crab and Brie Macaroni and Cheese? Over-the-top decadence in a comfort food? YEP! And the decadence makes the comfort food even more comforting—like ‘died and gone to heaven’ comforting! Yet another winning recipe from the Better Homes and…
This tea, as is, is not too sweet, and definitely has a pronounced peach flavor; it’s like Snapple Peach Iced Tea, only better! Make the big-batch peach base to keep in the freezer and you’ll be able to whip up…
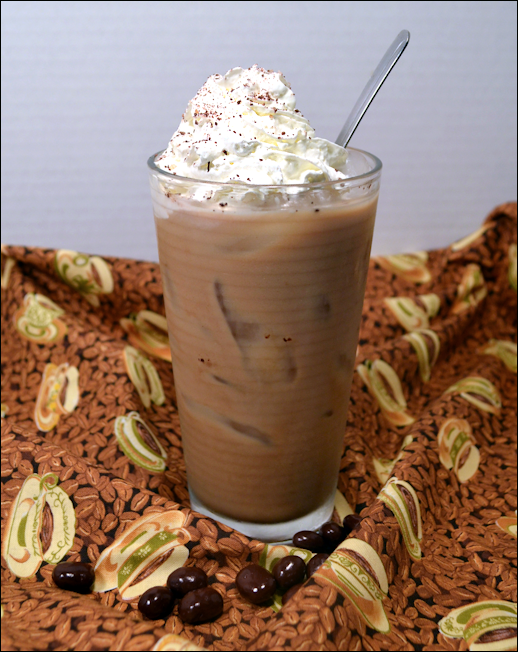
I like coffee. No, I loooooove coffee. Not that hot, black and bitter brewed coffee, but that expensive stuff brewed by the tablespoonful and mixed with steamed and foamed milk. I have lived with an espresso machine since my ex-husband…