A Crockpot of Beans!
I am so excited about this recipe! It’s a paradigm shift recipe! It’s not a recipe in the true sense of the word, it’s more of a road map to a particular destination. A road map allows for more flexibility…
"It's all about the recipe!"
I am so excited about this recipe! It’s a paradigm shift recipe! It’s not a recipe in the true sense of the word, it’s more of a road map to a particular destination. A road map allows for more flexibility…
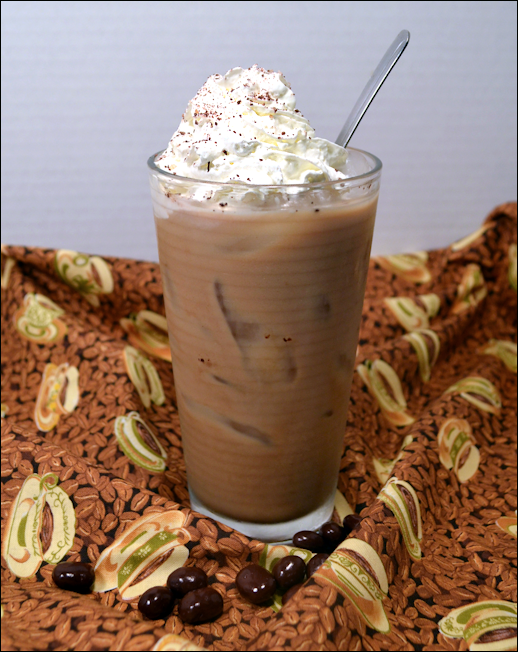
I like coffee. No, I loooooove coffee. Not that hot, black and bitter brewed coffee, but that expensive stuff brewed by the tablespoonful and mixed with steamed and foamed milk. I have lived with an espresso machine since my ex-husband…
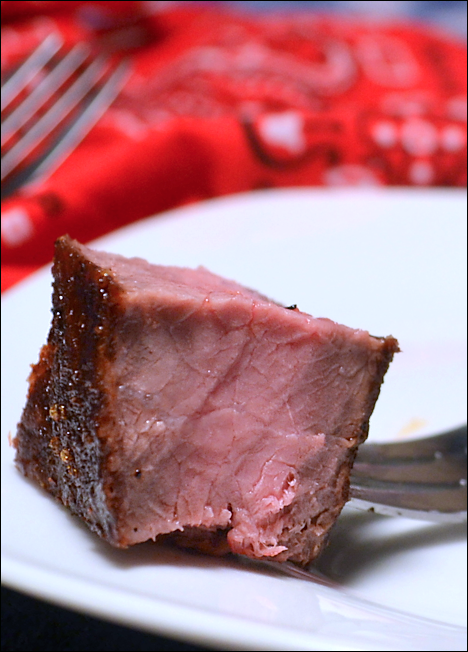
My friend and webmaster told me this picture is awful. She said the steak looks dry. Hmpffff. It might be all that, but the recipe is a good one. Please don’t be put off by the horrible picture! Last weekend…
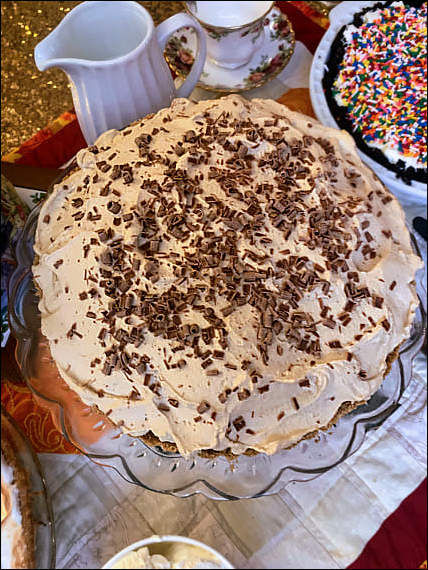
Banoffee Pie! You’ve heard of it, right? Toffee, bananas and coffee flavored cream in a pastry crust? There are more to British desserts than Trifle, Spotted Dick, and Sticky Toffee Pudding, you know! This pie took the British Isles by…
I wish I’d had this recipe decades ago! I had three small kids, and I had to take a lot of food to a lot of potlucks, meetings, classes, games, gatherings and parties 🙂 I also had to pull together a…